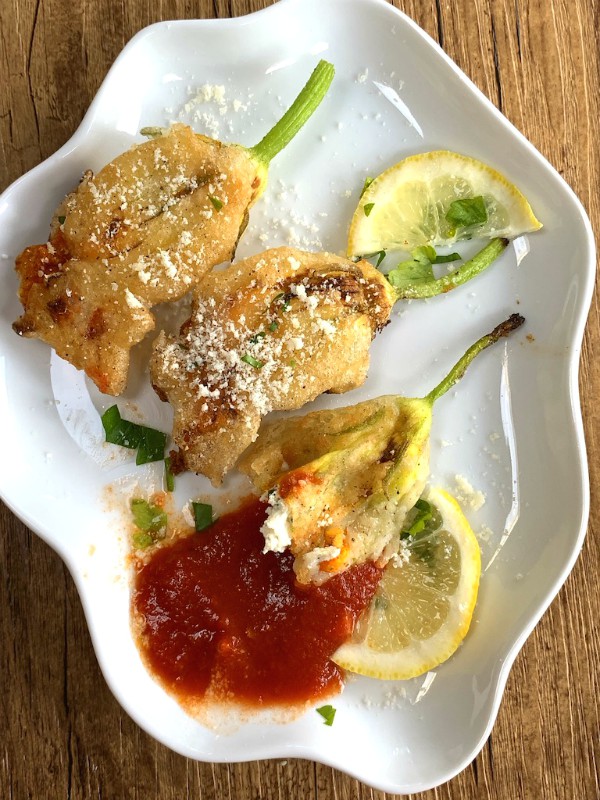
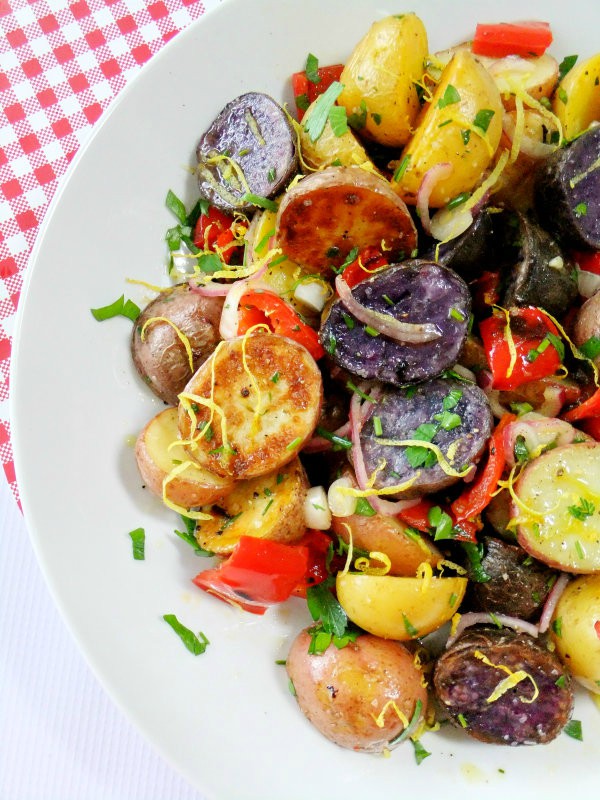
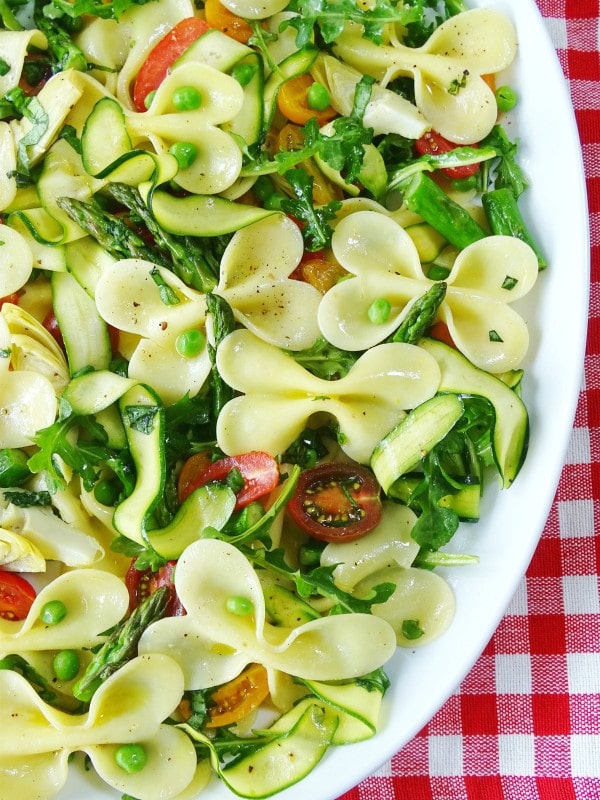
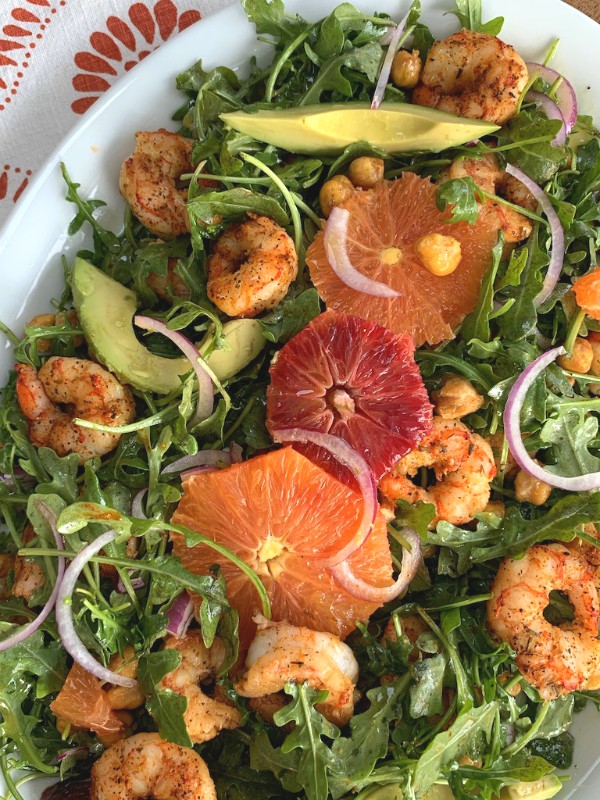
We’re still in the dog days of summer with an abundance of garden produce still available You just can’t beat the flavor of garden ripe tomatoes, there’s nothing like it, and I will dream about that taste when summer ends.
But for now, if you need to use up some of those sweet cherry tomatoes you might have, this is the perfect side dish to make.
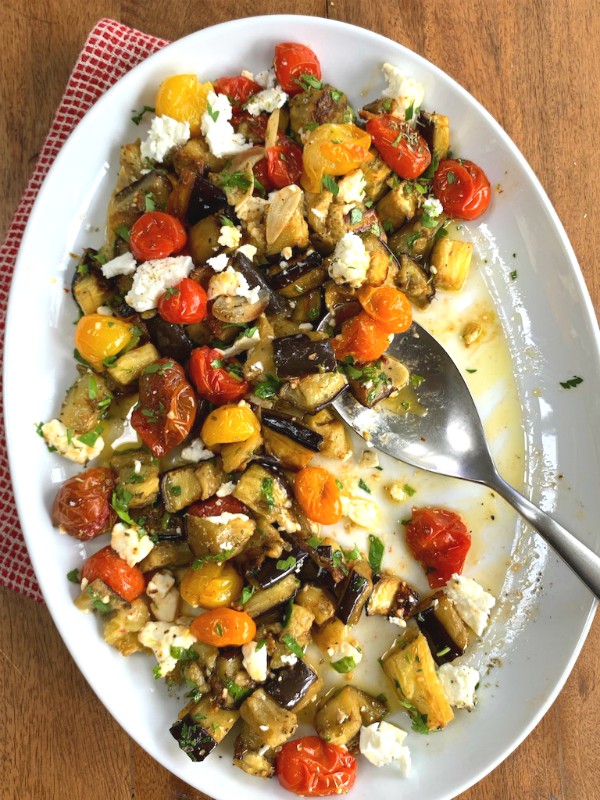
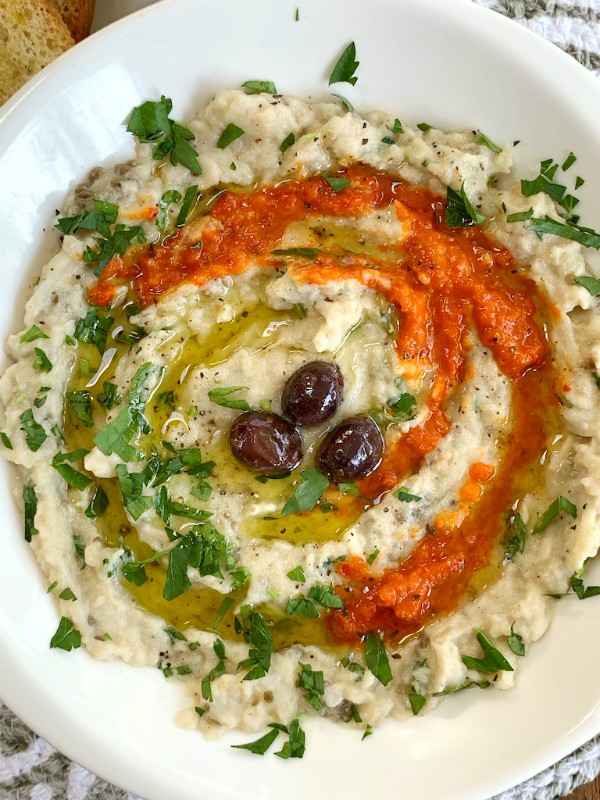
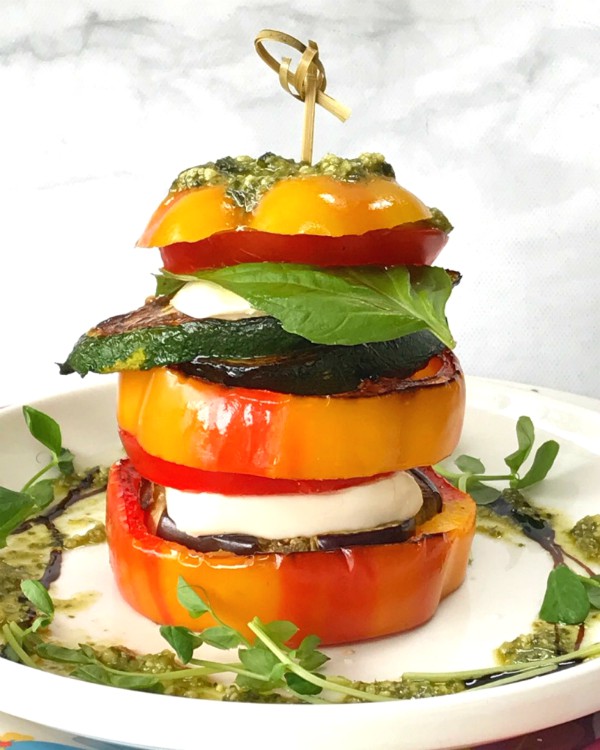
It’s a delicious combination of eggplant with tomatoes and feta cheese.

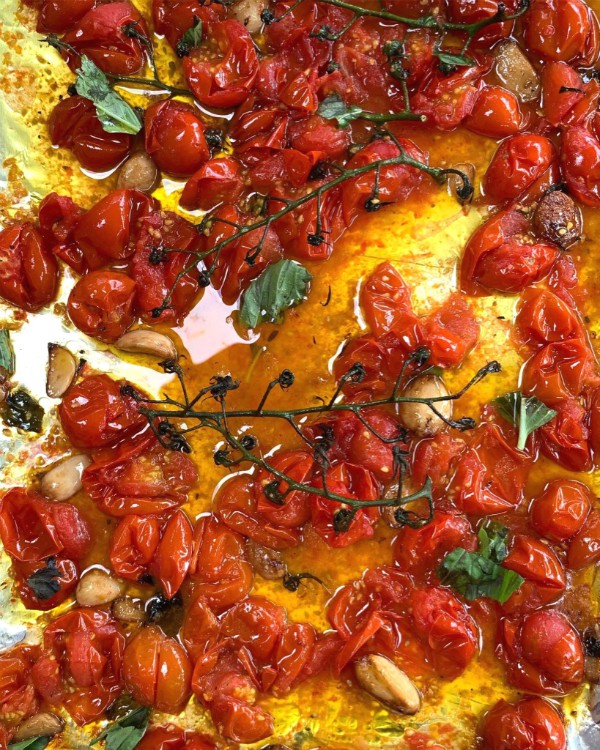
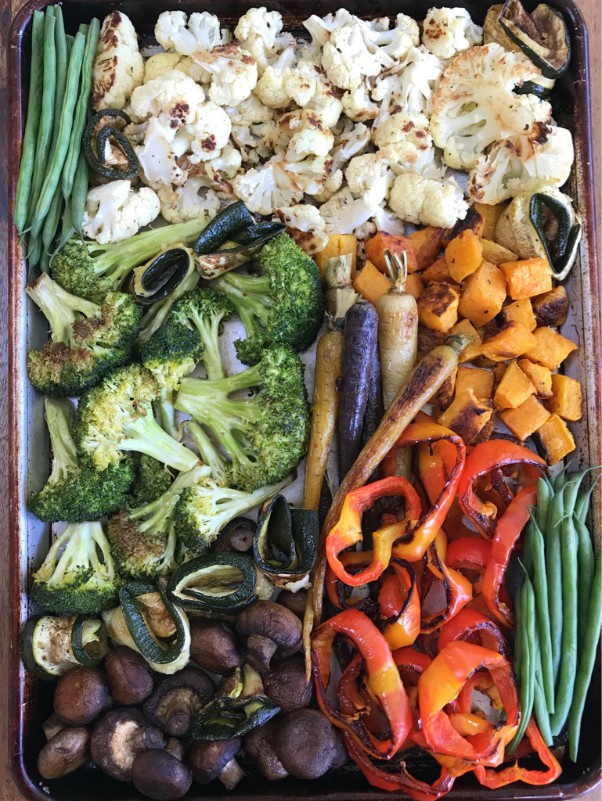
You honestly don’t need a recipe for this because you’ll never go wrong with the ingredients and amounts. All you have to do is roast some cherry tomatoes with a good amount of olive oil and shaved garlic, salt and pepper. It doesn’t matter how many tomatoes you use, just fill up a sheet pan like I did.
Place them into the oven at 400 degrees until they start to blister and their flavorful juices mingle with the olive oil.

Same thing goes for the eggplant, I like to peel the skin of my eggplant into stripes, some on, some off. Then cut your eggplant into bite size pieces, 2 or 3 eggplant or however many you have, place on a sheet pan, douse with olive oil, salt and pepper.
Roast at 425 degrees until the moisture is gone and you start to see lightly golden edges.

Now basically it’s all about combining everything. In a bowl add the blistered cherry tomatoes and every bit of that luscious garlicky juice, toss in the roasted eggplant, and crumble in the best quality Greek feta you can find.
Combine gently and arrange it all on a pretty platter garnished with chopped parsley, now watch it disappear!
I can’t tell you how good this is, you’re just going to have to make this amazing summer side dish, but hurry!
Follow Proud Italian Cook on Instagram to see what else I’m cooking up during the week.


 I’m Marie, a wife, mother, mother-in-law, and gramma of two beautiful girls. My passion is food, clear and simple but especially Italian food, hence the name of my blog, Proud Italian Cook. I want you to feel right at home here so grab a cup of coffee, I’ll get the pastries, take a look around and enjoy your visit! {


