The holidays are fast approaching and menu planning is on the way. Brussels spouts have long been a tradition on holiday tables. Some people have a fondness for them and some do not, but brussels sprouts have come a long way since I was a kid.
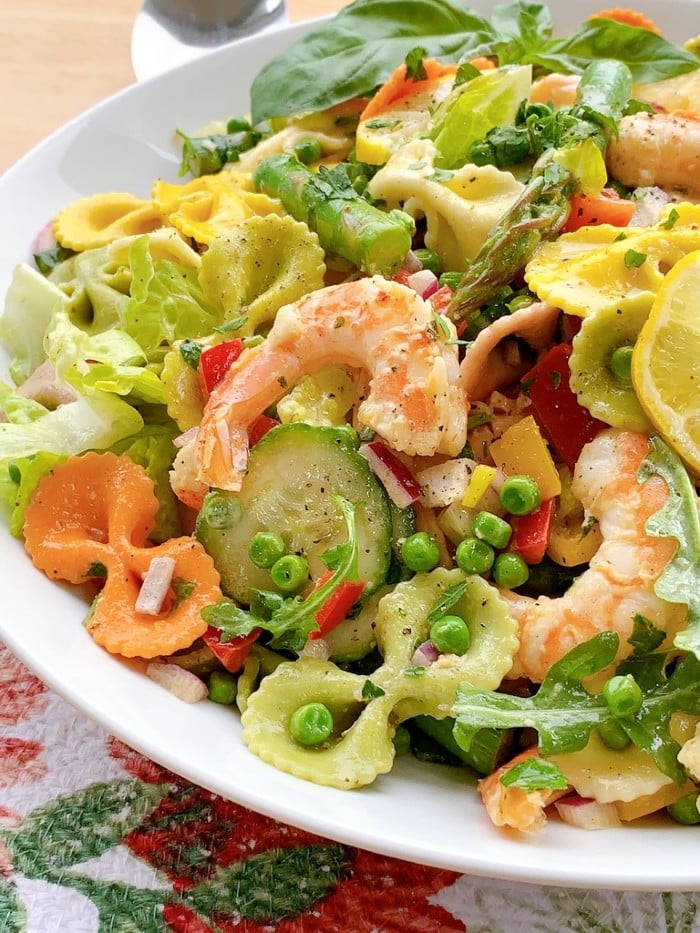
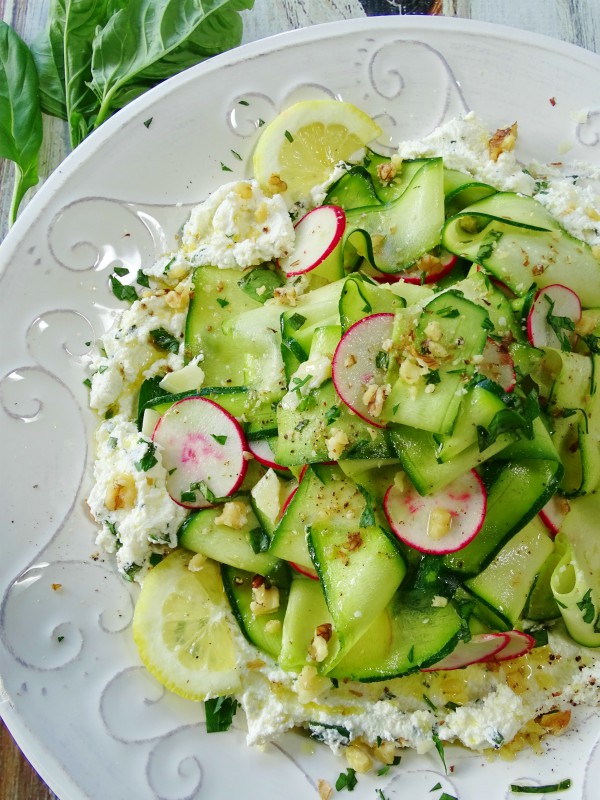
This salad uses raw, shaved sprouts, you may think they would taste bitter raw but actually they taste mild compared to the old way of boiling or over cooking them.
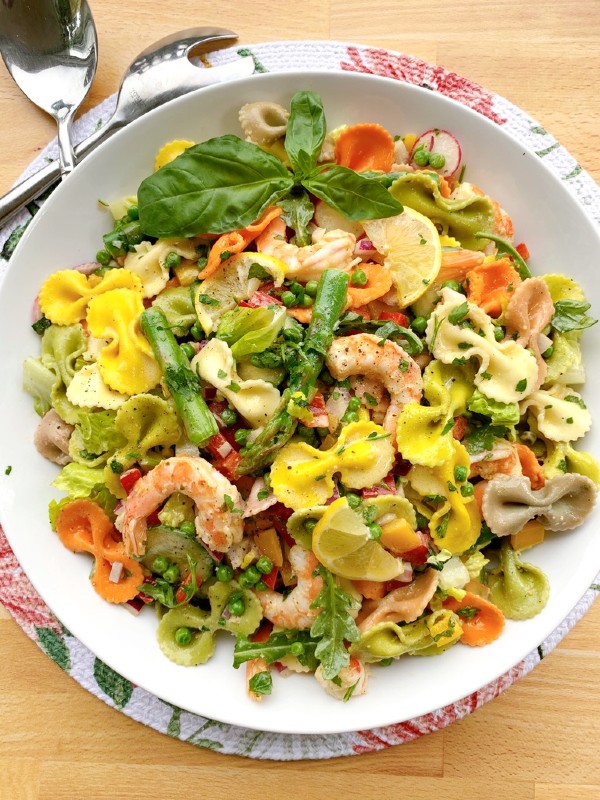
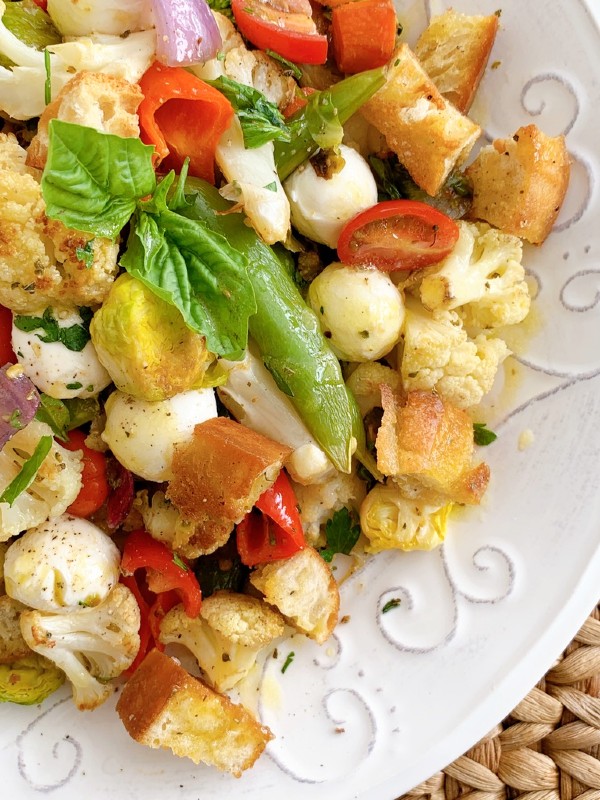
With all the rich heavy foods that are served up during the holidays it’s nice to have something fresh, green and lighter on the table as well as a festive presentation.
Another reason I like serving this salad is because it holds up really well at room temperature, so you don’t have to worry about it wilting as it sits out.

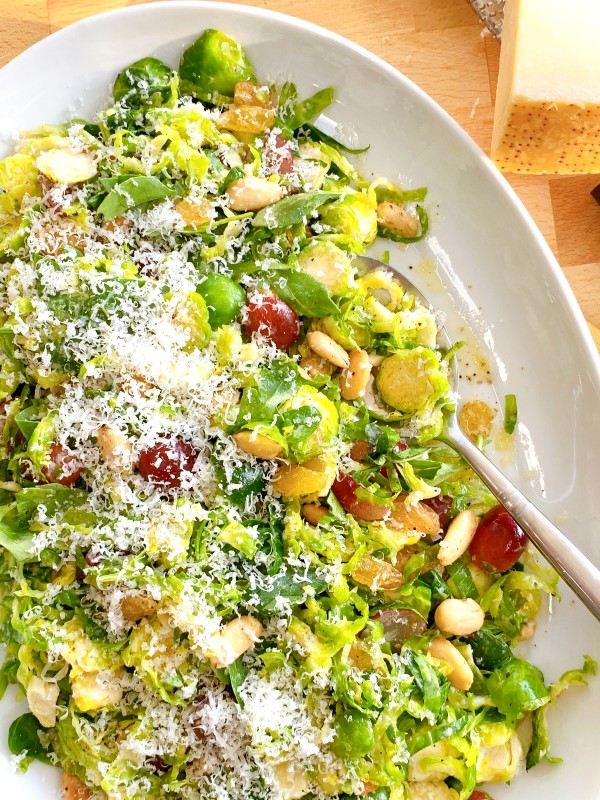
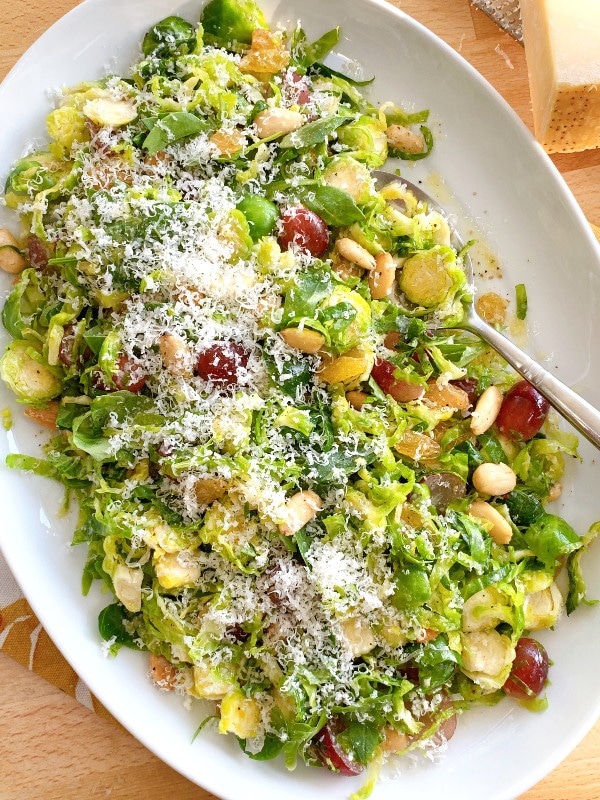
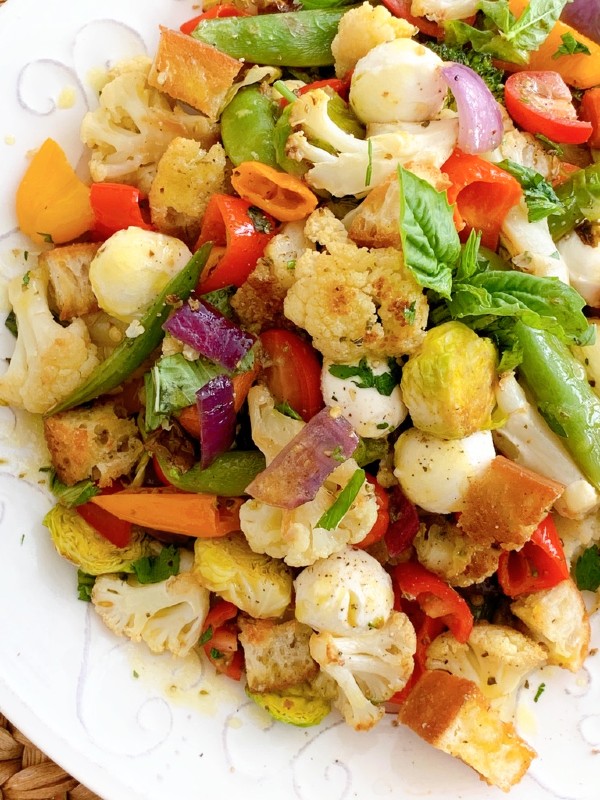
Fresh grapes, dried golden raisins, decadent marcona almonds with lots of shredded parmigiano make up this fresh take on a brussels sprouts salad.
I hope you give it a try, even the leftovers are good the next day!

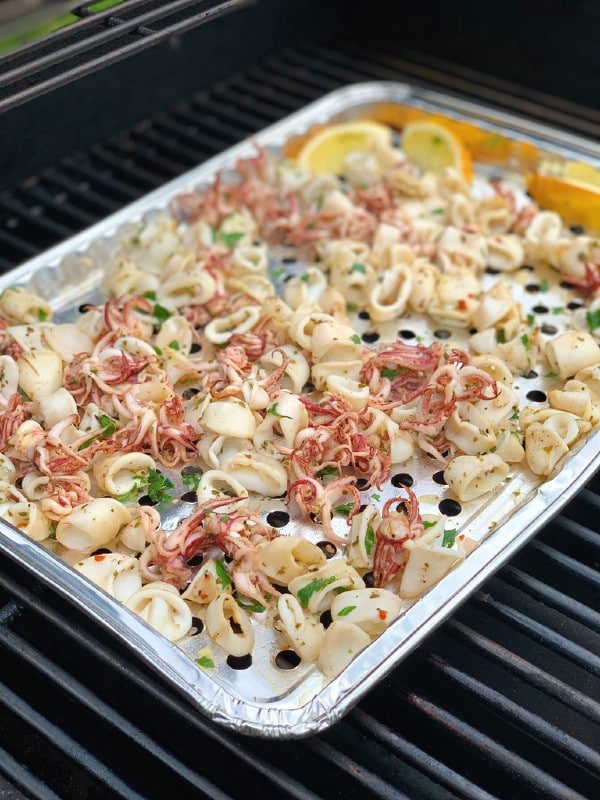
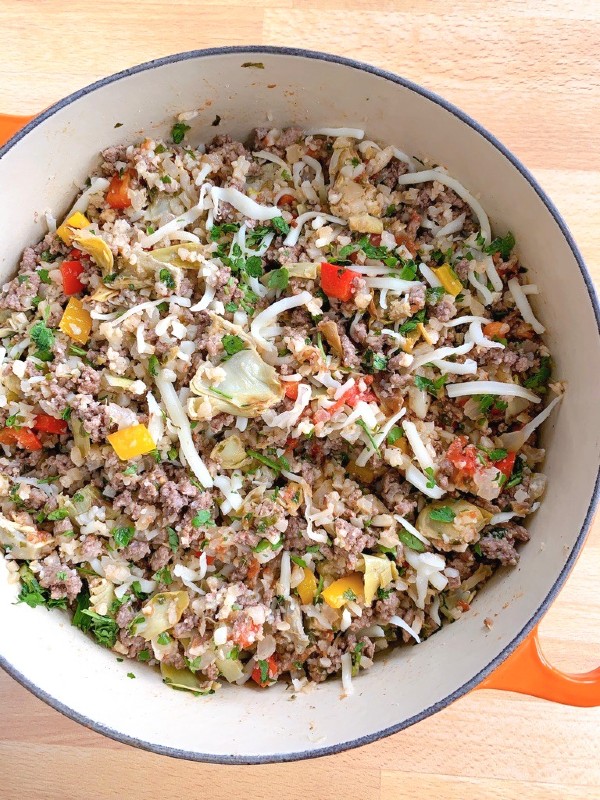
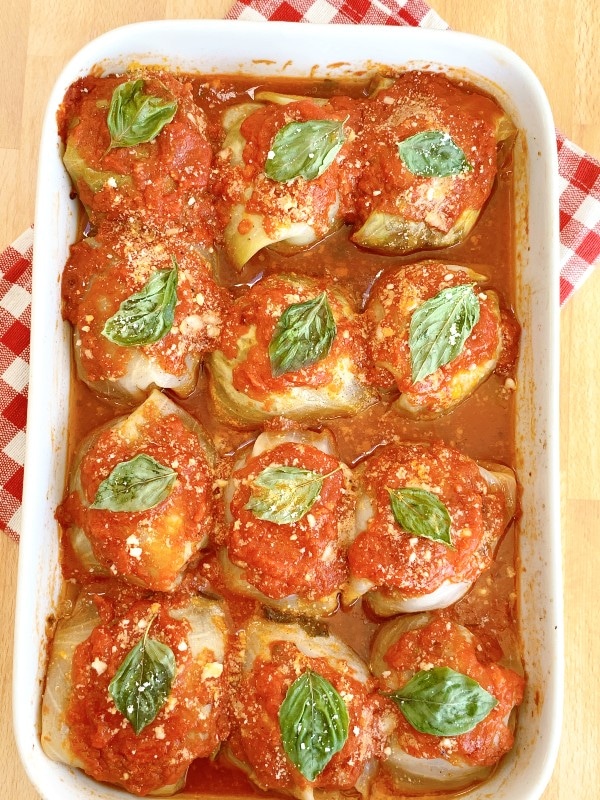
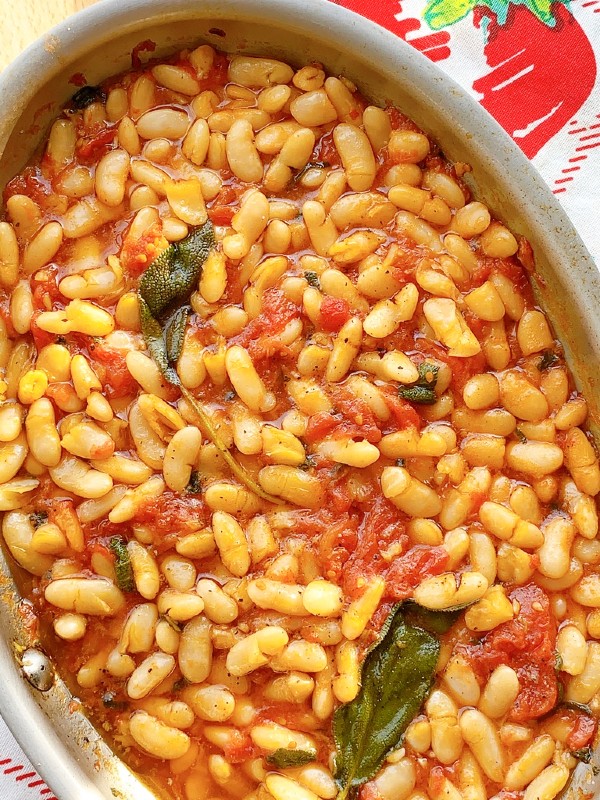
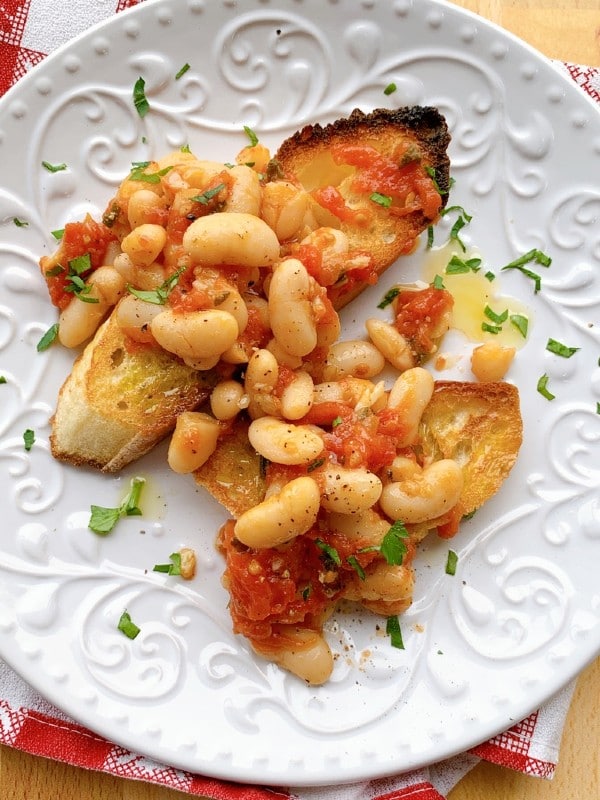
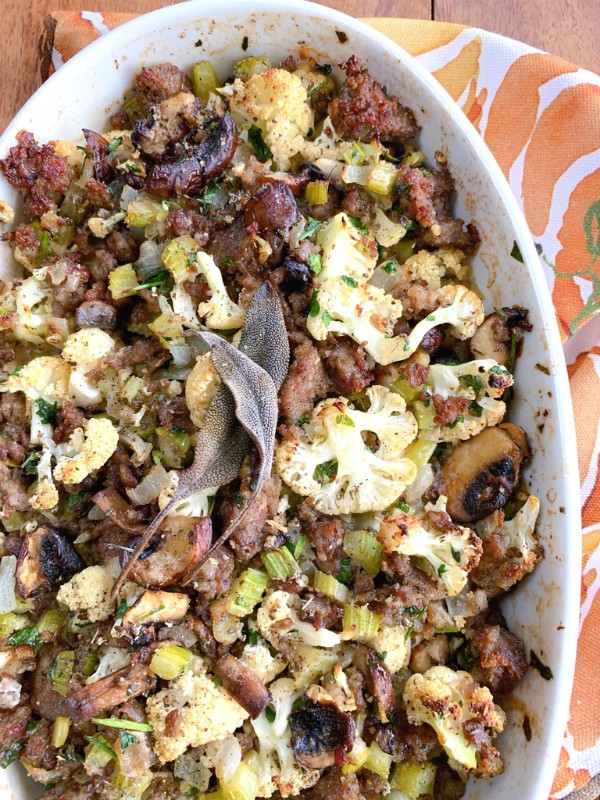
If you’re looking for cooked brussels sprouts here are two of my favorites, this delicious combination of roasted sprouts with Italian sausage and balsamic glaze, and you can even have some fun with the presentation using the glaze.
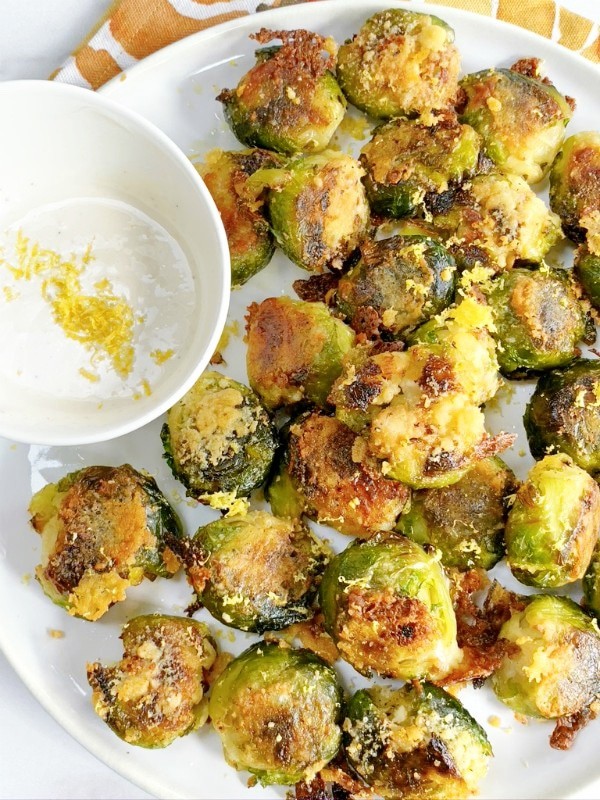
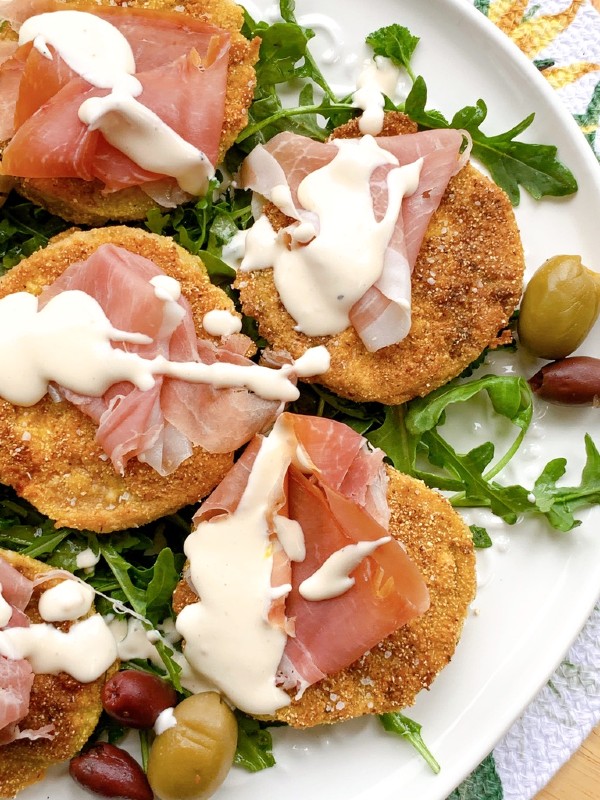
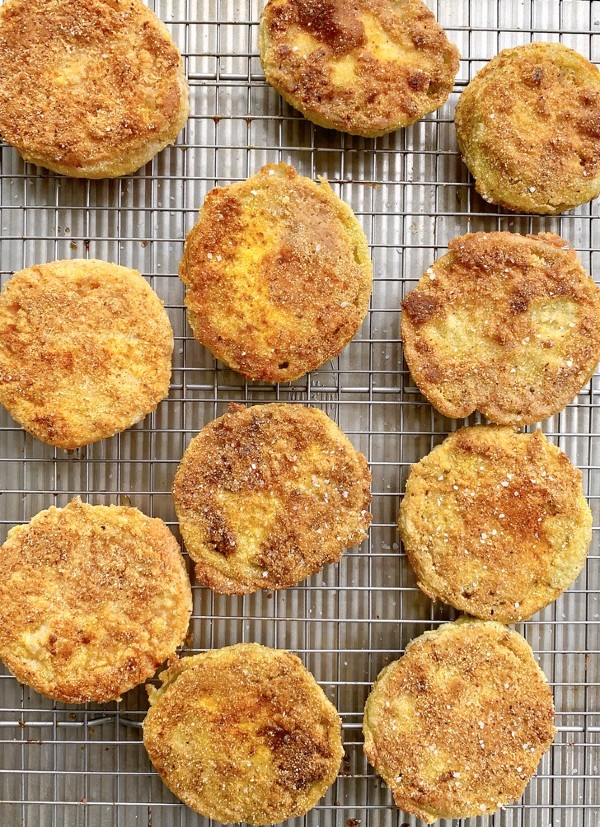
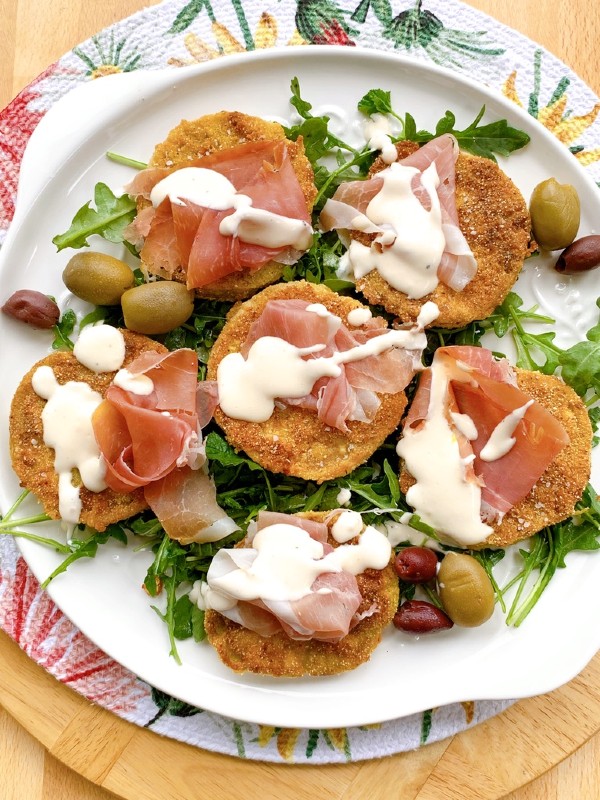
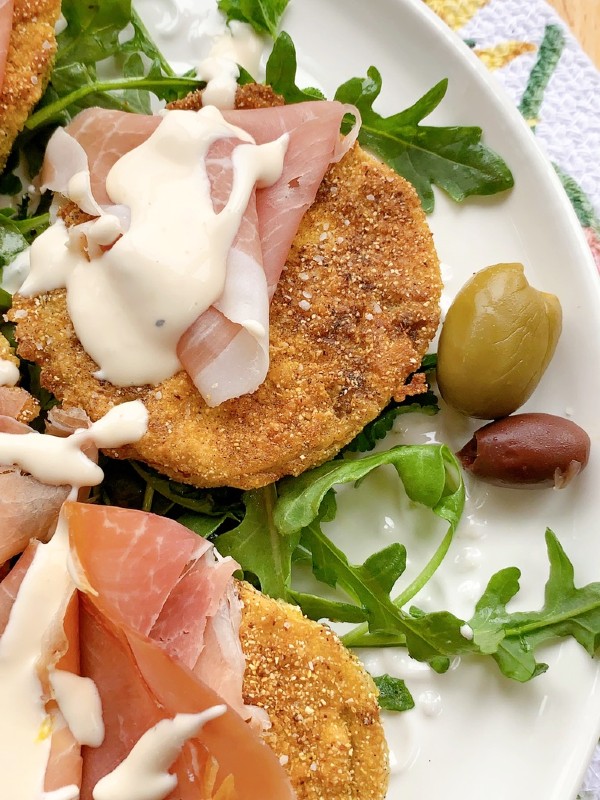
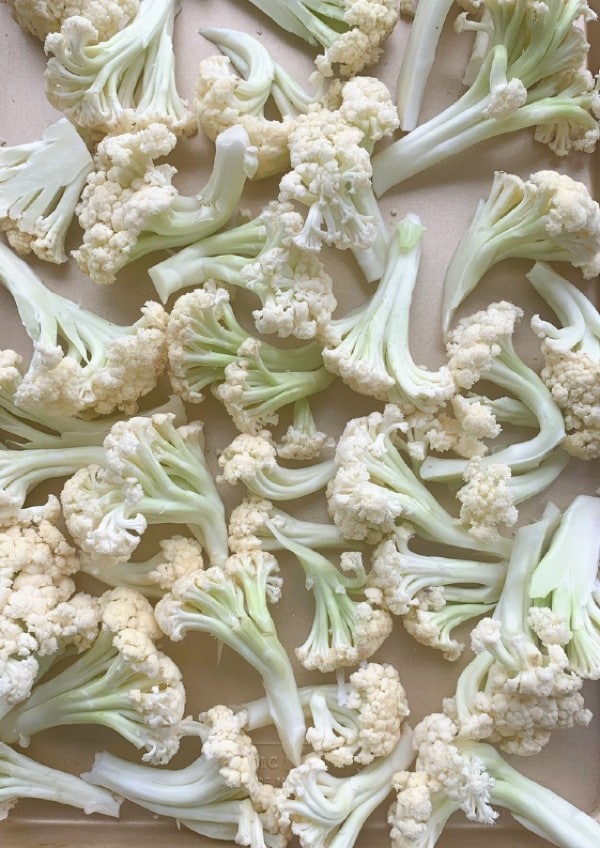
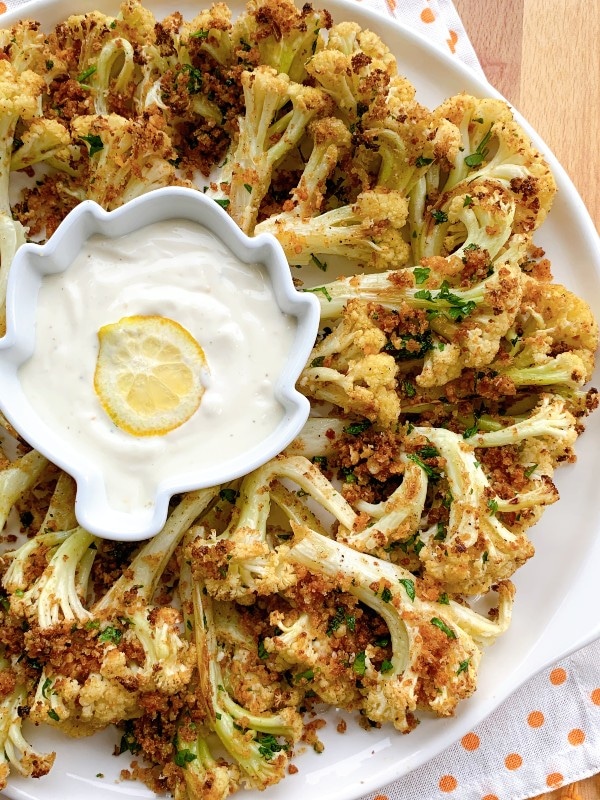
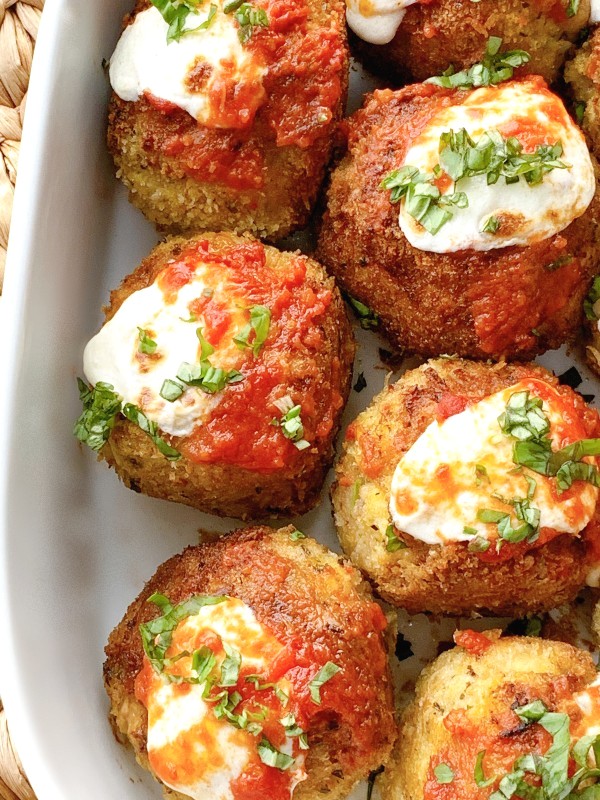
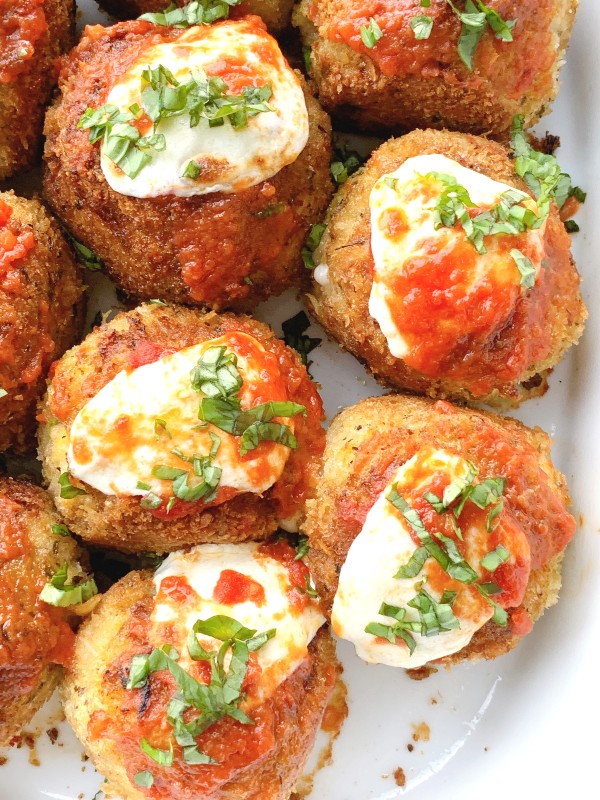
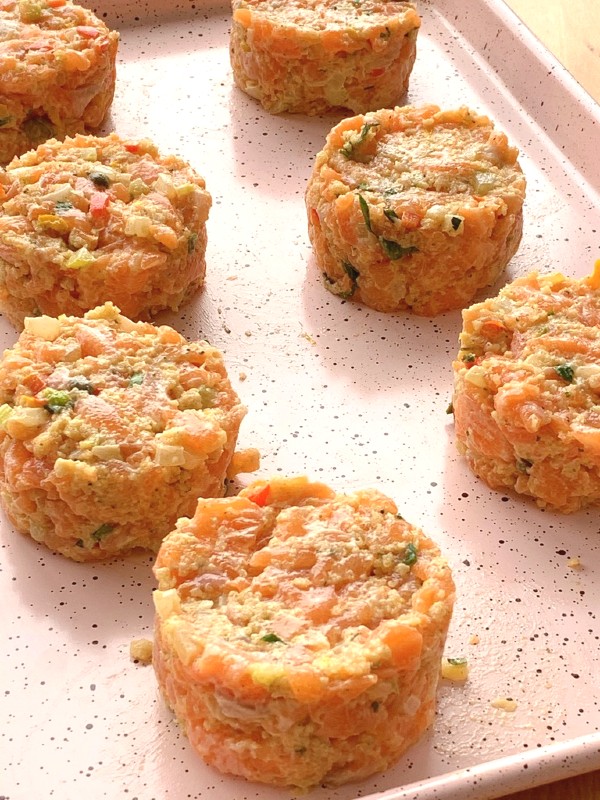
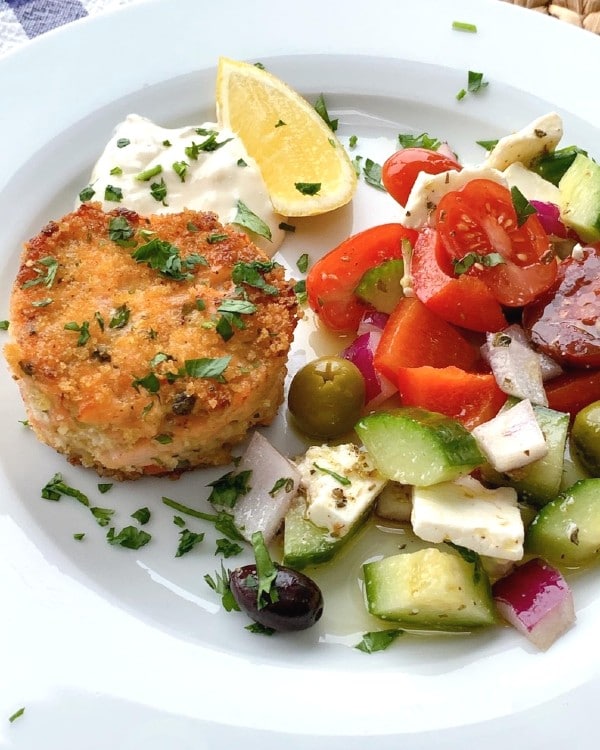
And finally these addicting smashed sprouts with parmesan and lemon aioli, they’re made similar to the popular smashed potatoes but on the healthier side. They’re crispy and caramelized on the outside and tender on the inside, another perfect side dish to your holiday table and they’re gluten free!
- 4 heaping cups shaved brussels sprouts, prepare them by cutting off the stems and tearing off any brown leaves and thinly shaving them by hand with a knife, mandoline or food processor
- ½ cup plus more, for finishing the salad of freshly grated parmigiano reggiano cheese
- 1 cup fresh red grapes, sliced in half
- ½ generous cup of plump golden raisins
- ½ cup marcona almonds
- handful of mixed greens or arugula
- DRESSING
- 1 part fresh lemon juice to 3 parts olive oil
- pinch of red pepper flakes
- 1 small garlic clove grated
- a dollop of djon mustard
- a teaspoon of honey
- salt and pepper to taste
- Whisk up or shake in a jar all the dressing ingredients, taste to your liking by adding more or less of the ingredients.
- Place all the salad ingredients into a large bowl, tossing everything together then spoon in the dressing ( you don't want it soggy, add a little at a time).
- Taste for seasoning then either mound it high in a pretty bowl or serve it spread out on a pretty platter.
- Shower the top with additional grated parmigiano reggiano.
- Enjoy

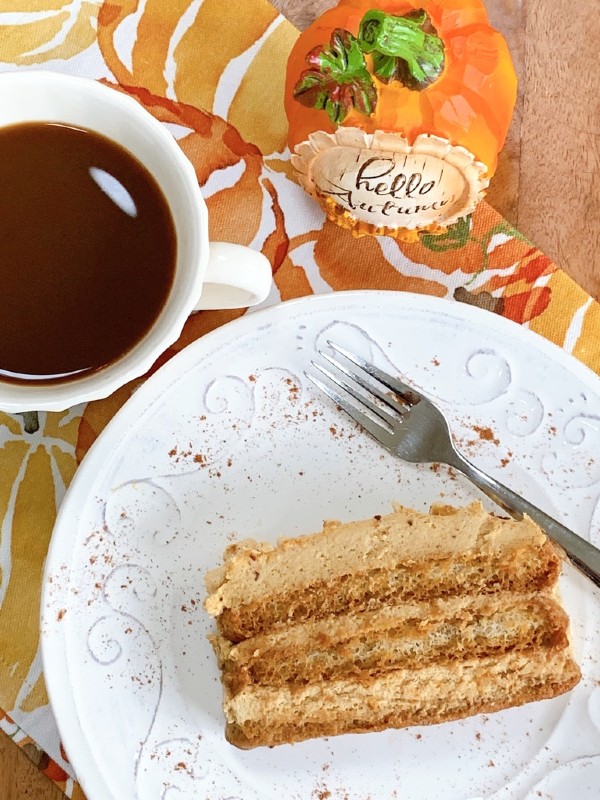


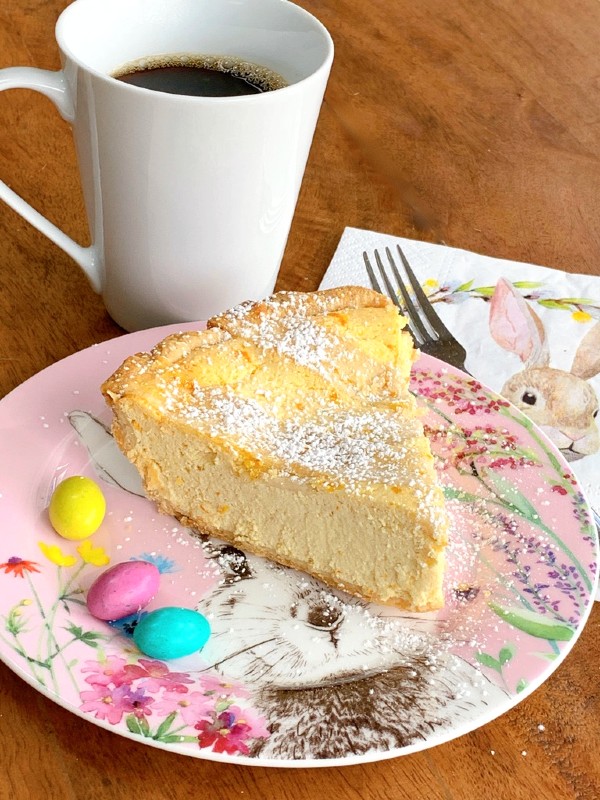


 I’m Marie, a wife, mother, mother-in-law, and gramma of two beautiful girls. My passion is food, clear and simple but especially Italian food, hence the name of my blog, Proud Italian Cook. I want you to feel right at home here so grab a cup of coffee, I’ll get the pastries, take a look around and enjoy your visit! {


