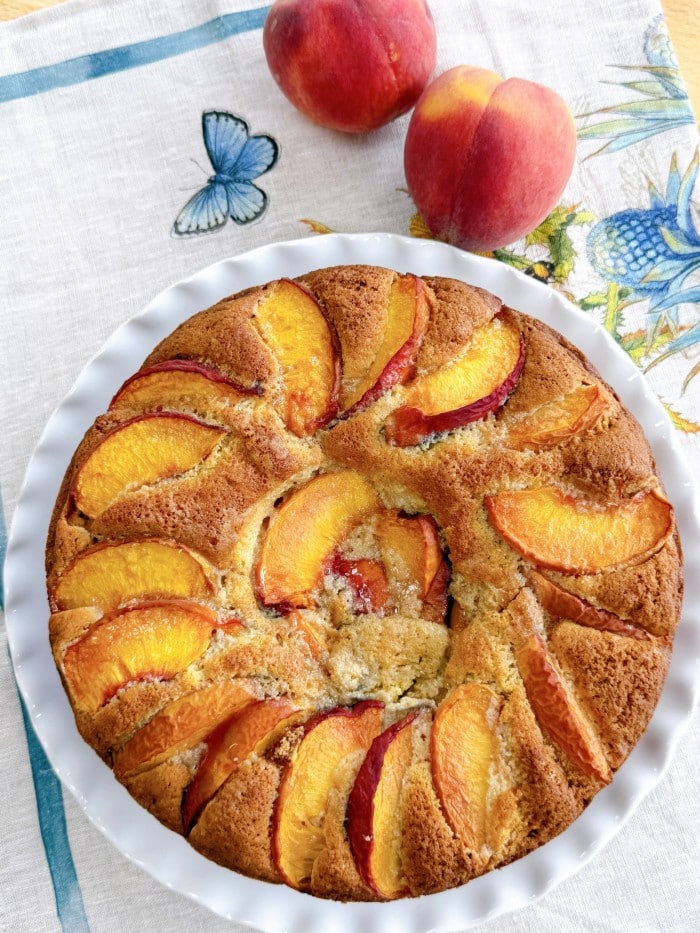
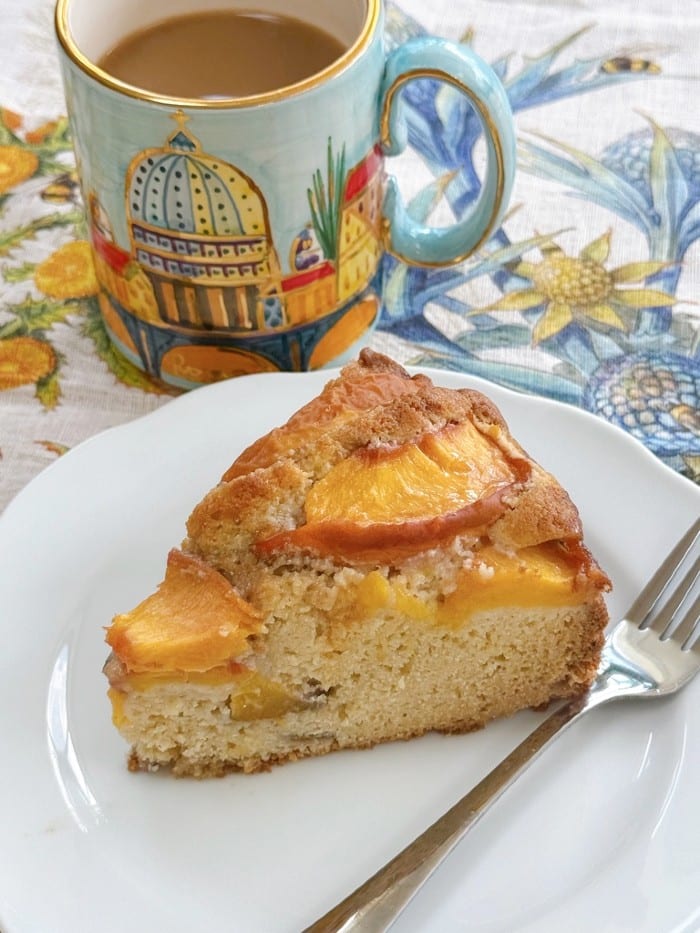
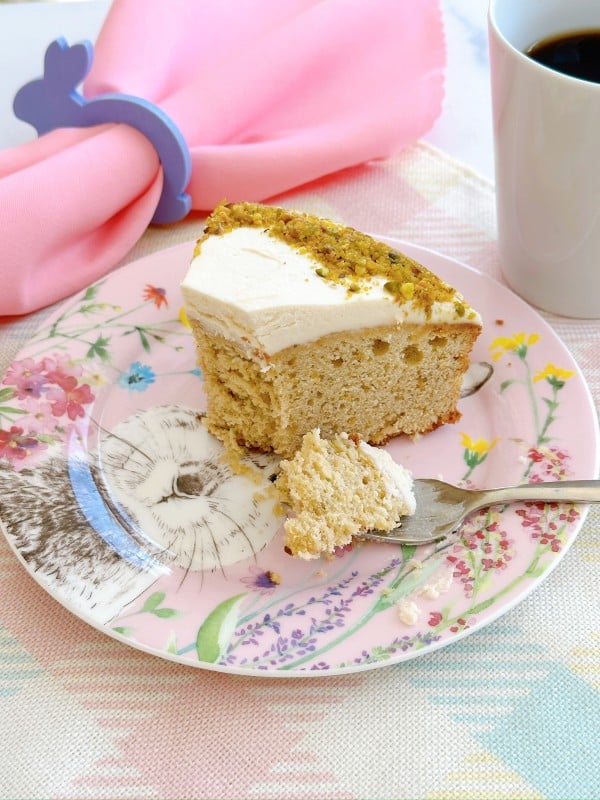
Fresh peach and ricotta cake is the perfect summer dessert, especially when peaches are at their peak. The addition of ricotta pairs beautifully with fresh, ripe peaches.
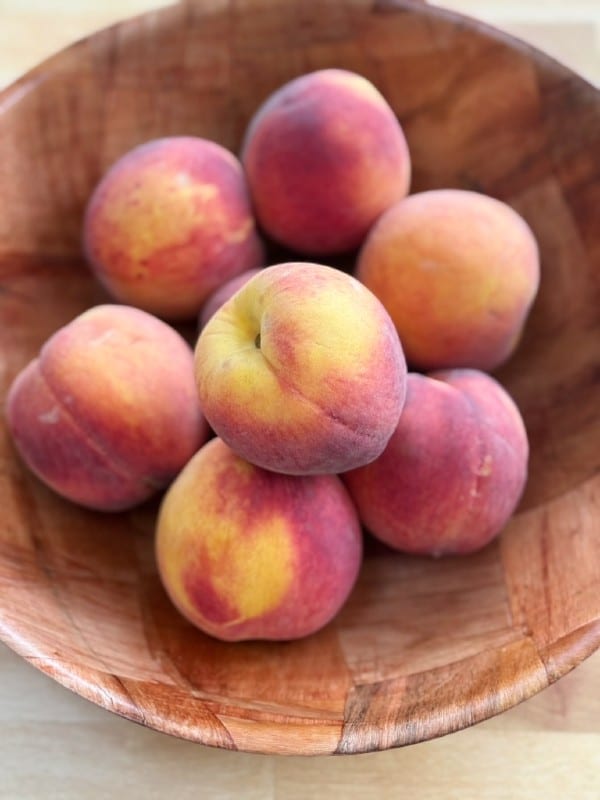
A fresh juicy, unblemished peach is a thing of beauty and I was lucky enough to find some from North Carolina at my local Costco the other day.
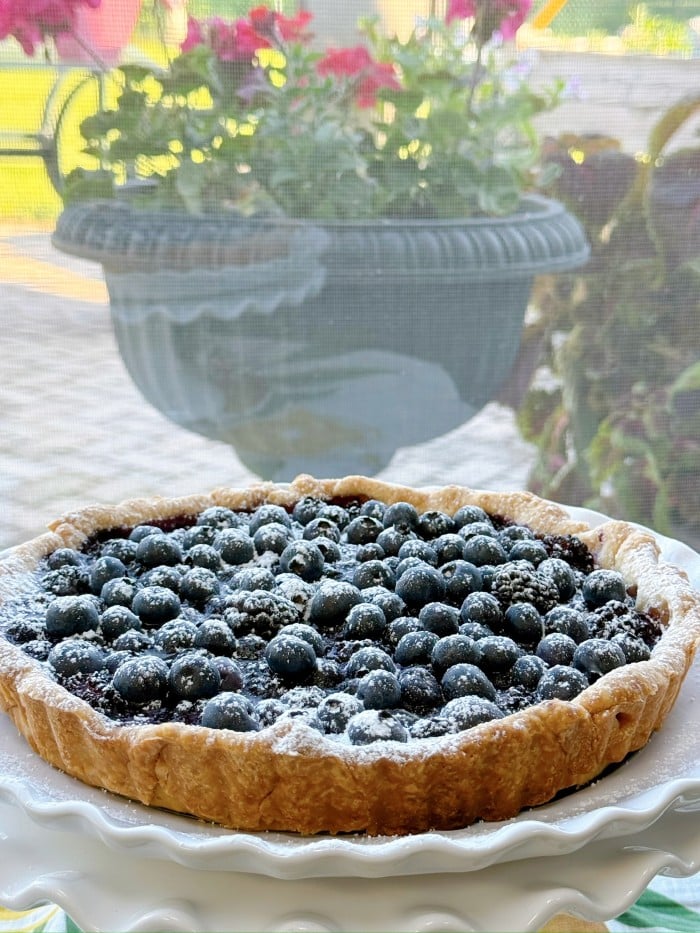
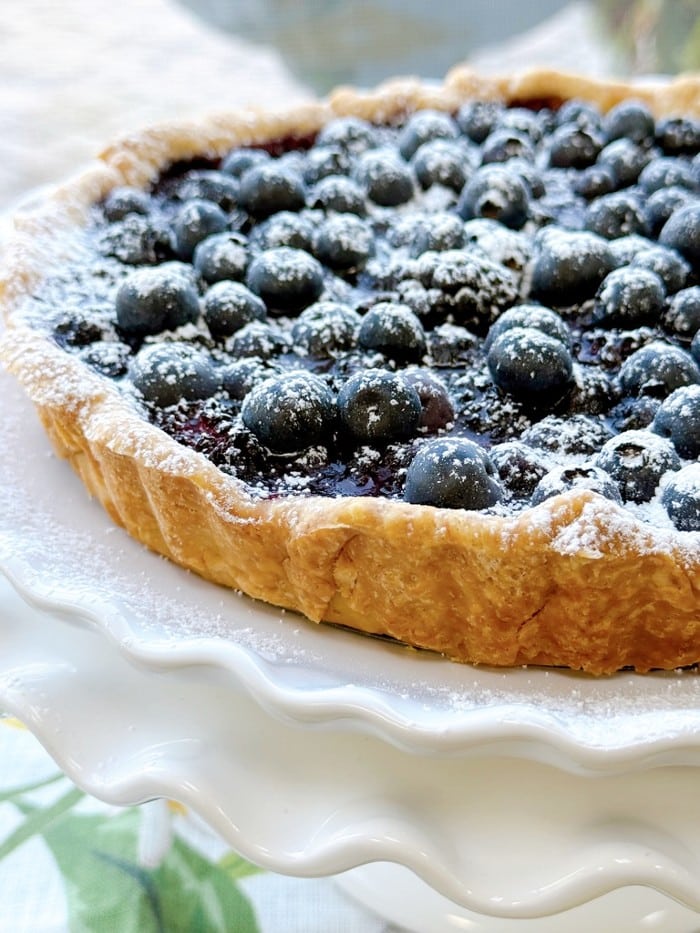
After we enjoyed eating some I couldn’t wait to make this fresh peach and ricotta cake. In the past I’ve paired fruit with ricotta quite a bit, like in this ricotta berry tart and this roasted apricot ricotta tart.
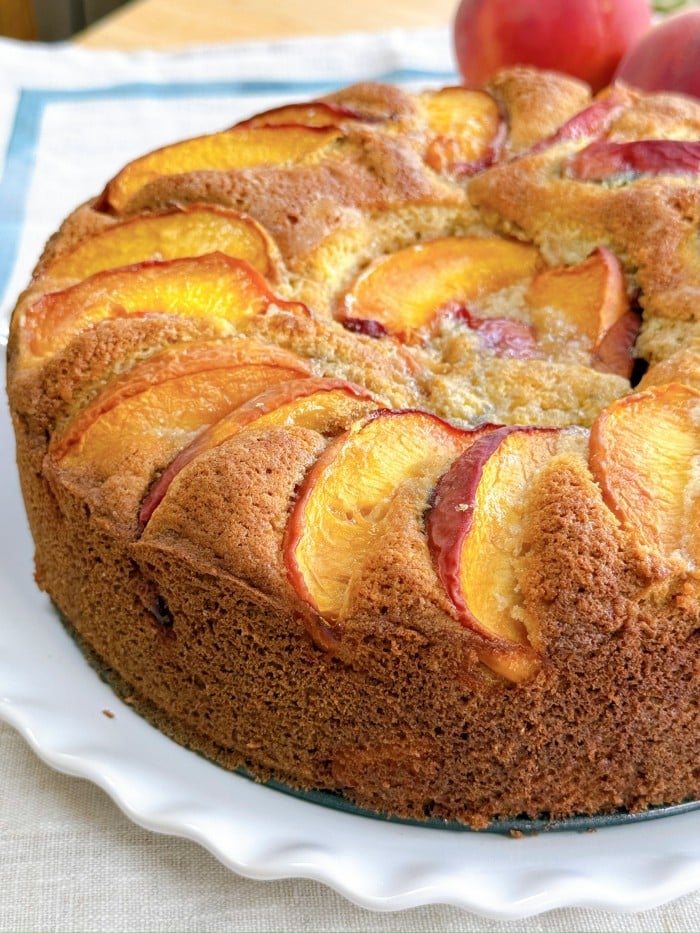
The peaches get nestled right into the batter and as they bake the juices seep into the surrounding crumb. The top caramelizes slightly adding crisp golden edges which adds to the texture and flavor.
You can embellish it anyway you want, you can add a bit of almond extract along with the vanilla, also topping it off with a sprinkling of sliced almonds before it gets baked into the oven, it’s all good.
Enjoy this summer dessert dusted with some powdered sugar if you like, some fresh whipped cream or a spoonful of mascarpone cheese on the side.
Happy Summer!
- 3 or 4 large, fresh peaches, skin on. 1 cut in small cubes and the others cut in slices
- 1 cup or 2 sticks room temperature butter
- 1 cup granulated sugar
- 4 large eggs
- 1 cup whole milk ricotta ( if deli bought, drain liquid very well)
- 1½ teaspoon of pure vanilla extract
- 2 cups all purpose flour
- ¼ cup almond flour
- 2 teaspoons baking powder
- 2 teaspoons baking soda
- ¼ teaspoon salt
- brown sugar to sprinkle over top
- Pre-heat oven to 350 F.
- Spray or butter a 9 inch spring form pan.
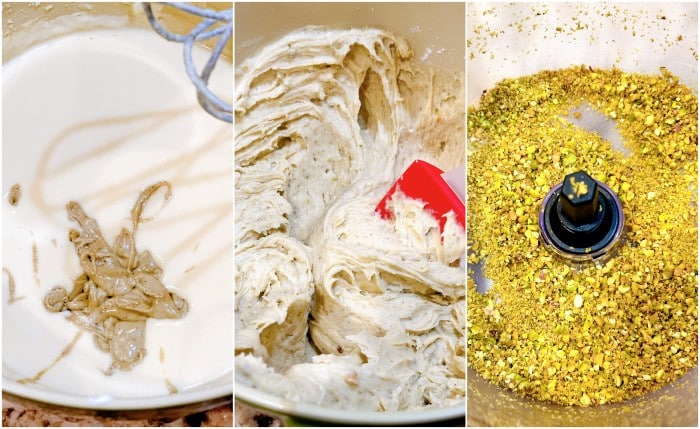
- With a hand mixer or stand mixer cream the butter with the sugar.
- Add the eggs one at a time.
- Add the ricotta and vanilla and mix til all blended.
- In a separate bowl whisk together the flours, baking powder, soda and salt.
- Add the dry to the wet then fold in the cubed peaches, batter will be really thick.
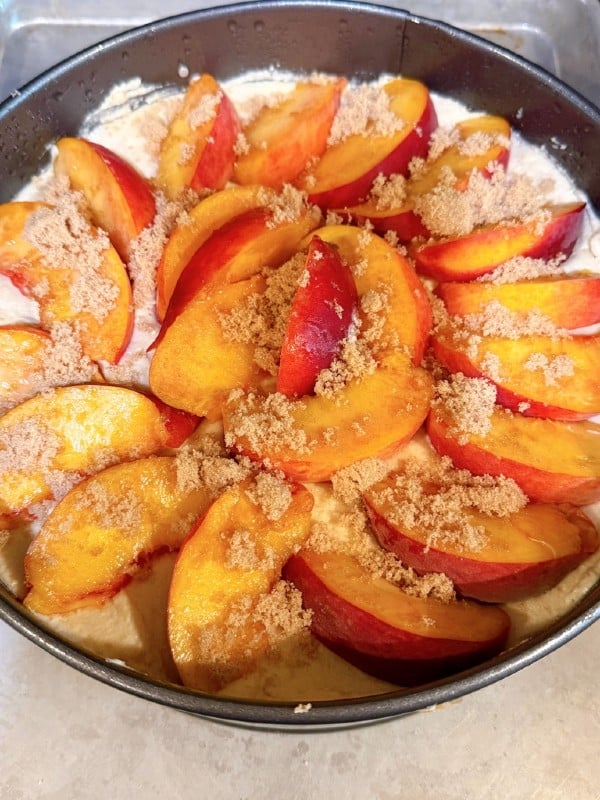
- Place the batter into your spring form pan and smooth it out with an offset spatula, then place the pan on a lined baking sheet to bake.
- Arrange your sliced peaches in a pretty design on top, then sprinkle with brown sugar.
- I baked mine for an hour and fifteen minutes, but ovens do vary so check that it's not jiggling and make sure the batter is cooked through. Sometimes if the ricotta is too wet you'll have problems with the cook time. I would say after an hour start checking those things.
- NOTE; As I stated in the post you can add a little almond extract and a sprinkling of sliced almonds along with the brown sugar if you like.
- Enjoy!


 I’m Marie, a wife, mother, mother-in-law, and gramma of two beautiful girls. My passion is food, clear and simple but especially Italian food, hence the name of my blog, Proud Italian Cook. I want you to feel right at home here so grab a cup of coffee, I’ll get the pastries, take a look around and enjoy your visit! {


