
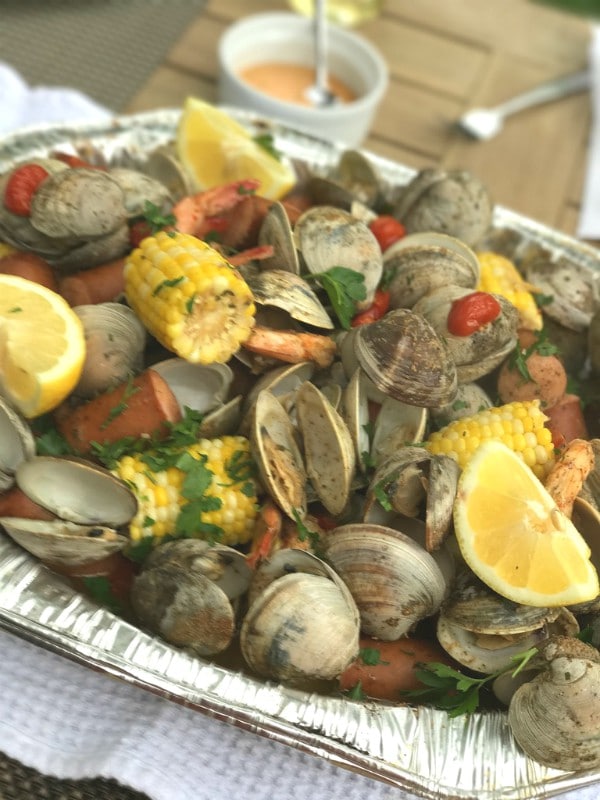
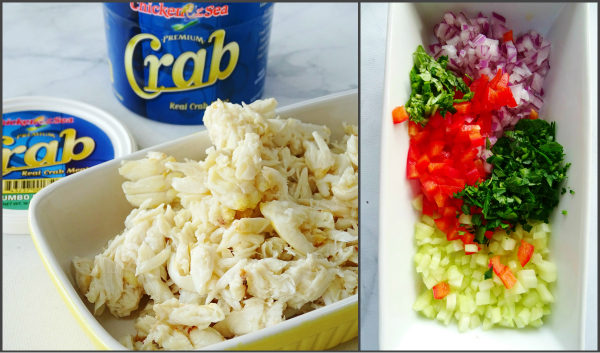
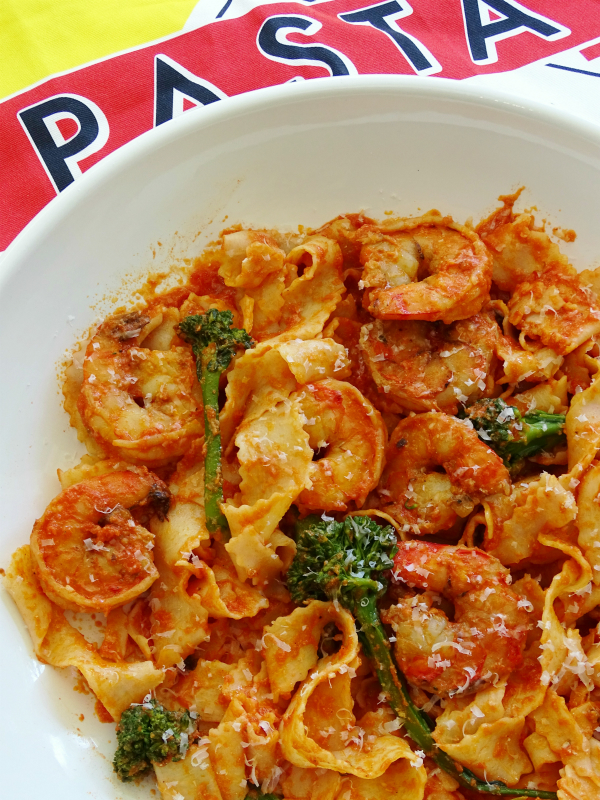
What is a cassoulet? It a dish originated in France which is basically a rich, slow cooked casserole typically made with white beans and a meat of some sort. It’s a hearty dish and quite perfect for the cooler temperatures we’re experiencing now as fall approaches.
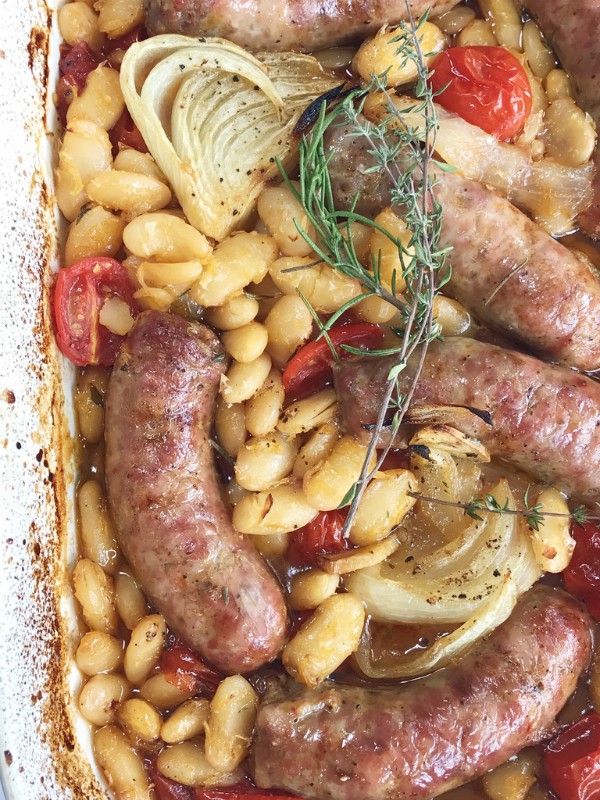
In place of the more traditional meats the French would use, I wanted to make mine Italian style by adding some good quality Italian sausage. I chose one that is nicely spiced throughout with a good amount of fennel seed which I feel compliments all the other flavors in this dish.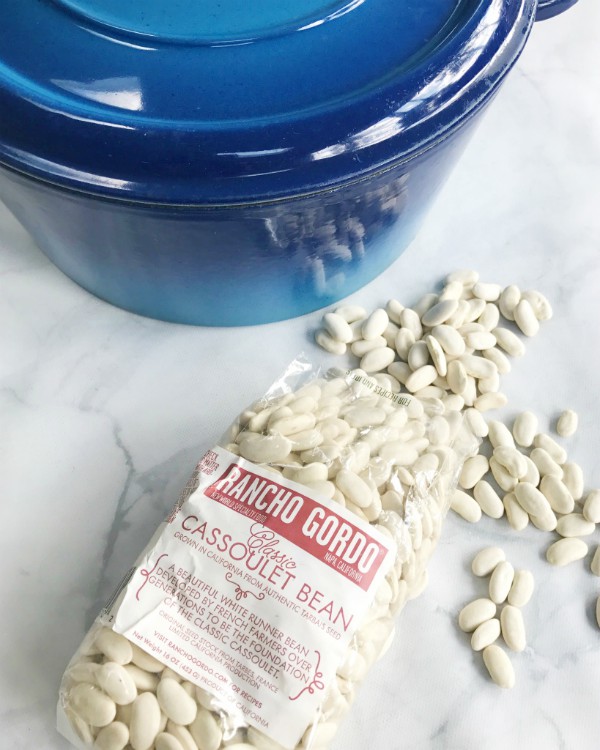
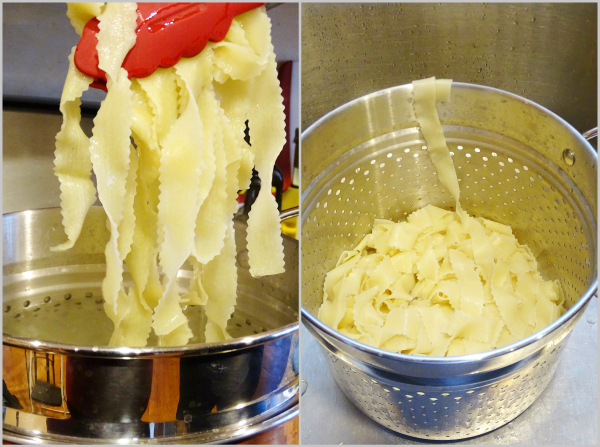
I have to admit I don’t often cook with dried beans, I like the convenience of canned beans and they taste pretty good. But after making this dish I realized that there is absolutely no comparison to the taste and texture of cooked dried beans to canned.
Even though you could make this dish with canned beans I HIGHLY recommend you go through the process of making them from scratch. Dried beans are readily available but this specific brand, Rancho Gordo might not be so easy to find, especially this type of bean, so I would suggest to order them directly from their website ( and I’m not getting paid to say that). 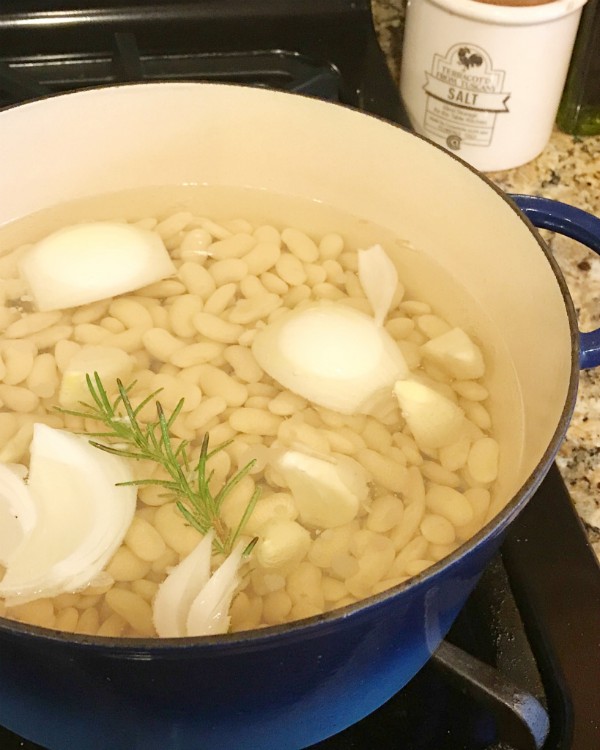
I went with the quick soak method, it helps the beans to cook faster. I also love adding aromatics after they’ve been soaking and ready to simmer, the beans really do take on the flavor and makes them taste even more delicious.
The cooked beans will get tossed in at the last ten minutes of cooking, just enough time to soak up all that luscious tasting juice!
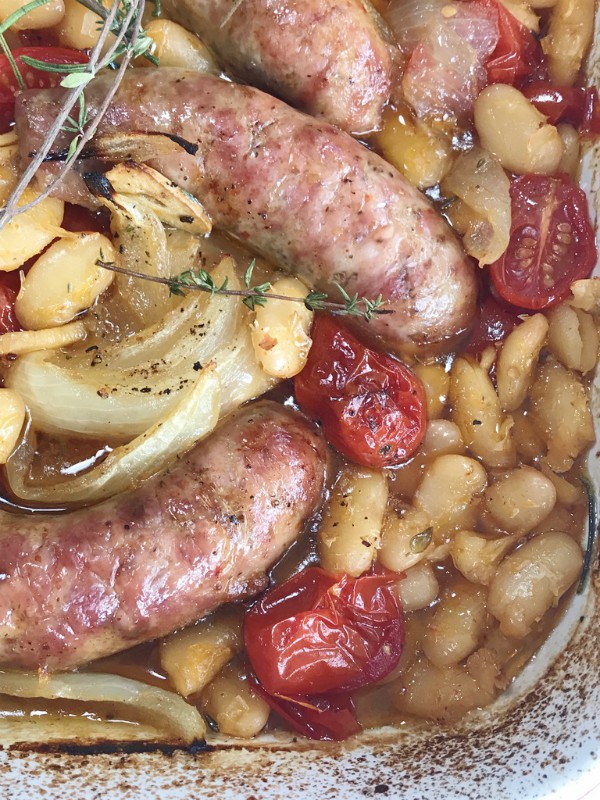
It’s hearty, packed with flavor, simple and rustic and the perfect meal to make when there’s a chill in the air, you will love this!
Follow me on Instagram to see what else I’m cooking up during the week.
- 1½ lb. Italian sausage with fennel seed or 6 nice size pieces
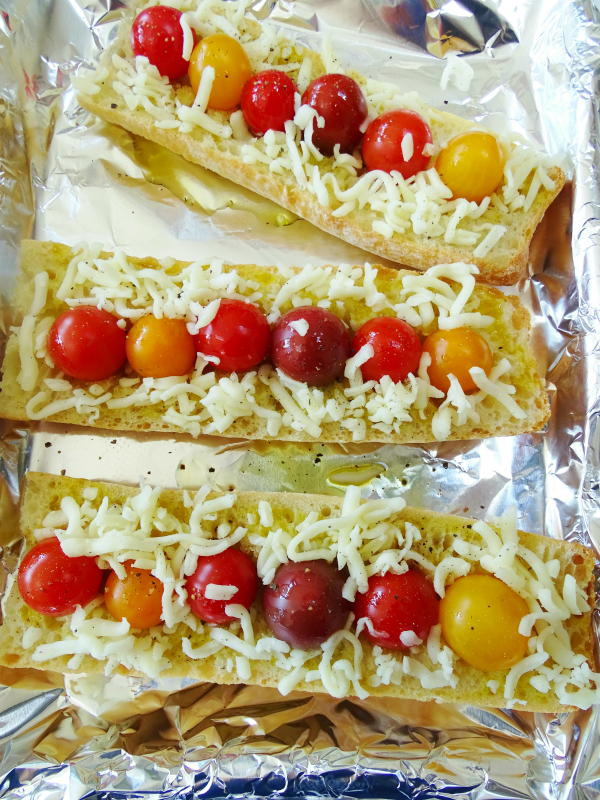
- 3 pints cherry tomatoes
- 1 medium onion cut into large chunks
- 4 large garlic cloves, sliced
- olive oil
- thyme and rosemary
- 4 cups of cooked dried beans preferred, or optional, canned beans
- 1 lb. of dried beans, either cassoulet or cannellini
- aromatics for beans to simmer in, such as onion, garlic and herbs
- PREPARE BEANS, doing the the quick soak method.
- Rinse beans well and pick out any bad ones.
- Place them into a large pot and cover them with water three inches above the beans.
- Bring beans to a boil, turn off the flame and cover them and let them sit for 2 hours.
- After 2 hours you will see they have doubled in size, drain the water, return them to the pot and cover with water again.
- Add 3 whole garlic cloves, chunks of onion and a sprig of rosemary or thyme and simmer medium low for at least an hour but check for doneness, they should be tender and creamy.
- Add salt to taste after they're cooked.
- You'll have extra, but save and use for other recipes, (you won't regret it!)
- FOR THE CASSOULET
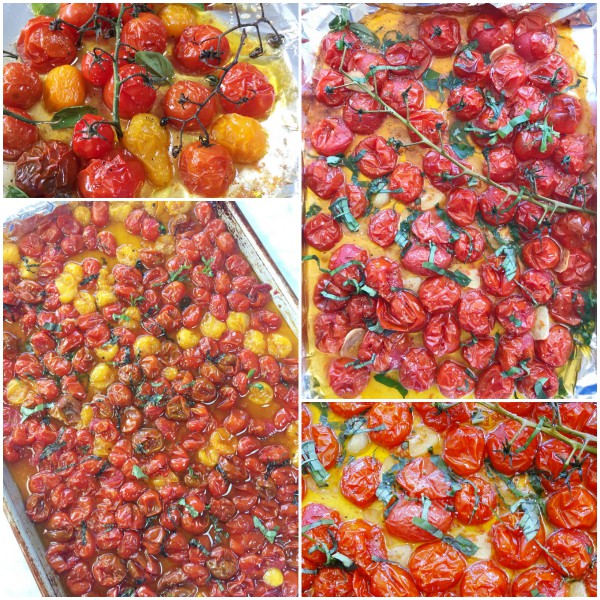
- Heat oven to 425F.
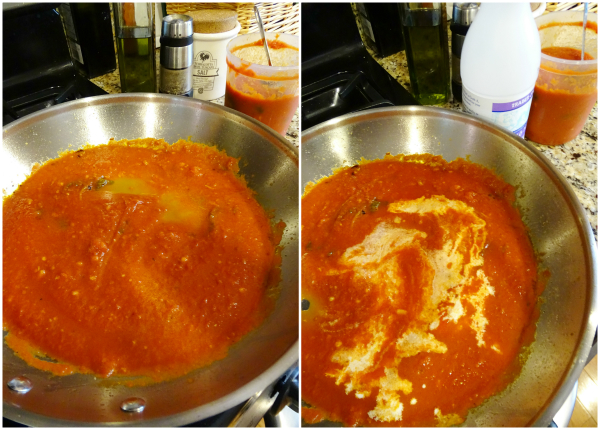
- In a deep baking dish drizzle the bottom with olive oil all over. Add the tomatoes, (whole), sliced garlic, onion and herbs, salt and pepper to taste.
- Nestle in your uncooked Italian sausage all around.
- Roast until sausages have a deep brown color and the tomatoes have released their juices and thickened up a bit, around 45 minutes.
- Remove the pan from the oven and stir in your cooked beans (without liquid) drizzle more olive oil on top and continue to roast for 10 more minutes until nicely heated through.
- Freshen up your herbs.
- Enjoy!


 I’m Marie, a wife, mother, mother-in-law, and gramma of two beautiful girls. My passion is food, clear and simple but especially Italian food, hence the name of my blog, Proud Italian Cook. I want you to feel right at home here so grab a cup of coffee, I’ll get the pastries, take a look around and enjoy your visit! {


