 This is the time of year I love making ravioli just before Thanksgiving, it’s tradition in my house. I remember as a kid white sheets on top of tables all over our house that were filled with ravioli made together by my mother and aunt. I have their recipe and I hold it near and dear to my heart.
They always made two different kinds of ravioli, meat and cheese and that’s what I make to this very day, and I have to say that their recipe never ever fails me.
Although I like to use different fillings and be adventurous now and then, when I’m with my family and cousins on my side it’s tradition that we use their special recipe which stirs up great memories for all of us.
I’ve learned a lot of tips and tricks over the years, many I have shared on this blog, like how to make ravioli for a crowd (and not lose your mind!) It’s not as hard as you think especially if you have a few family members helping you make them ahead of time, plus it’s lots of fun and you’ll be creating wonderful memories together.
 I’m all about being organized and having everything prepped. I like to make the dough the night before, for 400 ravioli that’s around ten batches of dough, if I’m making 200, five batches of dough. Sometimes I’ll get up early and make all the dough in the morning but I’m not much of an early bird I work better at night.
The dough must always be covered and resting at room temperature so if they were stored in the fridge overnight you have to take them out and let them warm up, the dough will be more pliable and easier to work with.
I always make my dough in the food processor, it’s so fast and works like a charm every time. Making the dough in a well is not for me, especially for large amounts, I was taught that way but I’m all about the food processor method now.
 They also rolled out their ravioli by hand with a rolling pin and crimped each and everyone with a fork, I did that too back in the day but times have changed.
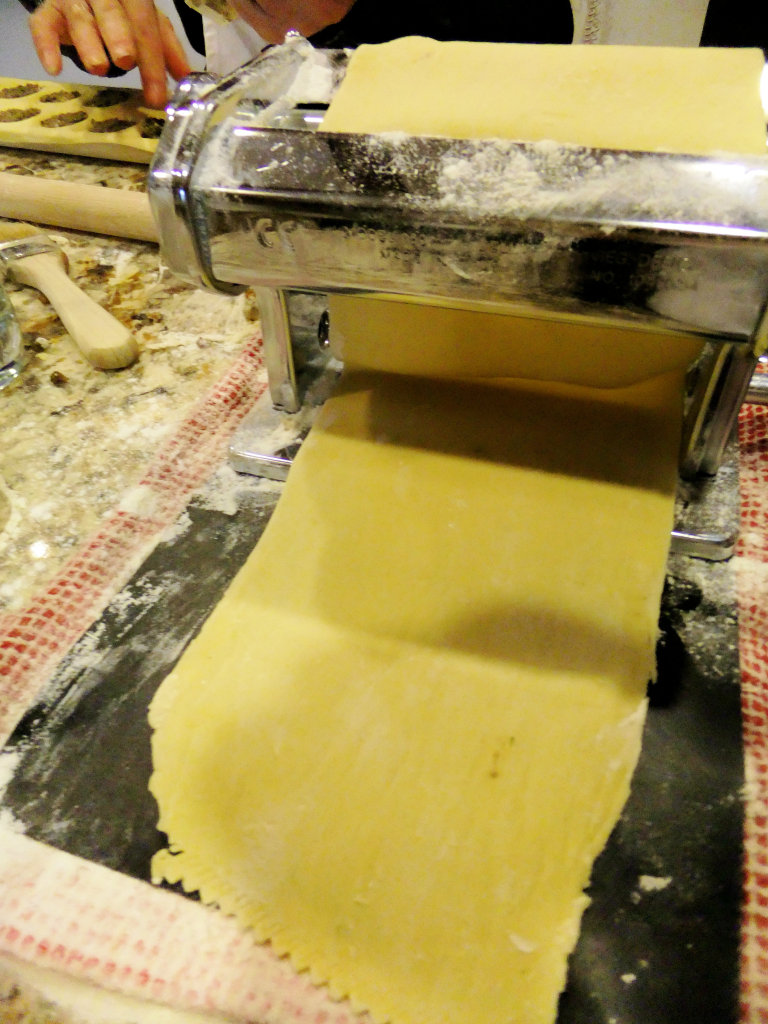
As the years went by I graduated to a pretty red pasta machine and I also use ravioli forms, the forms allow the ravioli to come out uniform in size, and I rarely have any breakage when boiling.
When I first started making ravioli as a young wife they would be crazy looking, some were long rectangles, short rectangles, big squares, short squares, thick dough, thin dough, not enough filling, air pockets all over, and many would break open when boiling, thank goodness I found the right tools!

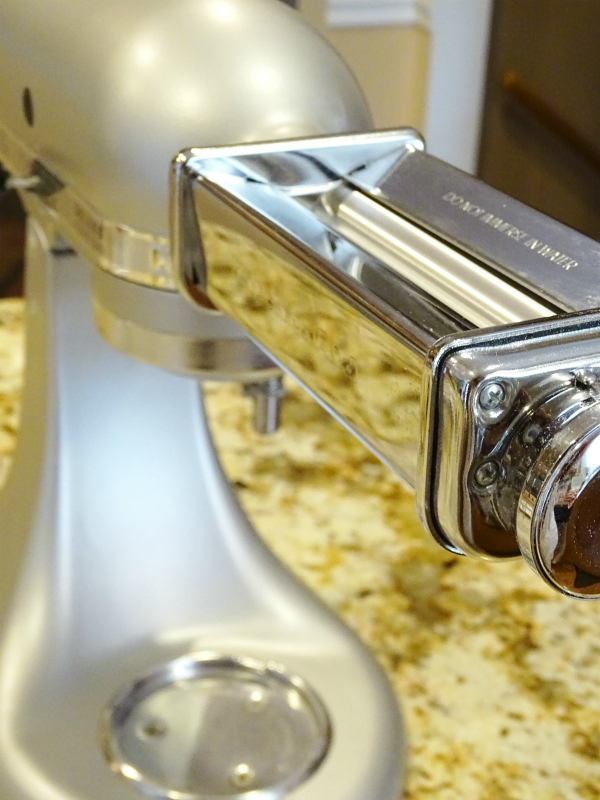 But now fast forward to 2016 I discovered something even better and I don’t think I’ll ever go back to my pretty red crank style pasta roller, I’ll have to pass it down as a family heirloom because I now have a new and powerful friend, my Kitchen Aid pasta attachment!
Well it’s not really new, I bought it a couple of years ago but never used it, I think I was afraid it wouldn’t give me the same results as my oldie but goodie crank style. The brand new and never used attachment was sitting in a box in my pantry for so long that I had to Google how to properly place it on the machine and use it.
You don’t realize how fatiguing it is to crank out 400 ravioli, when making so many we would take turns, but it’s a breeze with the pasta attachment because the machine does all the work for you, the power of that motor makes the most uniform dough, always consistent and smooth as silk, plus there’s a bonus, you’ll have both of your hands free and you won’t feel tired at all.
It’s amazing and I highly recommend it if you like to make a lot of fresh pasta, and I’m not being compensated to say it!
 This past weekend I made 200 ravioli by myself and I wasn’t the least bit tired, I could have made another 100, no problem, the pasta attachment changed my life!
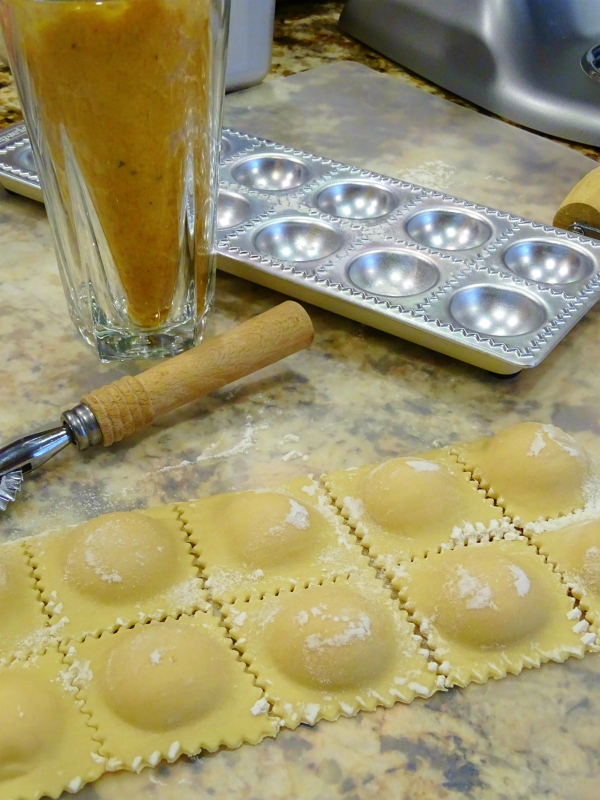
I prepped the fillings the night before because it’s a little time consuming and I like to get that out of the way. I made cheese, meat and butternut squash filling. I also love using piping bags for a more clean and efficient way of filling the ravioli forms, works like a charm and it’s much, much neater than using a spoon.
The forms have to be well floured all over including the zig zags before placing the dough on top, dusting them with flour will help them to seal and fall out of the forms without getting stuck.
 At this point you can also brush some water lightly all around the edges then the top layer of dough goes on. I use a small rolling pin and roll over all the zig zag lines and the surface of the dough, that will also help in getting the filling down into the holes.
 When it’s time to release the ravioli I turn the whole form upside down and grab a corner with my two fingers tugging a bit until the ravioli just fall out onto your work surface.

 Then I’ll use a pasta crimper shown above, and score it through the zig zag lines which helps them come apart easy, one score usually does it.
 I always freeze mine by taking a cookie sheet, lining it with parchment paper and placing the ravioli single layer, never on top of each other or touching. When the pan is filled up I’ll put another piece of parchment on top then stick the whole pan in the freezer.
Meat ravioli usually take around a half hour to freeze, when they’re all frozen I’ll place them into freezer bags and they won’t stick together at all, you’ll be able to take out as many as needed.
 Butternut squash as well as the cheese filling will take a good hour to freeze because of the softer and wetter filling.

 Be sure to mark your bags!
Keep in mind you don’t have to make as many as I did, I don’t want to scare you off from doing this but if you’re going to embark on this adventure you might as well go big!
They taste at optimum freshness and flavor for at least four months in the freezer, so you have plenty of time to make them before a big event.
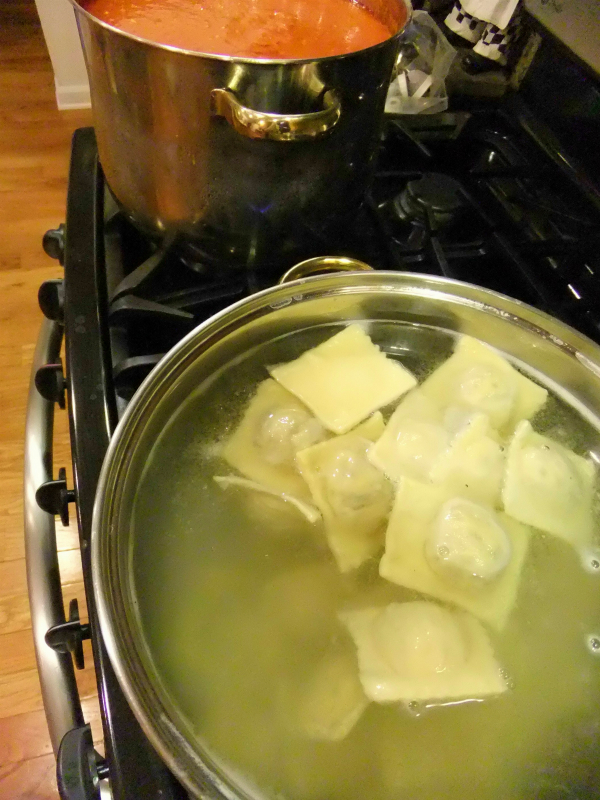
Like I said I have some other good tips and tricks in my archives here and here. In those posts and the other link above I”ll give you a visual on how I did it for a crowd, how much sauce to make for 400, the shallow disposable pans I used and of course pictures of the cooked ravioli.
I hope you give this a try someday, there’s nothing like homemade ravioli and just think of the fun memories you’ll be making!
Recipe is upon request, just send me an email.
You can also follow Proud Italian Cook on Instagram to see what else I’m cooking up during the week and especially all through the holidays.


 I’m Marie, a wife, mother, mother-in-law, and gramma of two beautiful girls. My passion is food, clear and simple but especially Italian food, hence the name of my blog, Proud Italian Cook. I want you to feel right at home here so grab a cup of coffee, I’ll get the pastries, take a look around and enjoy your visit! {


