Italian Anisette Cookies for Christmas

anise cookies

Sweet childhood memories seem to come up often when people see these Italian Anisette cookies on a platter at Christmas. These cookies are inspired by my mother in law who made them every year for her family. Just the scent of them baking brings back warm memories.

baking cookies

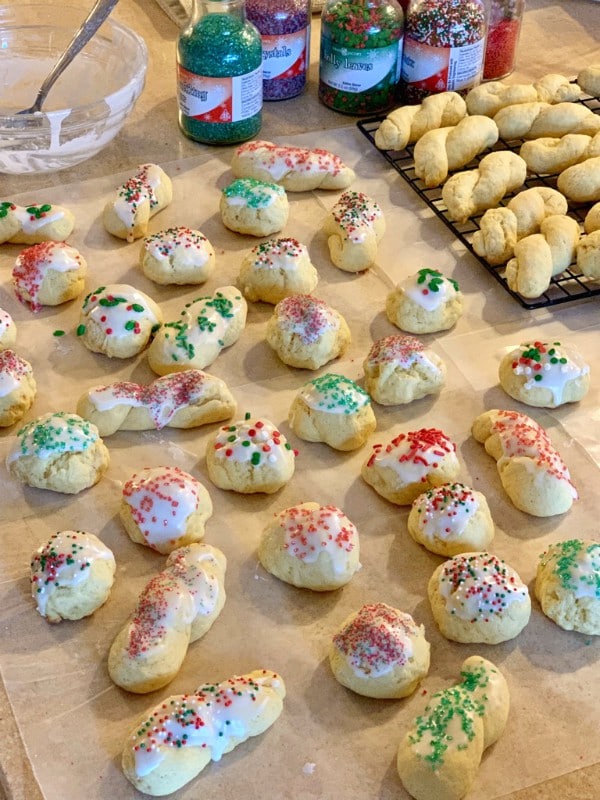
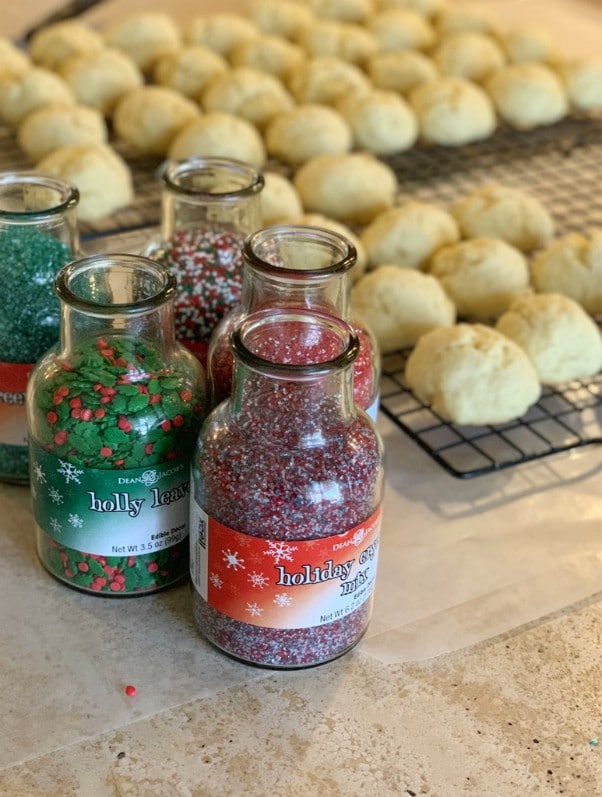
Anisette cookies have a soft interior with a warm licorice-like flavor of anise. You can form the dough into balls, braided knots and even rings. The shiny frosting can also be flavored with a little anise and then sprinkled with your favorite nonpareils. You can definitely have fun with all the different holiday sprinkles that are available this time of year to make them look very festive.

frosting cookies

These cookies will stay light in color when baked but have a nice golden brown bottom with some characteristic cracks on top.

anisette cookiesanise cookies

This recipe is adapted from the Cooking with Nonna website, sadly none of my husbands family had a complete recipe of their moms cookies but I knew this would be as close to hers as any, and it was.

I doubled the recipe because you’ll want to make a bunch like I did and I changed up the way the cookie gets mixed because it was one less step for my lazy self, and I’m happy to say it all worked out!

xmas cookies

Placed on a pretty platter these anisette cookies scream Christmas!

christmas cookies

They’re simple to make and the perfect addition to your holiday cookie trays.

Christmas cookies

Grab a cup of coffee, tea or espresso and enjoy this Italian cookie classic this holiday season, you still have plenty of time to make them!

5.0 from 1 reviews
Italian Anisette Cookies for Christmas
 
Adapted from The Cooking with Nonna website.
Author:
Ingredients
  • COOKIE DOUGH
  • 5 cups all purpose flour, un-bleached
  • 6 large eggs
  • 2 cups confectioner's sugar
  • 1 cup unsalted butter, softened
  • 2 tablespoons plus 1 teaspoon baking powder
  • 2 tablespoons anise extract
  • 1 tablespoon vanilla extract
  • pinch of salt
  • ICING
  • 3 cups, confectioner's sugar
  • 6 tablespoons half and half or cream, adjusting if you need a little more or less. Icing should have a nice flow when stirring it with a little thickness but not runny
  • 1 teaspoon anise extract ( or if you prefer another extract like lemon, almond or orange)
  • nonpareils for decorating
Instructions
  1. Preheat oven to 350 degrees and place parchment paper onto rimmed baking sheets.
  2. In a separate bowl add the flour, baking powder and salt and whisk until incorporated.
  3. In a large mixing bowl with your electric hand or stand mixer (preferably a stand mixer with paddle) add the softened butter and confectioners sugar, beat on medium speed until well combined.
  4. Add the eggs one at a time along with the extracts, beating until all is incorporated.
  5. Lower the speed and add in all your dry ingredients a cup at a time, dough ball will form and pull away from side, the dough will be sticky.
  6. Form your balls either from a rounded teaspoon or a small cookie scoop which I used. Remember you can roll your dough and form them into a knot or a ring if you like as well.
  7. Keep them 2 inches apart on the lined baking sheet and pop them in the oven for 12 minutes total, bottoms will be golden and tops still pale with some cracks.
  8. Transfer to a wire rack to cool completely.
  9. MAKING THE ICING
  10. Stir together in a bowl the confectioners sugar, extract and half and half.
  11. Dip or brush the tops of the cookies into the icing then immediately add your sprinkles ( over a bowl so they don't fly all over your kitchen).
  12. Let the icing dry completely on a rack before you store the cookies away.
  13. NOTE;
  14. You can bake these ahead of time and freeze if you don't frost them, I would recommend frosting them just a day or two ahead before you'll be serving them, otherwise the frosting won't look as nice and fresh.

 

Signature

Triple Zested Ricotta Cookies

triple zested ricotta cookies

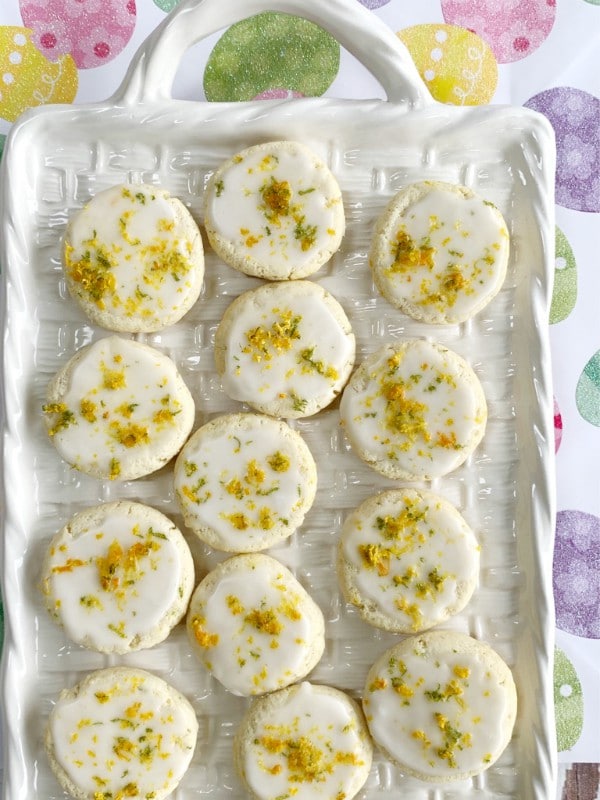
Zesty and soft with a cake like texture these triple zested ricotta cookies will be your new favorite. What I love about ricotta cookies is that you can adapt them to any holiday or special occasion by changing up the frosting and sprinkles, but in general most ricotta cookies are lemon flavored.

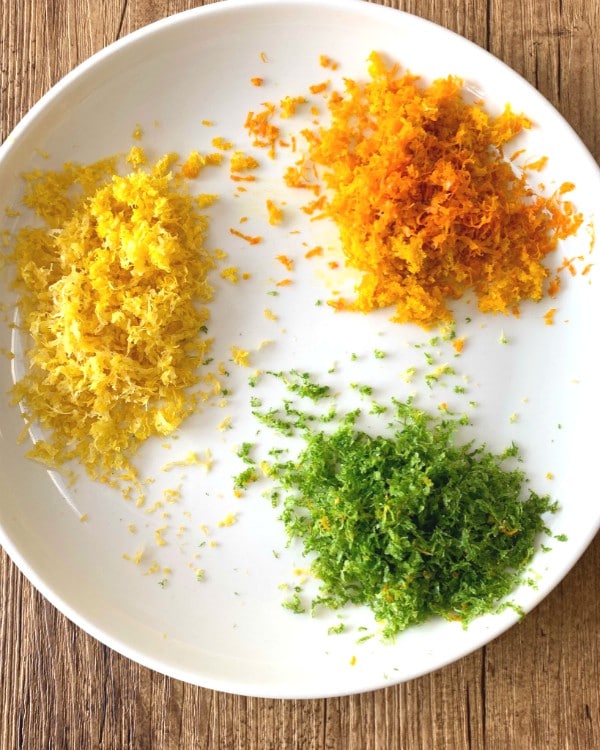
This version has a little twist to it, they’re infused with the brightness of lemon, lime and orange zest inside and out, so they’re perfect to serve for your spring and summer parties as well as the Easter holiday which is right around the corner.

citrus zest

There’s nothing like the smell of freshly zested citrus, it screams springtime to me which is very welcoming after a long cold winter.

ricotta cookies

Ricotta cookies are surprisingly easy to make, not a lot of ingredients either which is a good thing, and everyone seems to gobble them up when they’re sitting out on a platter, they’re just irresistible!

triple zested ricotta cookies

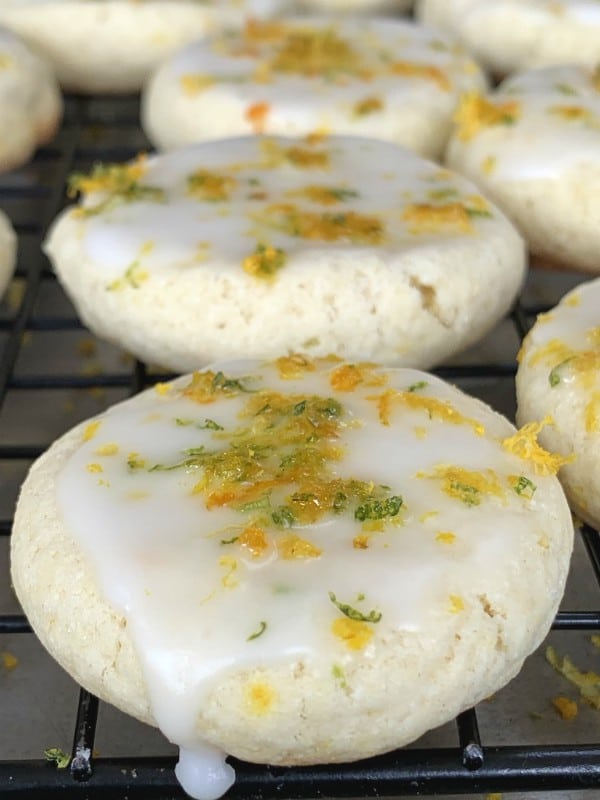
With each bite you’ll taste a rich burst of citrus flavor because the zest is in the dough as well as the frosting which gets brushed on top.

NOTE;   My only advice would be to let the zest for the frosting dry out a bit, it works better, tastes better and frosts better.


triple zested ricotta cookiestriple zested ricotta cookies

Think wedding and baby showers, Mother’s Day, graduations, picnics, family gatherings and holidays, these ricotta cookies will fit right in for those special occasions.

triple zested ricotta cookiestriple zested ricotta cookies

I would say that these triple zested ricotta cookies are destined to become your new favorite cookie once you try them!

Follow me on Instagram to see what else I’m cooking up during the week.

5.0 from 3 reviews
Triple Zested Ricotta Cookies
 
Author:
Ingredients
  • orange, lime and lemon zest about 2 tablespoons each let the zest dry out a bit
  • 1 cup, ricotta (dry and drained of moisture. Instead of deli style look for a good brand that's packed in a container that you can buy in the refrigerated section because they're usually dryer in texture)
  • 1 stick unsalted butter, room temperature
  • 1 cup sugar
  • 1 large egg
  • 1 teaspoon vanilla
  • pinch of salt
  • 2 cups all purpose flour
  • ½ teaspoon baking soda
  • FROSTING
  • lemon juice
  • 1 cup, powdered sugar
Instructions
  1. Mix the zest together.
  2. Heat oven to 350F. and line a baking sheet with parchment.
  3. In a large bowl add the ricotta, softened butter, sugar, vanilla, salt and egg, mix them together on low speed until incorporated.
  4. In a smaller bowl add the flour and baking soda, use a whisk and incorporate by hand.
  5. Now on low speed add the flour mixture to the ricotta mixture making sure all is incorporated.
  6. Add in 1 tablespoon of the zest to the mixture and blend til it's throughout the dough.
  7. Take a teaspoon size piece of dough and roll it into a ball like a meatball and place onto the parchment lined baking sheet.
  8. Bake for ten minutes on lower rack then pull them out of the oven and take the back side of a flat spatula and gently press down on the tops, this is not necessary but my preference because it gives a nice surface for the frosting.
  9. Then place them back into the oven on the upper rack for 3 more minutes, make sure bottoms are nicely golden.
  10. Take them out and let them cool completely on a rack before frosting.
  11. FROSTING
  12. Mix the powdered sugar with lemon juice until you have the right consistency then take a pastry brush and brush each cookie one by one with the frosting, then sprinkle a pinch of the tripled zests that you dried up a bit and mixed together on the tops of each cookie. Repeat until they're all frosted, one by one.
  13. Let them set for a couple of hours so frosting can dry, store in an airtight container between waxed paper. You can also freeze them, this recipe makes around 30 cookies.
  14. Feel free to double or triple the recipe!


Signature

Homemade Cucidati a Sicilian Fig Cookie Tradition

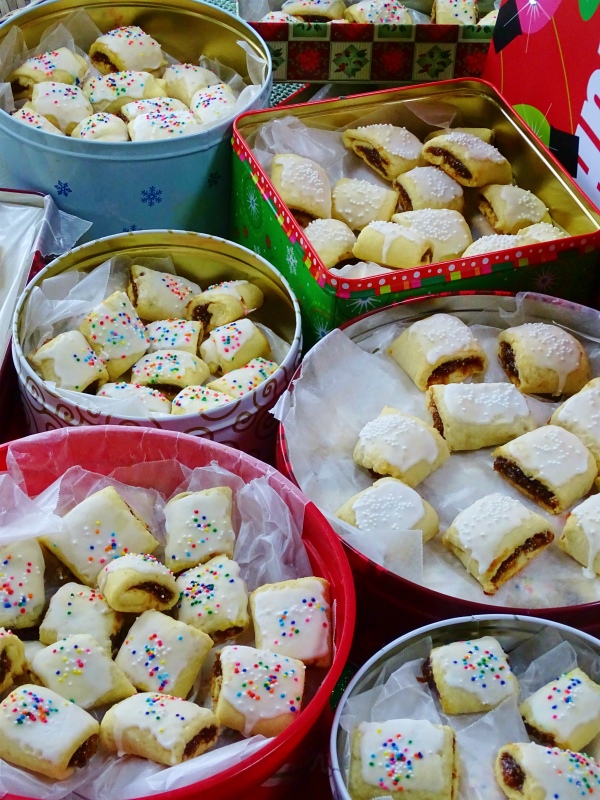
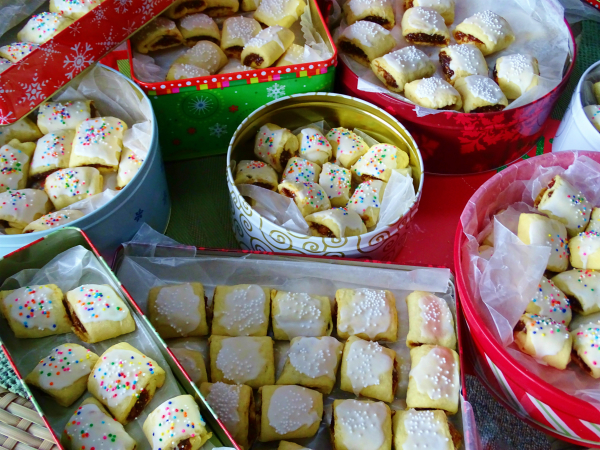
cucidati fig cookies When I think of holiday baking the first cookie that comes to my mind is cucidati, a Sicilian fig cookie filled with a mixture of nuts, dates, figs, raisins, spices and a few different flavorings and all that goodness is wrapped in a tender buttery dough that’s baked, frosted and sprinkled.

In my family this is a cookie that has memories attached to it, just the smells alone evoke fond thoughts of a mother long gone who lovingly made these for her family throughout their childhood for special occasions and holidays.

It’s about wanting to keep up that tradition and then handing it down to generation after generation.

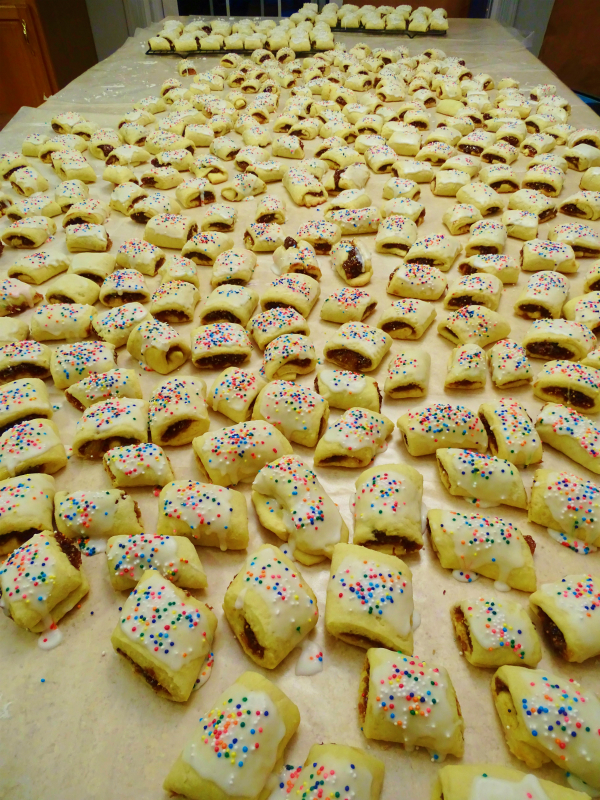
cucidati Italian fig cookies So for that reason when I make them I go big and it’s a family affair. We start early in the morning and it becomes a whole day of baking. I think the most we made in a one day was 600.

Every one brings their own containers to take their cookies home, many will be gifted out to other family members and friends who look forward to our baking lollapalooza.

I like finding different tins to put them in and I always layer the cookies between wax paper.

fig paste

We have it down to a science now and everyone has their own jobs to do that they’re comfortable with, from making the filling, rolling the cookies, watching the oven, frosting them and adding the sprinkles. I always prep the dough the night before so that job is out of the way, I make at least ten batches.

cucidati Italian fig cookies I line my dining room table with sheets of wax paper and by the time we’re finished every inch gets covered and then some!

cucidati Italian fig cookies The one rule we have is that no one takes any home until the frosting has completely hardened, otherwise they’ll just get ruined when you’re packing them up.

cucidati Italian fig cookies

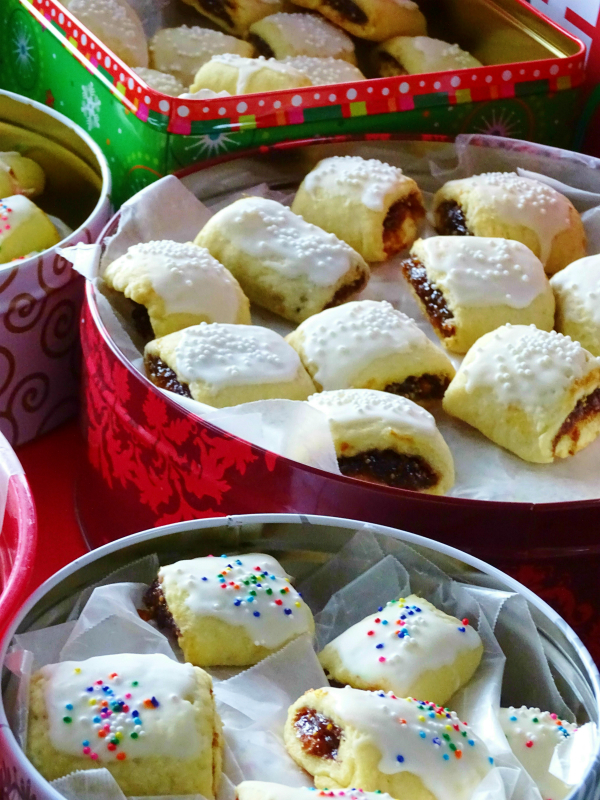
We even made some with white on white for a more classic look, wouldn’t these would look nice set out at an Italian wedding?

cucidati Italian fig cookiescucidati Italian fig cookies The smell of them baking lasted for days in my house!

cucidati Italian fig cookies

Because of the overwhelming requests for this recipe, I’ve posted it below along with all my tips.

Happy Baking! 

CUCIDATI

The Dough
TIP: (My handed down family recipe used Crisco because that was very common then, but today all I use is butter in the dough and we like it so much better!)
 4 cups all-purpose flour
 2/3 cup sugar
 1 teaspoon baking powder
 1 teaspoon salt
 8 ounces cold unsalted butter or 2 sticks, cut into pieces
 4 large eggs
Put flour, sugar, baking powder, and salt in a food processor fitted with the metal blade; pulse just to mix. Add the butter pieces and pulse. Add eggs and pulse until dough forms a ball on the blade. Remove from processor and knead briefly on a lightly floured work surface until smooth. Shape dough into a log shape and wrap in plastic and put into fridge overnight or use after it chills well.

TIP:(It’s great to work with when it’s chilled, if you leave it on the counter which I’ve done in the past the butter warms up and rolling it is a nightmare of stickiness, so take out one batch at a time. You might have to whack it with the rolling pin to break it down a bit but believe me it works and rolls much better. Making the dough ahead is especially good when making large amounts like I do, plus it will free up your food processor for the filling.
The Filling
 One 12-ounce package dried Calimyrna or Mission figs, snip off the hard end of stem
 ½ cup of dates, remove pits
 1/2 cup un-blanched almonds, toasted and coarsely chopped
 1/3 cup apricot preserves or orange marmalade
 ½ cup plump golden raisins
 1/4 cup candied orange peel, diced ( you can find this on line if you can’t find it in the baking isle, or just used grated orange peel and more marmalade, but I love this addition)
 1/3 cup of honey if you want it sweeter
 1/4 cup dark rum or whiskey
 1 teaspoon cinnamon
 TIP: ( My advice is to taste as you go along maybe adding more or less of the ingredients, my favorite is using whisky)
Instructions for filling
Remove stems from figs and cut the figs into medium-size dice. Put figs and remaining filling ingredients into the food processor and pulse with the metal blade until finely chopped; if you want to do this the day before go right ahead, it gives the flavors a chance to meld together.
To assemble the cookies
Cut your log of dough into 12 pieces and try to roll it out into a 3” by 12” rectangle. Then take the fig filling and scoop it out or make a fig log right down the middle onto the rectangle of the dough and roll it up placing it seam side down.
Cut cookies into 1 1/2 inch pieces, you can cut them into a square or on an angle, then place the cookies on parchment lined cookie sheets and bake at 350 for 15 minutes, till bottoms are nicely golden.
The Frosting
One whole bag of confectioners’ sugar mixed with milk to get the right consistency, sort of thick, not watery.
Non-perils for sprinkling

This recipe makes 4-5 dozen.
Make icing but don’t ice them until the cookies are completely cool from the oven,(important!) Spread a little icing onto each cookie, I like to use a pastry brush instead of dipping which gives me more control and it controls some of the sweetness because the filling is sweet also, then sprinkle the nonpareils on the top of the wet frosting but over a bowl otherwise you’ll see them all over your floor.

Pack them into tins only when frosting is completely hardened between wax paper layers, I repeat, let them dry completely!!

These can be made ahead of time to freeze but please do not frost then until you’re ready to serve. I don’t freeze mine I store then in the tins like I said between wax paper and keep the tins in a cool place, like my garage.
Happy Holiday Baking!

Follow me on Instagram to see what else I’m cooking up daily in my kitchen!


Signature

Anginetti, Italian Lemon Knot Cookies

anginetti, Italian lemon knots

Iced Italian cookies, lemon drops, lemon knots, wedding knots or anginetti, whatever your family calls them you’ll be sure to find these traditional Italian cookies at many special occasions and holiday cookie trays. Like most Italian cookies the cookie itself is not too sweet, it has a nice moist crumb and by frosting it you’ll get a more intense lemon flavor, which is a good thing!

anginetti, Italian lemon knot cookies

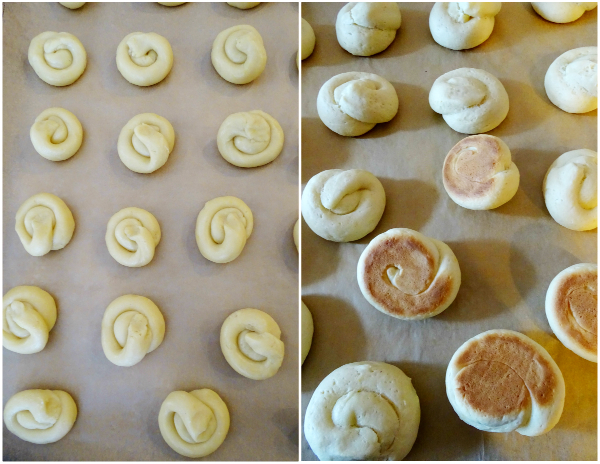
They’re like little puffs, they look the same color from the raw to baked state except they’ll get puffier and golden brown on the bottom.

anginetti, Italian lemon knot cookies

Honestly, there are so many variations to this cookie, just do a Google search and you’ll see what I mean, but the general idea remains the same. In the past I’ve made them with Crisco shortening, that’s what they used back in the day, then I tried some Organic non-hydrogenated vegetable shortening, which quite honestly turned out a little drier, I think if I upped the amount they would have been better, but this time I used all butter.

You’ll also see other flavorings used such as almond and anise as well as different colored frosting’s and sprinkles, but my family always sticks with lemon.

anginetti, Italian lemon knot cookies

Instead of colored sprinkles which I normally use, this time I wanted  to do a white on white look by using tiny white non-parells and white sparkling sugar and a little lemon zest for garnish, but you can just stir some zest into your frosting instead.

Speaking of frosting, this time I tried a limoncello frosting which was very good but the traditional with extract, lemon juice and zest is just as good!

anginetti, Italian lemon knot cookies

It’s time to get baking!

5.0 from 2 reviews
Anginetti, Italian Lemon Knot Cookies
 
A traditional Italian cookie served at holidays and special occasions.
Author:
Ingredients
  • 5 cups of all purpose, unbleached flour
  • 5 teaspoons of baking powder
  • 1 cup sugar
  • 3 eggs
  • one and one half cups of melted butter that has cooled down, not hot. Or you can use a vegetable shortening of your choice
  • 1 cup of milk
  • a pinch of salt
  • zest of 1 lemon for cookie and zest of 1 lemon for icing
  • 1 1oz. bottle of lemon extract
  • sprinkles of your choice
Instructions
  1. If you prefer, dough can be made the day before which makes it nice and chilled to work with, or you can start scooping them right after you make the dough but probably you will have to chill it for a while as you're making the cookies and the dough stays out. I sometimes stick it in the freezer for a few minutes to get it to firm up again.
  2. In a large bowl, cream butter and sugar together until fluffy, add eggs one at a time, then the extract and zest.
  3. In a smaller bowl whisk the flour, salt and baking powder, then slowly add to the creamed mixture alternately with the milk, you might not have to use all the milk.
  4. When everything is incorporated, let the dough rest for 5 minutes or wrap and chill overnight.
  5. Heat oven to 350 degrees. and place cookies on a parchment lined baking sheet.
  6. To form the knots I like to use a cookie scoop so all will be similar in size, then take the scoop of dough and roll it into a log about 5 or 6 inches, it's the length of a bench scraper, that's how I measure mine.
  7. Then take one side of the log and spiral it into a circle, you can tuck the other end down or up, it doesn't matter.
  8. Bake for 12 to 15 minutes according to your oven, mine took exactly 12 minutes, you want the underneath to be golden brown, not dark brown.
  9. Cool on racks.
  10. LIMONCELLO ICING
  11. One and one half cups of powdered sugar
  12. Five tablespoons of limoncello Liqueur
  13. zest of 1 lemon
  14. TRADITIONAL LEMON ICING
  15. One and one half cups of powdered sugar
  16. zest of 1 lemon
  17. One half teaspoon of lemon extract
  18. and lemon juice to get the right consistency.
  19. I always taste my icing to make sure it has the right amount of lemon, you can always add more, and I also like to brush my icing on instead of dipping., personal preference.
  20. After frosting immediately put your sprinkles on and then let the whole cookie dry for about an hour.
  21. You can keep them in tins with wax paper in between, or you can freeze them in an airtight container right after they bake and cool down, then frost them a day or two ahead before you'll be eating them.


Signature

Fig and Pistachio Biscotti

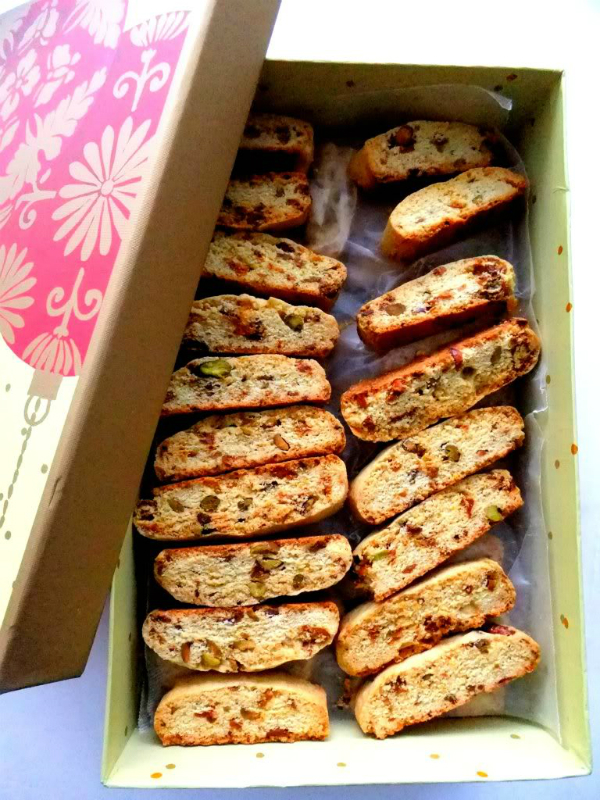
packaged biscottiIt’s that time of year again. and baking is in full force! Are you ready to bake some biscotti? I think you’ll love these fig and pistachio biscotti. The blending of fig with a hint of warm anise and orange makes this biscotti flavor such a winner, not to mention the pistachio nuts!
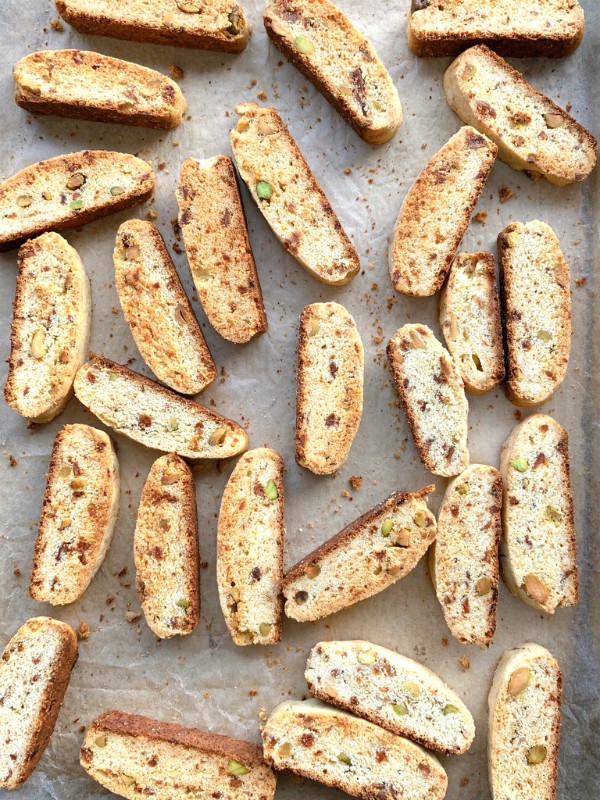
I would encourage you to double or triple the recipe so you can give them out as gifts to friends, family and neighbors.

Biscotti keep very well so you can make them in advance. I like to store mine in boxes or cans with wax paper in between the layers.


baked biscotti
Biscotti are twice baked, crunchy and perfect for those that dip them into coffee, espresso or milk, I’m personally not a dipper, I prefer the crunch all the way!
You’ll love how your house smells when they’re baking, the aroma lingers for days!
chopped figs
Just be sure to pulse your dried figs in a food processor to resemble the size of small peas, and be sure to cut off the hard tips before doing that. Of course you can always chop them up by hand, if you have the patience.
dough log
I like to measure the logs with a ruler, 9×2 inches is what you’re aiming for, but if you like a bigger biscotti size, go for it!
baked biscotti logs
Out of the oven and cooling down!
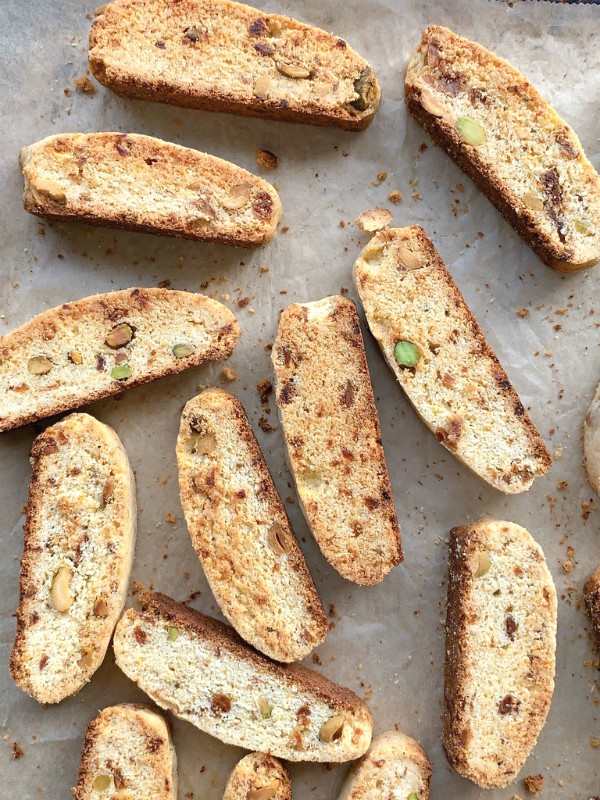
cut biscotti
Twice baked and ready for ( sampling first) boxing up!
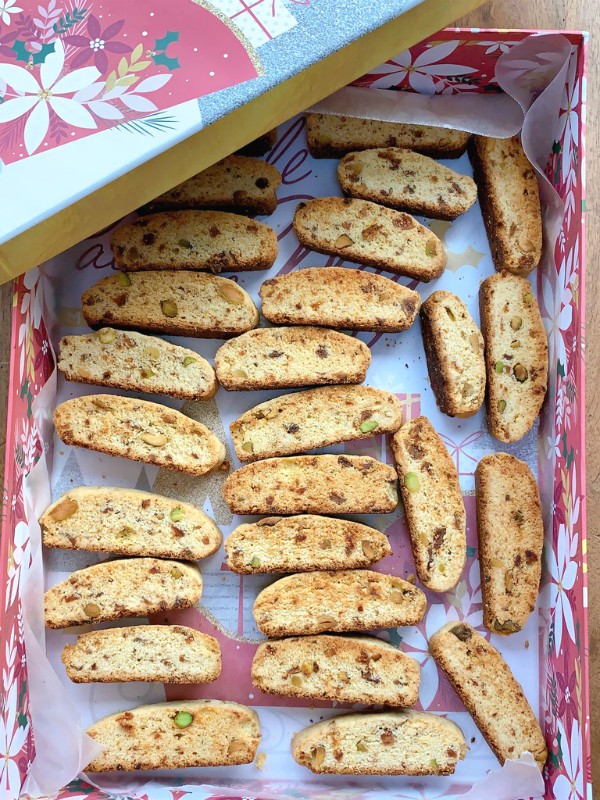
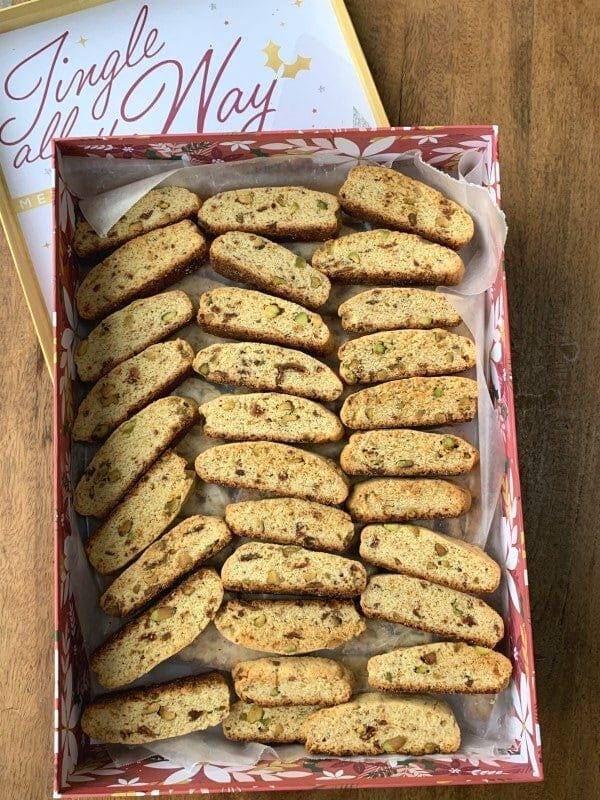
boxed biscotti
There are so many pretty holiday or special occasion boxes, I’m always on the search for them and keep them stashed away.

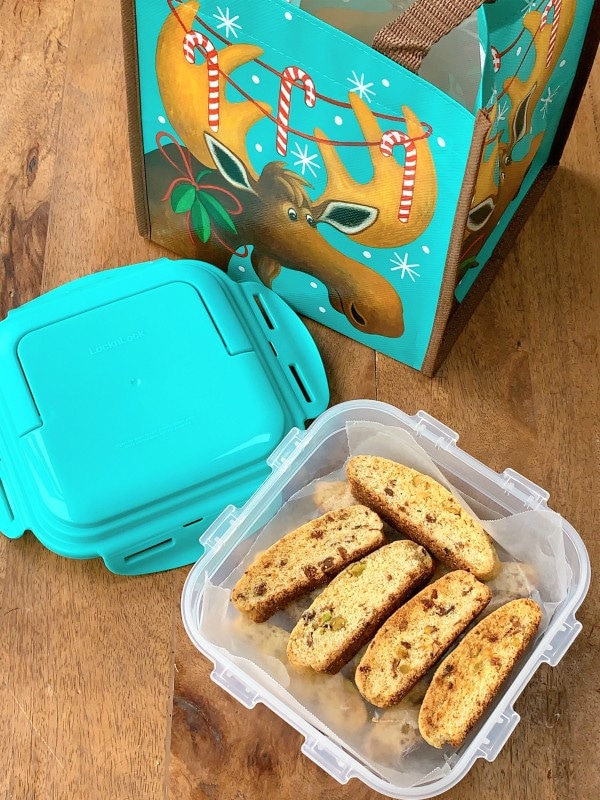
fig and pistachio biscottiedible gift
These smaller containers I thought would be perfect for a neighbor gift this year ( ordered them on QVC) they can keep the container and reusable bag.
I’ll be making my deliveries soon so they can enjoy!

Happy Baking!

4.0 from 1 reviews
Fig and Pistachio Biscotti
 
Author:
Ingredients
  • ½ cup dried figs like kalamata, measured after pulsed in food processor to the size of peas (remove tips of figs before pulsing as they are hard and inedible)
  • 2¼ cups of all purpose flour, unbleached
  • 1½ t. baking powder
  • ¼ t. salt
  • ½ cup unsalted butter, room temp
  • ¾ cup sugar
  • 2 large eggs
  • 1 t. vanilla
  • 1 t. anise extract (NOTE: if using anise oil only use ¼ t. or a tiny bit more if you like it)
  • 1 t. anise seeds
  • 1t. grated orange zest
  • ½ cup shelled pistachios, unsalted
Instructions
  1. Heat oven to 350F
  2. With your mixer beat butter and sugar on medium high until smooth, about 2 minutes.
  3. Add eggs, extract or oil, zest and anise seeds, beat til light and creamy.
  4. Combine dry ingredients in a small bowl and then incorporate into the butter mixture.
  5. Add figs and nuts on low speed til combined.
  6. Place all the finished dough from mixing bowl onto a parchment lined baking sheet.
  7. Form two 9x2 inch logs apart from each other and bake until lightly browned. Watch your oven, mine took less than 25 minutes.
  8. Remove pan from oven and let it cool for 20 minutes, otherwise they will crumble when cut.
  9. Using a serrated knife, take your time and slowly cut logs into ½ inch thick slices.
  10. Arrange biscotti on their sides on the baking sheet.
  11. Return to oven and bake until nicely golden, for around 5-6 minutes, then flip them over and do the other side, another 5-6 minutes or until it reaches the golden color you like. Ovens do vary.
  12. The longer the second bake the crispier they will be.
  13. Cool on rack.
  14. Makes somewhere around 40


Signature

"PUFF COOKIES"

cookies

Ever since I was a kid, these cookies have been known to me as “Puff Cookies”, they were always made for special occasions by my Mom and Aunt Eileen. These cookies are seen in almost every Italian Bakery in my neck of the woods. I’m sure you might recognize them by a different name, such as Crescents, Butter Balls, Italian, and Mexican Wedding cookies and Russian Tea cakes. I’m sure there are many other names, but to me they will always be, Puff Cookies!
Like little puffs of snow, they just melt in your mouth upon impact, they are truly one of my favorites!

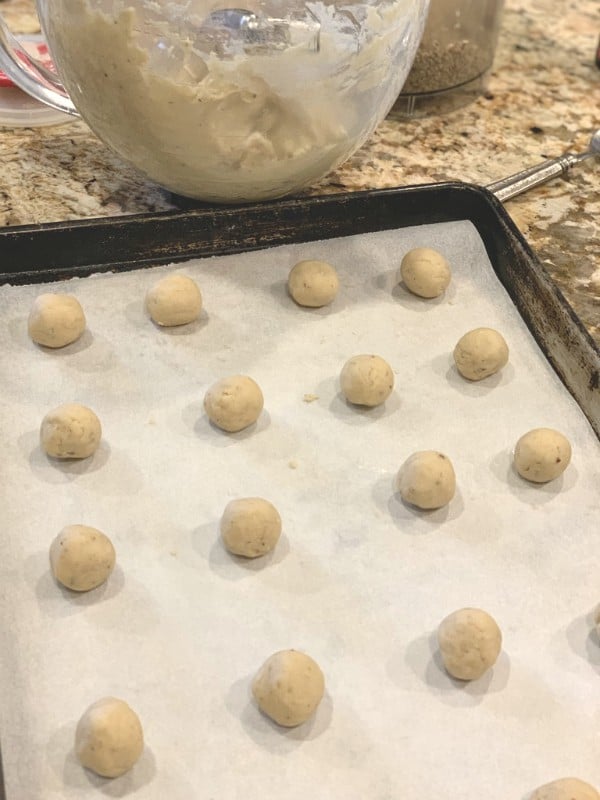
making cookiesMy family never made the crescent shape, ours were always rolled into a ball, placed onto a parchment lined cookie sheet, and then pressed in the middle with your thumb print.

making cookies

The thumbprint creates a nice indention for the powdered sugar to fall into it.

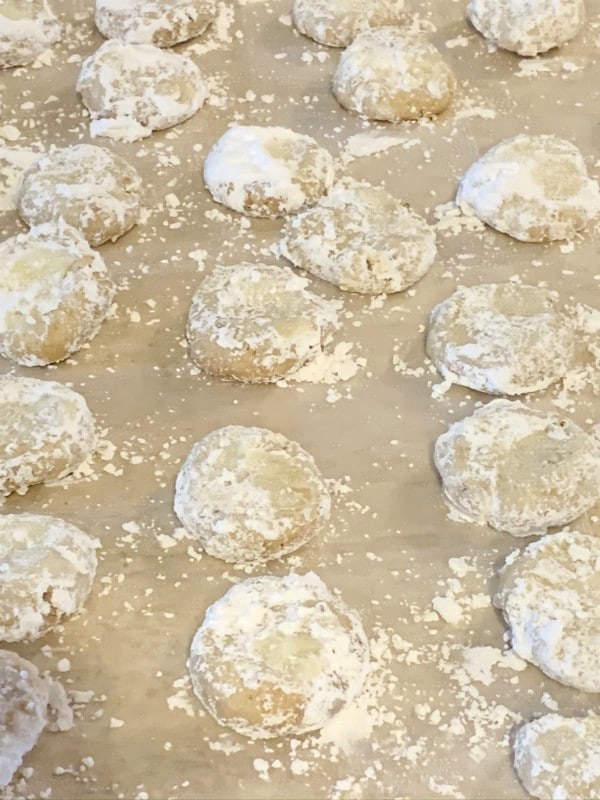
powdered sugar cookies
Right from the oven gently toss the cookies right into the powdered sugar coating them all over.
puff cookies
Place them on waxed paper to finish cooling down.
cookies
They’re hard to resist while laying there cooling off, you might want to give them a taste test. They’re buttery and instantly melt in your mouth!
cookie can
I always make these for the holidays, Thanksgiving, Christmas and any other special occasion in my family, it’s a tradition.
Plus I always make extra so I can pack some up for everyone to enjoy at their home as well.
cookie can
 Some cookies always bring up the best memories, with just one bite it brings you back, these puff cookies do that for me, I hope you give them a try!

This recipe makes quite a bit, I’m sure you could cut everything in half, but why would you? There will be more to share with your family and friends.


5.0 from 1 reviews
"PUFF COOKIES"
 
Author:
Ingredients
  • 1 lb. unsalted butter, room temperature ( very important)
  • 4 cups unbleached flour
  • 2 teaspoons, good vanilla
  • 8 teaspoons sugar (yes that's right just 8 teaspoons)
  • ¾ cup ground pecans ( it's optional but recommended )
  • a bowl of powdered sugar
Instructions
  1. Cream butter in a heavy mixer.
  2. Add sugar and vanilla and mix til fluffy.
  3. Add in flour until well incorporated.
  4. When dough is finished make teaspoon sized balls and place on a parchment lined sheet pan.
  5. Make a thumbprint in each ball.
  6. Bake at 350 for 20 minutes.
  7. Immediately gently roll the baked cookies into the powdered sugar until well coated.
  8. Let them cool completely on wax paper.
  9. Enjoy!
Signature