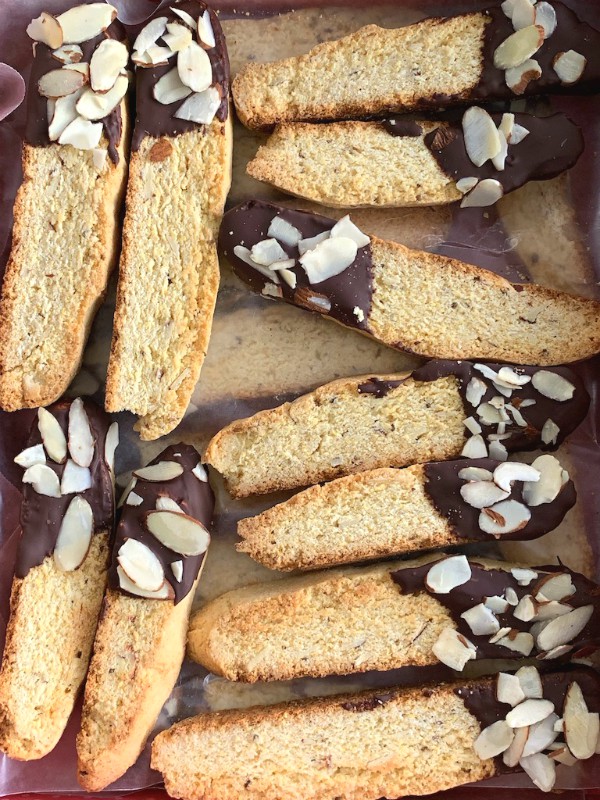
The holiday season is upon us and it’s time to start making some cookies! Each year I love to bake a few different kinds of biscotti, this year these polenta biscotti will make an appearance.
Biscotti are so nice to have around when people stop by to visit, they store very well when baked early on during the holidays and hardly ever lose their crunch factor.
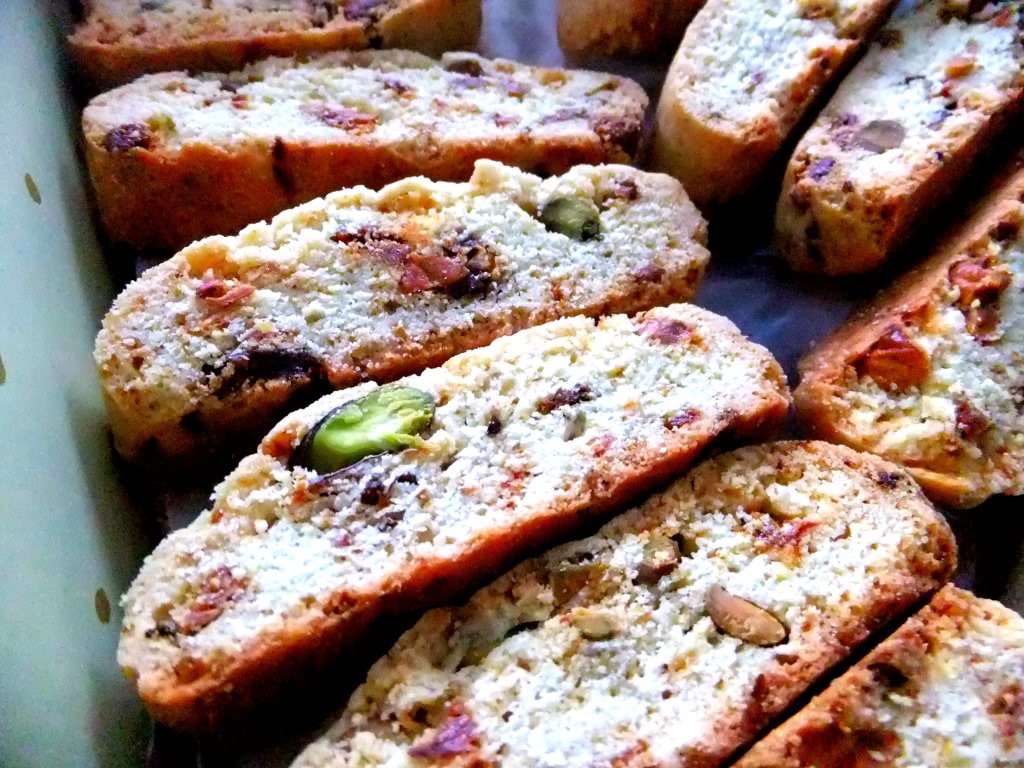
Speaking of crunch factor, these particular biscotti have the addition of fine granules of polenta incorporated into the dough which results in a rustic and crunchy texture.
Almost eleven years ago on this blog I did a post on polenta biscotti but since then I have upgraded both my photos and added a little twist to the original along with more detail for you, so this is my revised version.

As well as the polenta, anise seeds are crucial to this recipe along with a light touch of amaretto liquor which can easily be replaced with almond extract if need be. You can adorn them with dark chocolate or not, but for the holidays and any special occasion or for gifting the dip of chocolate on one end makes for a prettier presentation, and it sure tastes good!

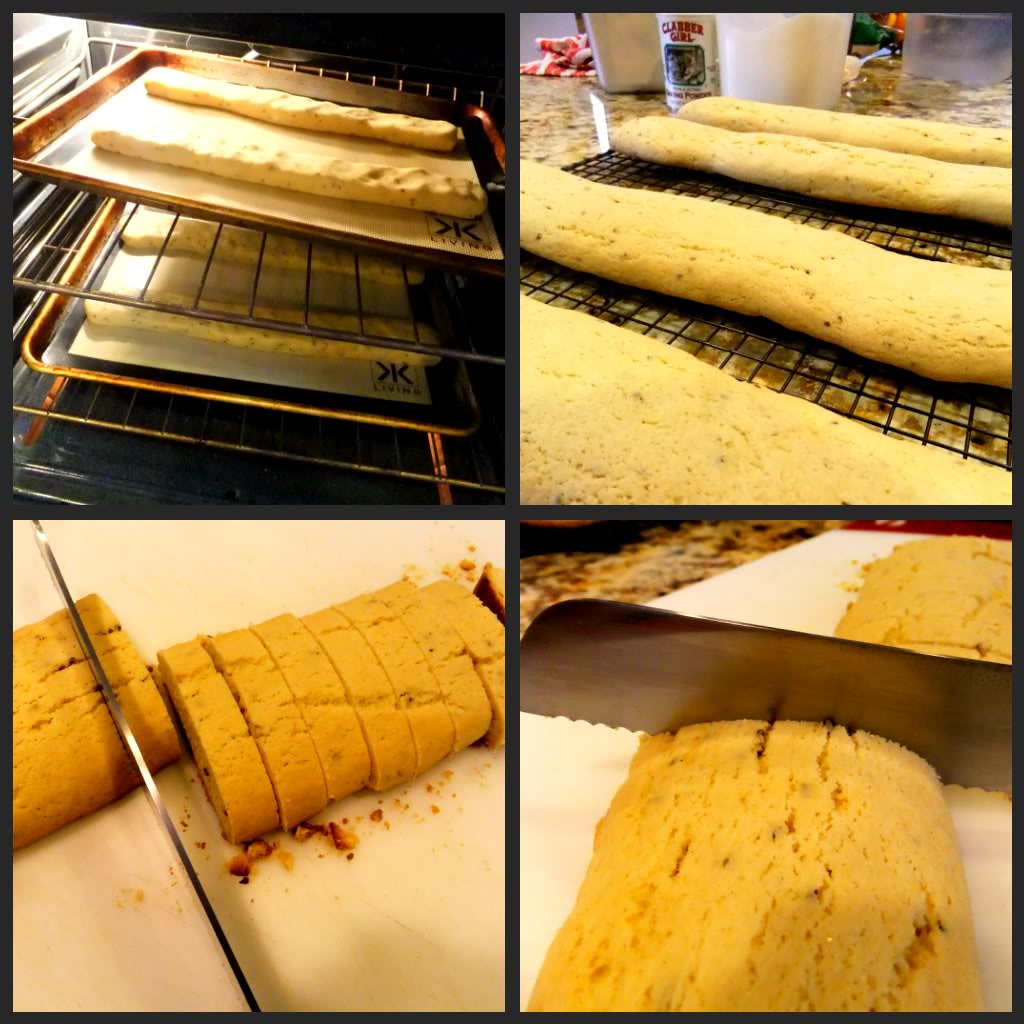
When the logs are finished baking it’s important to let them cool down completely before you slice them for the second baking.
I like slicing them on the diagonal and always use a serrated knife to make clean cuts. Often times I use an old fashioned electric knife that I have and it works wonders for slicing biscotti.

After you’ve baked the individual slices again make sure they are completely cooled before you start to dunk them into the pool of melted chocolate. After dipping just the one end and while the chocolate is still warm, immediately scatter some sliced almonds over the top so they can stick as the chocolate starts to cool.
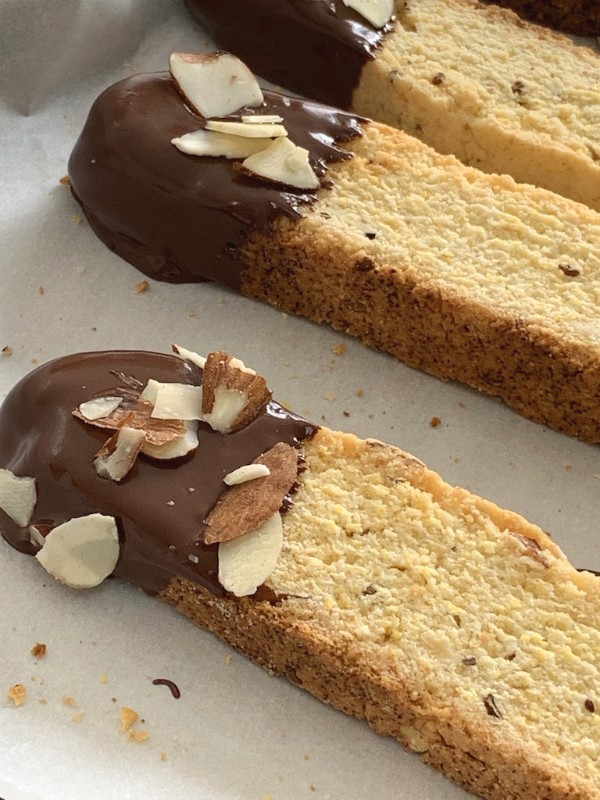
Leave them on parchment then stick them into the fridge for maybe fifteen minutes so the chocolate can set.

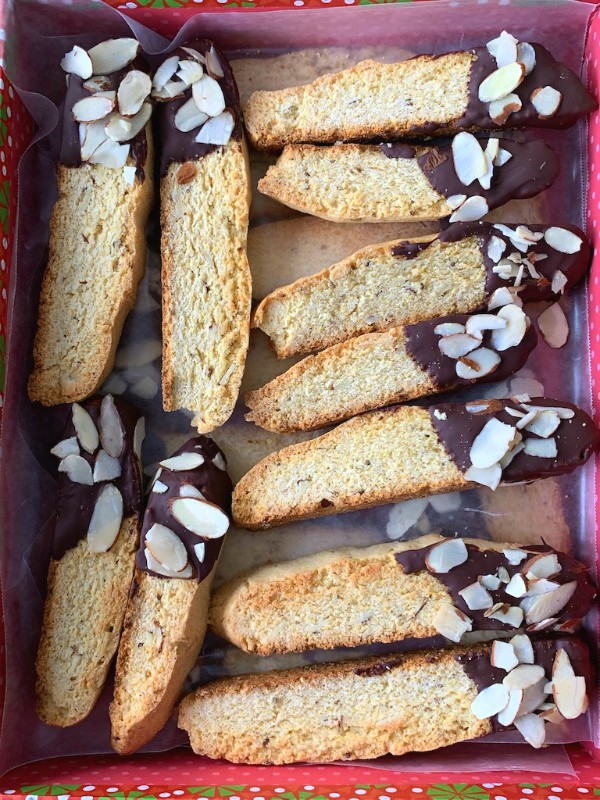
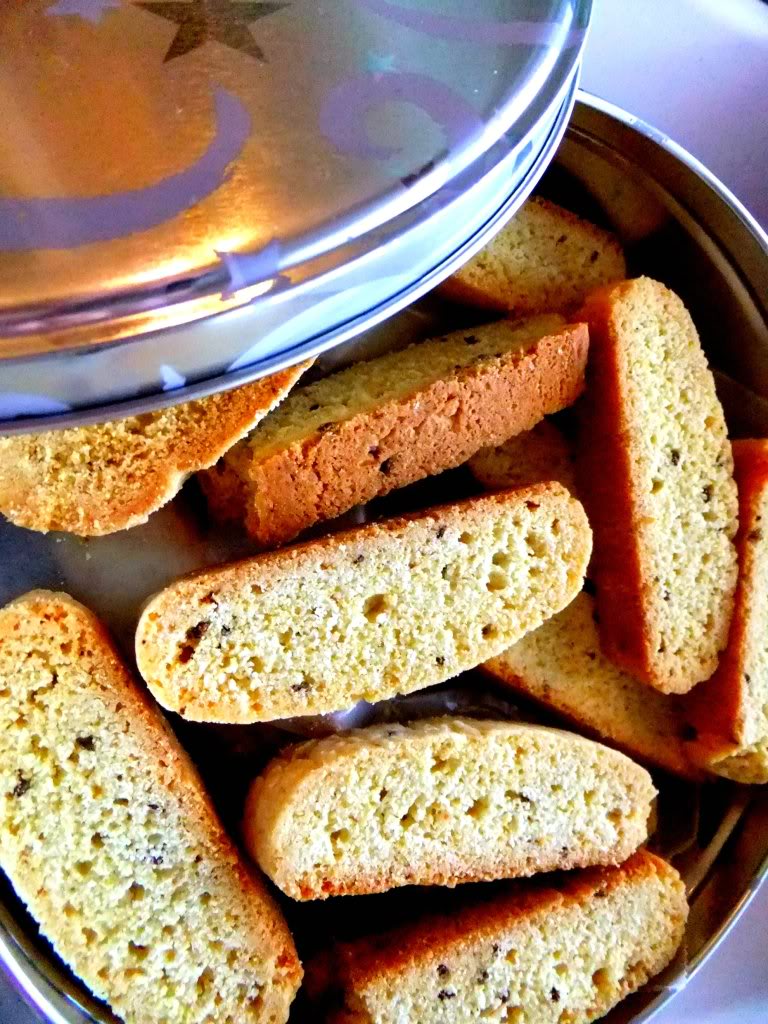
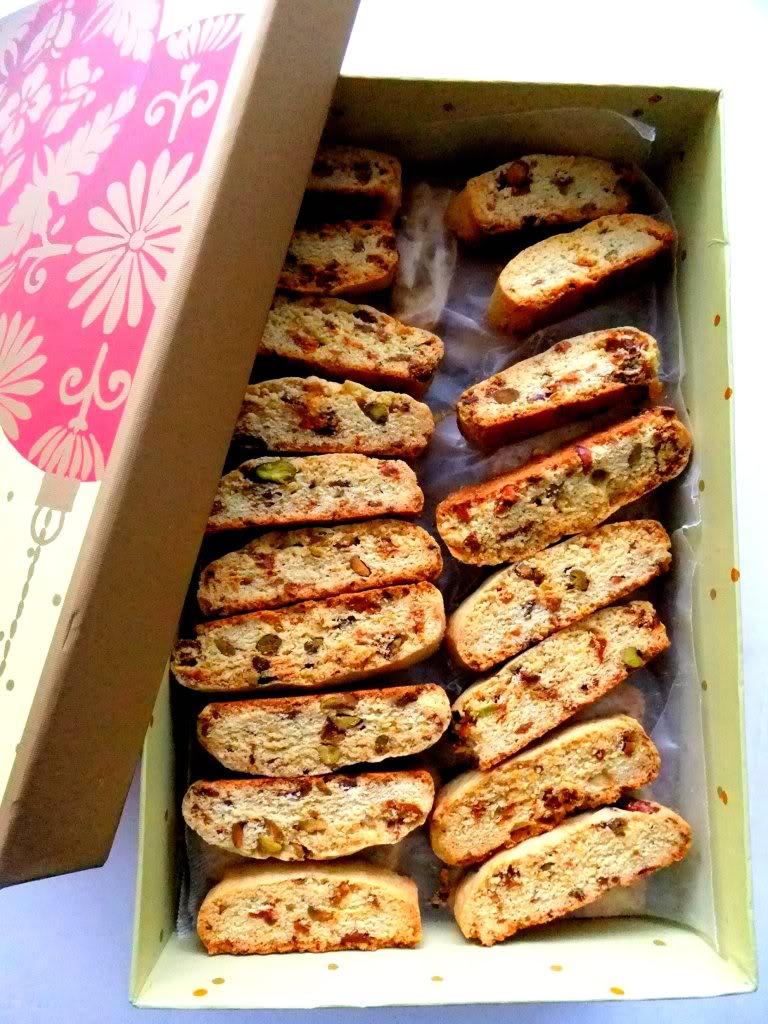
I like to store mine in pretty boxes or tins, preferably rectangle shaped so that they fit nicely, with layers of wax paper in between, just keep them in a cool place and they’ll be fine.

Whether you gift this to someone you love or keep the stash for yourself these polenta biscotti are so worth making!

Get the coffee going, grab a biscotti and enjoy the season!
Follow me on Instagram to see what else I’m cooking up during the week.
- 4 cups un-bleached all purpose flour
- ¾ cup of instant polenta granules
- 1½ cups sugar
- 1½ teaspoon baking powder
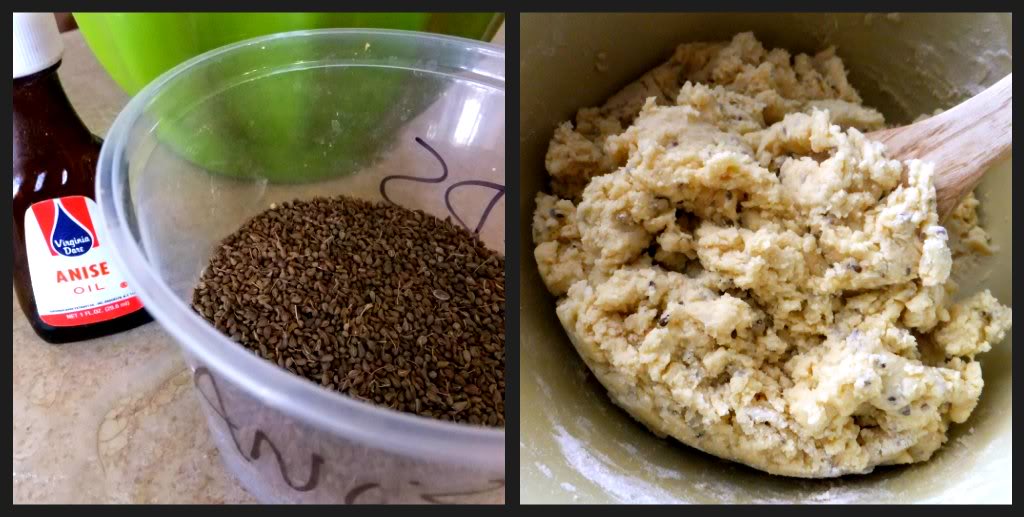
- 2 teaspoons of anise seeds
- 3 large eggs
- ½ cup of sliced almonds plus extra for garnishing chocolate
- 10 tablespoons of melted butter
- 2 or 3 teaspoons of amaretto liquor or ½ teaspoon of almond extract
- dark chocolate chips for melting
- ¼ teaspoon of vegetable shortening to smooth out the chocolate when melting
- Melt butter, set aside. Heat oven to 350F
- In a large bowl add the flour, polenta, baking powder, anise seed and almonds. Whisk by hand to incorporate.
- In a smaller bowl with a hand mixer, beat the sugar with the melted butter and get it throughly mixed, then add in one egg at a time still mixing until light and fluffy, then add the amaretto and combine.
- Combine the dry ingredients with the wet mixing with hand beater to get it all incorporated so you're able to form your logs.
- If you see some dry crumbles add a tiny bit of milk and gather up the dough.
- Once dough is nice and smooth form it into two logs, 9x4 around ¾ inch thick.
- Place both logs onto a rimmed parchment lined baking sheet, make sure to flatten down the tops of the logs gently.
- Bake logs at 350F for 25 to 30 minutes depending on your oven, then let them cool completely before slicing.
- When it's time to slice them, cut on the diagonal being careful with a serrated or electric knife.
- Place the slices down on one side and bake them for 5 minutes.
- Take them out after 5 minutes, flip them over on the other side, put them back in the oven and bake for another five minutes.
- Take them out to check for desired golden color, I did mine for one more additional 5 minutes, ovens vary and so does every ones crunch factor.
- Let them cool completely before dunking into chocolate.
- MELTING CHOCOLATE
- Place some of the chocolate into a microwave proof cup, along with the bit of shortening and check in 20 second increments until its melted, check and stir. You may need to melt more, but a little goes along way.
- Take one end of your biscotti and dunk it into the chocolate and immediately onto parchment paper, then scatter your nuts on top.
- When finished dunking all your biscotti place them into the fridge for 15 minutes so the chocolate can set.
- Enjoy!
- This can be stored in tin cans or boxes in between layers of wax paper for a few weeks, if they last that long.




 And finally, I always like to put a new cookie into the mix, well new for me anyway. I’ve tasted RICOTTA COOKIES before but I haven’t ever made them myself until I saw Claudia’s version over at Journey of an Italian Cook. Poor thing she lives in Minnesota and just got hit by that big blizzard recently, stuck in the house she’s been cooking and baking up a storm! (no pun intended). I’m sure her family has been very grateful for the snowfall!

 I’m Marie, a wife, mother, mother-in-law, and gramma of two beautiful girls. My passion is food, clear and simple but especially Italian food, hence the name of my blog, Proud Italian Cook. I want you to feel right at home here so grab a cup of coffee, I’ll get the pastries, take a look around and enjoy your visit! {