
This fresh berry salad is bright and flavorful and pretty to look at because of all the vibrant colors. It’s a showstopper salad to serve at your next big party or get- together. It literally goes with so many things you might have as a main course.
You might think, “fruit in a salad?” I’m here to say, “Oh yes!”

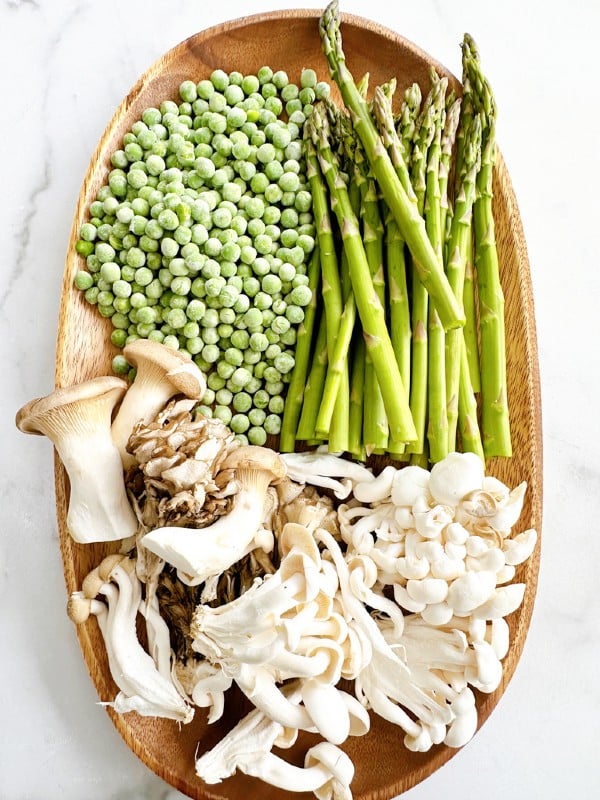
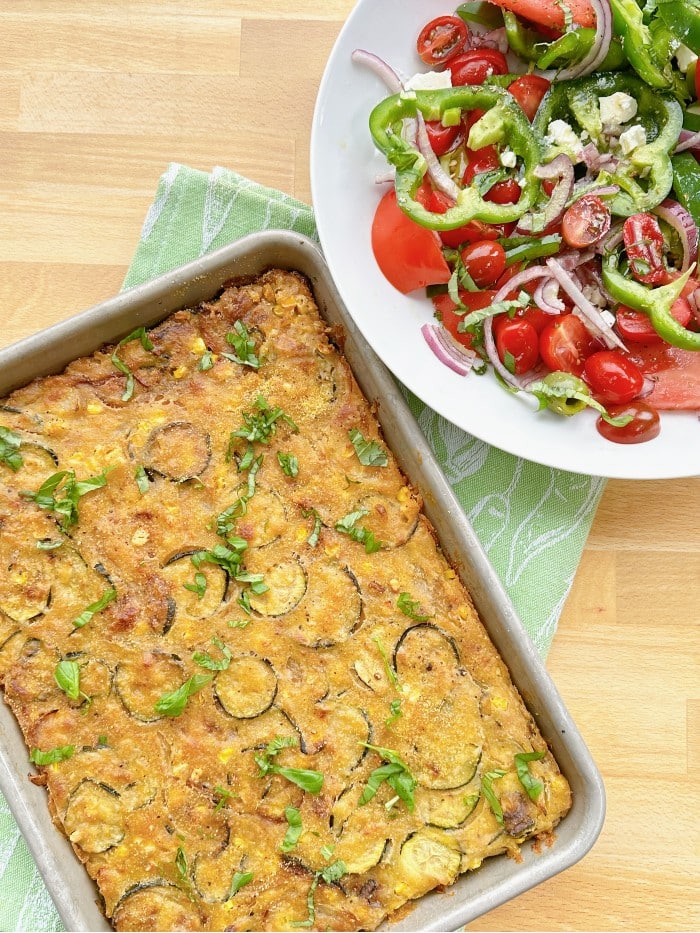
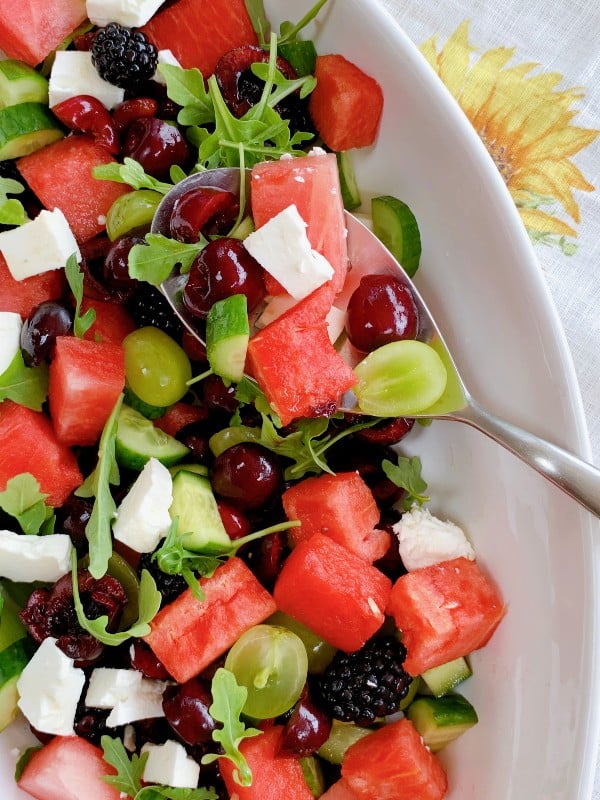
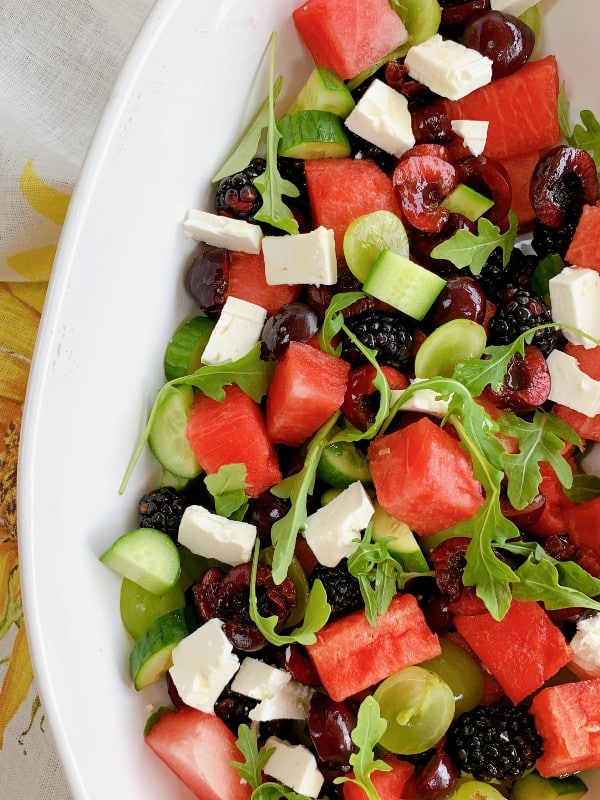
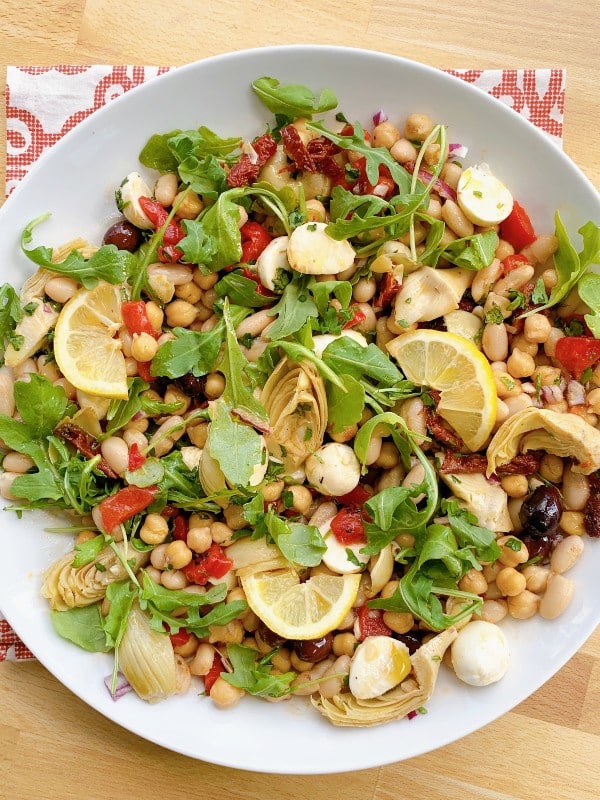
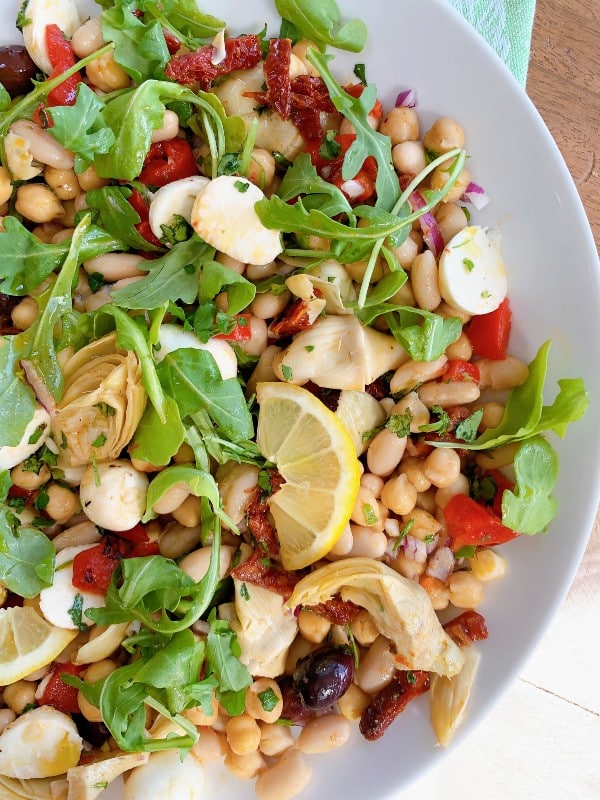
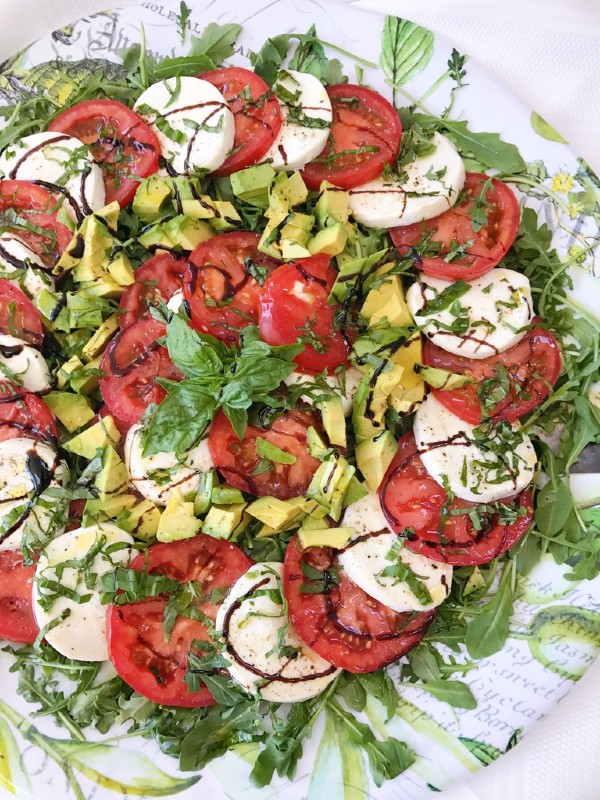
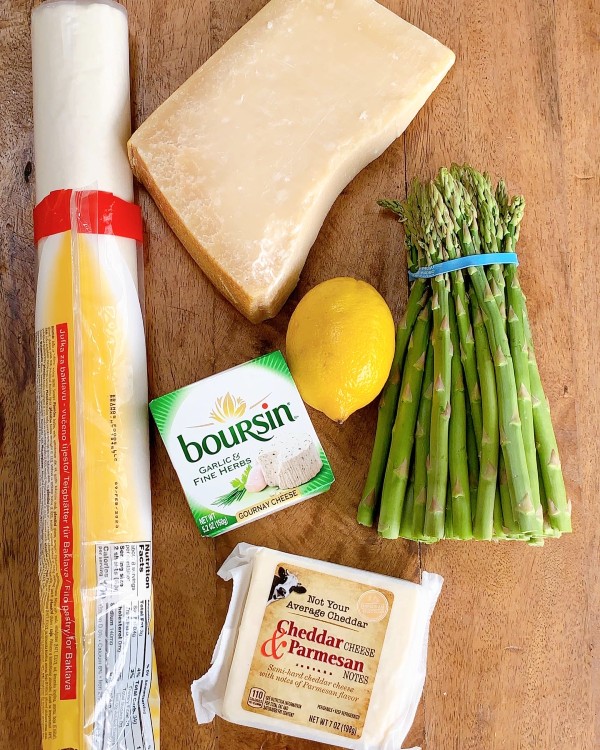
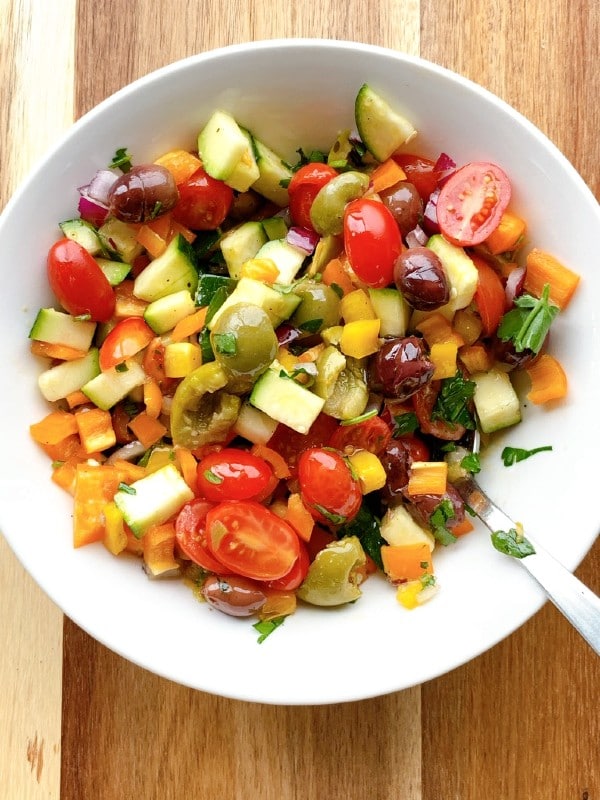
Beautiful leafy greens are the base for this salad along with juicy, ripe fresh blueberries and strawberries. Creamy avocado, crisp cucumbers and red onion along with balls of bocconcini, fresh mozzarella. For the crunch factor there’s candied pecans and pepitas.

Present this salad in one of your biggest bowls or prettiest platters and it will be the talk of the party when you bring it out.
Always dress it right before serving with a homemade vinaigrette, don’t use that bottled stuff!
Enjoy
- The ingredient amounts are not listed, just go with the flow according how big your salad will be.
- ****************
- leafy greens for the base
- fresh strawberries, sliced into quarters
- fresh blueberries
- bocconcini balls or pearl size fresh mozzarella
- red onion
- avocado, diced
- cucumbers, seeds scooped out and sliced
- candied pecans and pepitas, please find these, it goes so well
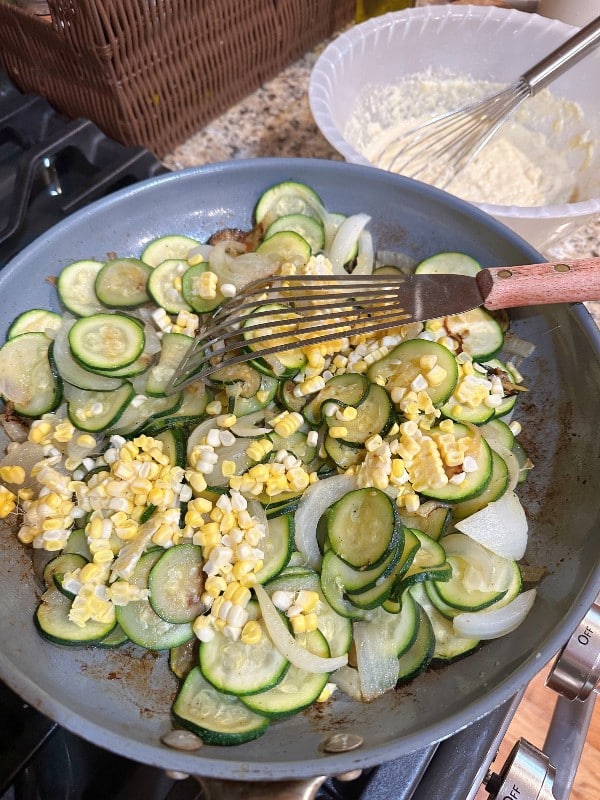
- Place the base of the leafy greens into a beautiful big bowl or platter.
- Then arrange all the rest of the ingredients all around.
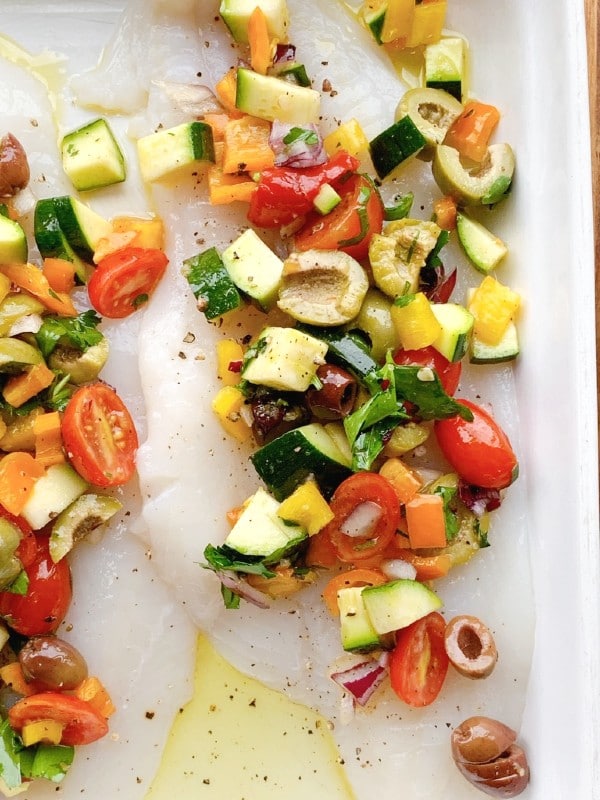
- Spoon the balsamic vinaigrette all around at the last minute before serving, salt and pepper to taste.
- **************
- HOMEMADE BALSAMIC VINAIGRETTE
- /2 cups good olive oil
- /2 cup of a quality balsamic vinegar
- small garlic clove, grated
- a dollop of dijon mustard
- salt and pepper
- Shake it all together in a jar and taste for your liking, you can add a little honey if you want but I find that a good quality rich balsamic vinegar has sweetness to it and there's no need for it.


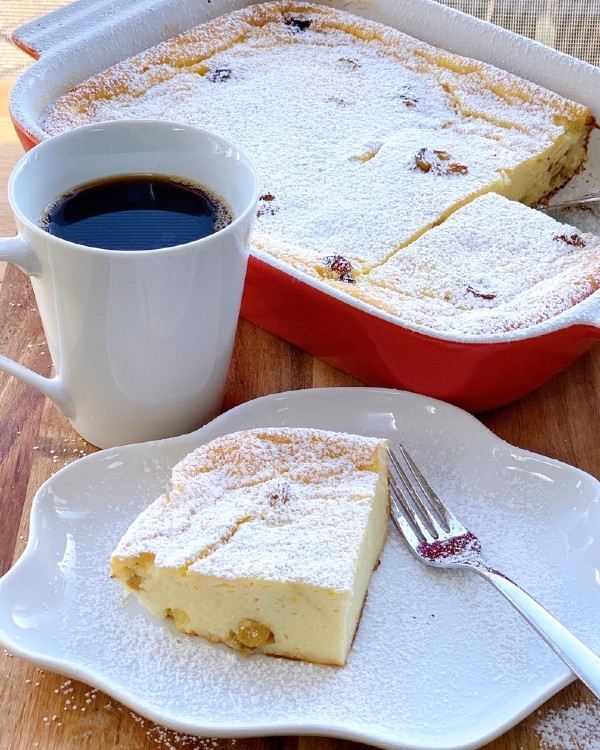


 I’m Marie, a wife, mother, mother-in-law, and gramma of two beautiful girls. My passion is food, clear and simple but especially Italian food, hence the name of my blog, Proud Italian Cook. I want you to feel right at home here so grab a cup of coffee, I’ll get the pastries, take a look around and enjoy your visit! {


