This simple elegant tart is perfect for a special occasion brunch such as Mother’s Day which happens to be right around the corner. Start the day spoiling mom or those that are mother-figures in your life with this springtime tart and mimosa in hand!

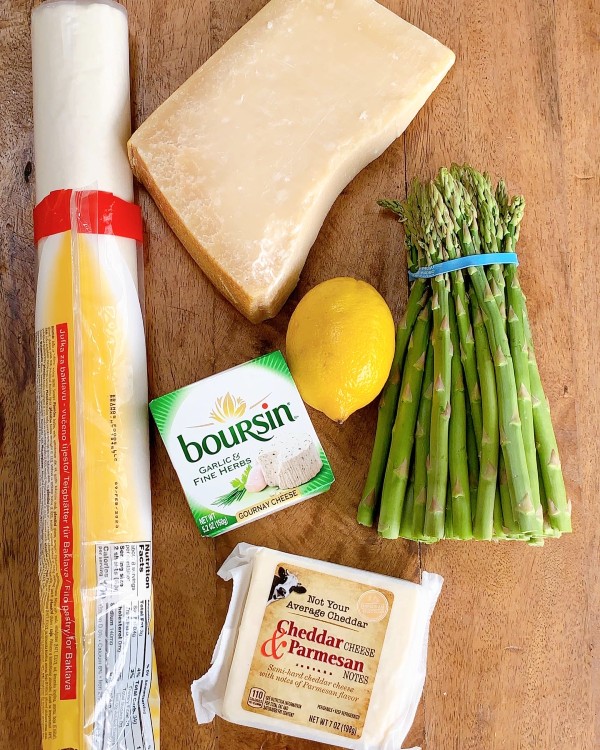
The ingredients in this tart is what makes it so special, fresh spring asparagus, eggs, Parmigiano Reggiano and two types of cheese, Boursin which is a soft cheese filled with garlic and herbs, it really gives the tart a unique and delicious flavor. The other is a hard cheese which is a mix of cheddar and parmesan, although you can change it up with a gruyere or grated mozzarella if you can’t find it.

Another feature of this tart is the use of phyllo pastry for the crust, in my opinion it really makes it. The phyllo pastry serves as a crunchy base for the creamy filling, but you can also use puff pastry or a pie dough if you wish.
If you ever were afraid to use phyllo, don’t be, it’s so forgiving! The key thing to remember is once you open up the package and lay the sheets out be sure to cover them with a damp cloth because they can dry out fast. If the sheets rip while you’re layering them no worries, just cover with another one, you won’t even see any flaws in the finished product.

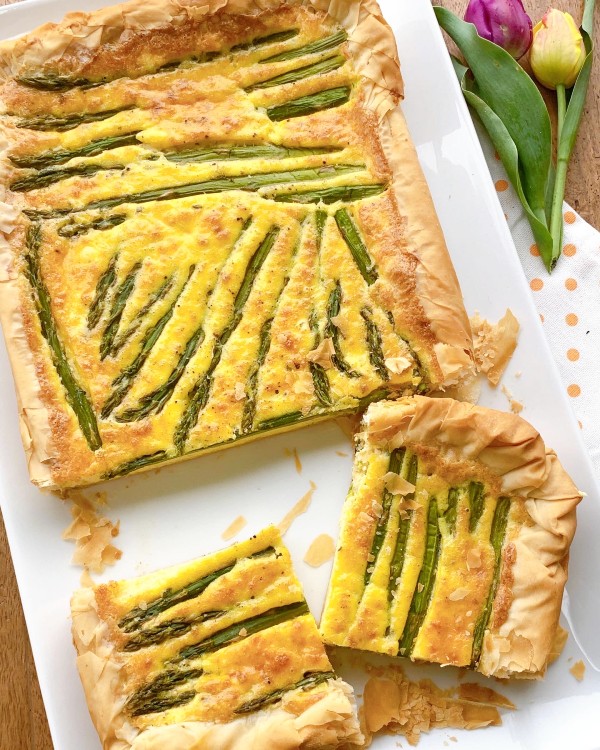
Phyllo gives the tart a rustic yet elegant look, here’s another springtime tart I made using phyllo with ricotta as the base.

So golden brown and crispy!

A nice slice of this delicious tart alongside a fresh salad is the way to go.

I like to serve this arugula, avocado and cucumber salad with shaved parmigiano and a fresh lemon and olive oil dressing, it’s the perfect accompaniment.

Serve warm or at room temperature, either way you’re in for a treat!
- Tart pan with removable bottom, I used a 12x8 pan
- 1 lb. or bunch of fresh asparagus, preferably not thick ones, cleaned and trimmed
- 6 sheets of phyllo pastry or your desired thickness, be sure to cover the sheets with a damp cloth while in use
- 1 stick of melted butter, unsalted
- 6 eggs
- 1 package of Boursin cheese, garlic and fine herbs, 5.2 oz
- 1 very heaping cup of shredded cheese such as the cheddar parmesan mix I had or gruyere or mozzarella ( not fresh)
- 2 heaping tablespoons of grated Parmigiano Reggiano cheese plus extra for sprinkling between. sheets
- ½ cup heavy cream
- zest of half a lemon
- 1 teaspoon fresh thyme
- salt and pepper to taste
- Heat oven to 375F.
- Place the asparagus single layer on a sheet pan and into the oven for 5 minutes just to soften slightly.
- Smash the room temperature Boursin cheese in a medium bowl to get most of the lumps out.
- Add the six eggs into the bowl and whisk together along with the heavy cream, zest, Parmigiano, thyme, and then fold in the shredded cheese, set aside.
- Put the tart pan on a rimmed sheet pan for easy in and out of the oven.
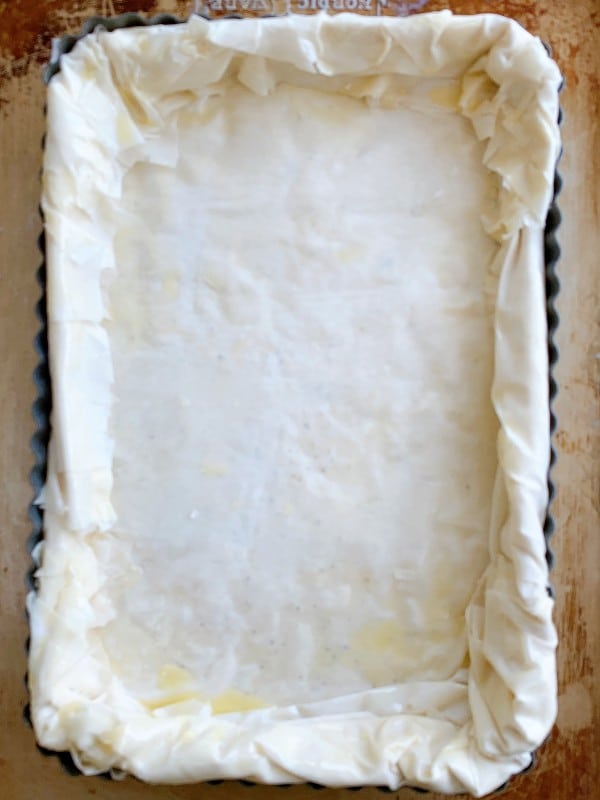
- Butter the tart pan sides and bottom with the melted butter.
- Then 1 x 1 layer a sheet of phyllo, overlapping sides then brush all over quickly with melted butter.
- On each sheet you can sprinkle a little Parmigiano and some black pepper.
- Repeat on each layer brushing the butter on top and sides adding a little Parmigiano and black pepper or you can do every other layer if you wish.
- When you reach the top fold in the sides to make a nice crust all the way around, don't worry if it doesn't look perfect, remember phyllo is forgiving.
- Butter the top crust all around the edge.
- Pour in all the creamy filling over the pastry crust.
- Arrange the asparagus stalks in a nice pattern on top of the cheese mixture.
- Bake at 375F 35- 40 minutes and it reaches a nice deep golden color.
- Cool it down before removing the sides of the pan then slide it onto a platter without the bottom which should slide off easily.
- Serve warm or at room temperature.

 This is such a great lunch or even a light dinner. You could use leftover veggies either roasted or grilled and all you’ll need is a box of phyllo, a little bit of cheese and some muffin tins. Crunchy on the outside with cheesy flavorful veggies on the inside.
 I always have roasted veggies in my fridge and now that the weather is staying warm I’ll be stocking up on grilled instead. Any combination will do, use whatever you like, you’ll only be using 1/2 cup per muffin.
 In the past I was always afraid to use phyllo dough, but now I never go without a box in my fridge and use it for both sweet and savory dishes. I love to work with it because it’s so forgiving. My kind of dough!
 I also like the free form look of the finished product, no matter how you fold the phyllo up over the veggies it always looks pretty in the end. Serve with a nice salad and some roasted red pepper sauce on the side, so good!


 I’m Marie, a wife, mother, mother-in-law, and gramma of two beautiful girls. My passion is food, clear and simple but especially Italian food, hence the name of my blog, Proud Italian Cook. I want you to feel right at home here so grab a cup of coffee, I’ll get the pastries, take a look around and enjoy your visit! {


