
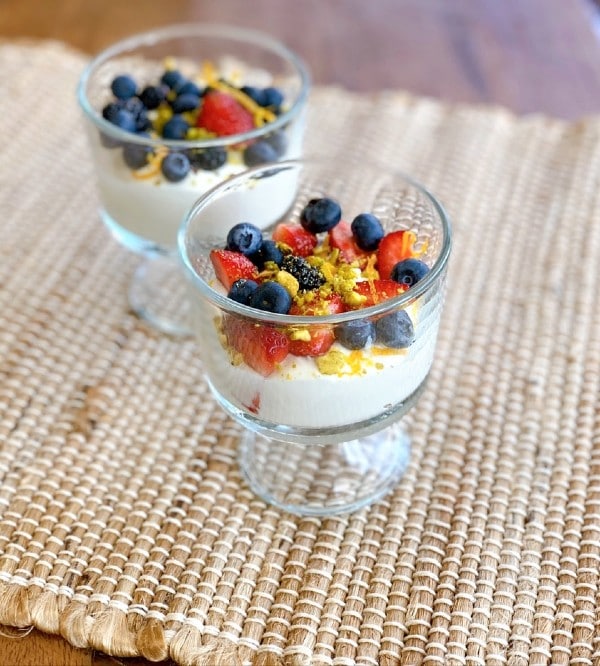
Strawberry cream puffs are such a quick and easy dessert because in this version you use store-bought puff pastry. Strawberries are good to use because you can dice them up really small and then easily fold them into the heavy whipped cream and mascarpone.

Valentine’s Day is near and this would be the perfect ending to a special dinner, it’s light and creamy and the strawberries really shine through.

Just cut your puff pastry into squares, you don’t even have to dock it because you want them to puff up.

Then all you have to do is slice them in half and you’ll have a top and a bottom created.

With your filling prepared you’re ready to spoon or pipe it right onto the puffed up pastry sheet.
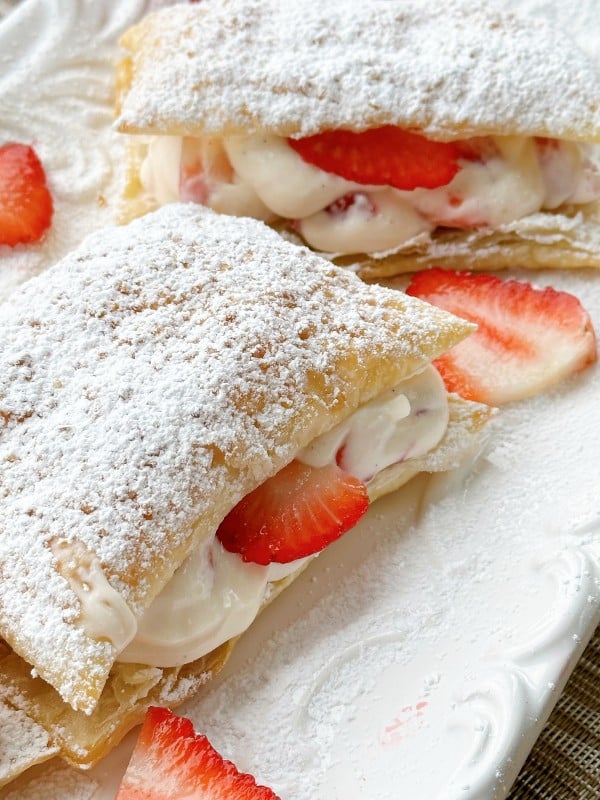
Your dessert is done, all you have to do is give them a good dusting of powdered sugar and enjoy!
- 1 sheet of puff pastry, thawed
- sprinkling of turbinado sugar, optional
- STRAWBERRY PASTRY CREAM
- 1 cup of strawberries, diced small, extra for garnish
- 8 oz. mascarpone cheese, room temperature
- 1 cup of heavy whipping cream
- 1 teaspoon, vanilla
- ½ cup powdered sugar, extra for dusting
- Heat oven to 400 degrees and place some parchment on a baking sheet.
- Cut your puff pastry into squares, you can easily get 6 to eight slices depending on the size of your puff pastry sheet, no docking necessary.
- If using turbinado sugar press some onto the tops.
- Place into the oven for 10- 15 minutes til nice and golden, ovens do vary so check.
- Remove and let them cool down completely.
- When completely cooled you can slice them in half lengthwise.
- To make the strawberry cream, place the mascarpone into a deep medium bowl using a hand mixer to smooth it out, adding the vanilla and powdered sugar.
- Pour in the heavy cream and continue to mix well until mixture holds together well and is not runny.
- Fold the diced strawberries into the cream mixture being careful not to add juice if there is some.
- Pipe or spoon the mixture onto your pastry sheet bottoms, add a few extra sliced strawberries on top of the mixture if you want, put the lid on and sprinkle powdered sugar all over the top.
- Place on your serving plate with a couple whole fresh strawberries for garnish.


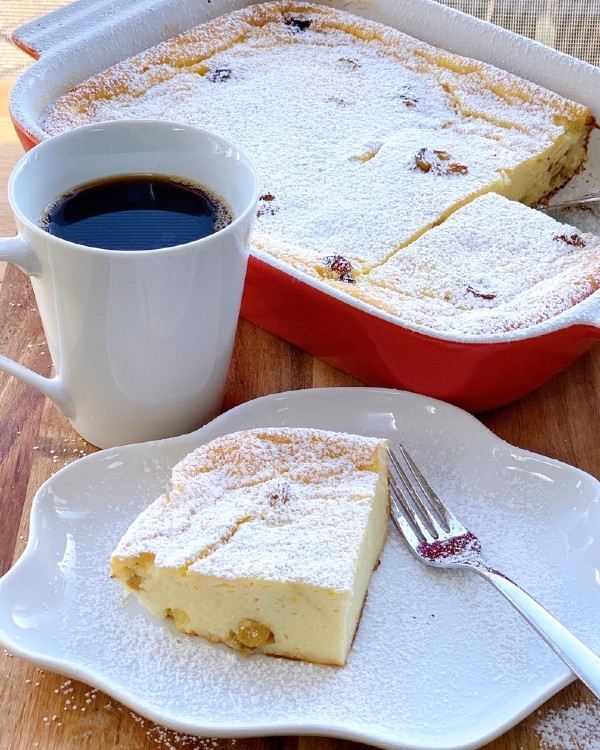


 I’m Marie, a wife, mother, mother-in-law, and gramma of two beautiful girls. My passion is food, clear and simple but especially Italian food, hence the name of my blog, Proud Italian Cook. I want you to feel right at home here so grab a cup of coffee, I’ll get the pastries, take a look around and enjoy your visit! {


