 Sweet long peppers, oh how I love thee! These elegant looking peppers are super sweet and never ever bitter. They were once called Ancient Sweets but now you’ll find them called, Sweet Twister.
They’re very versatile, you can cut them into rings and use them in salads, stir fries, pizza and frittata’s, they’re great roasted and grilled and of course my favorite way is stuffed.
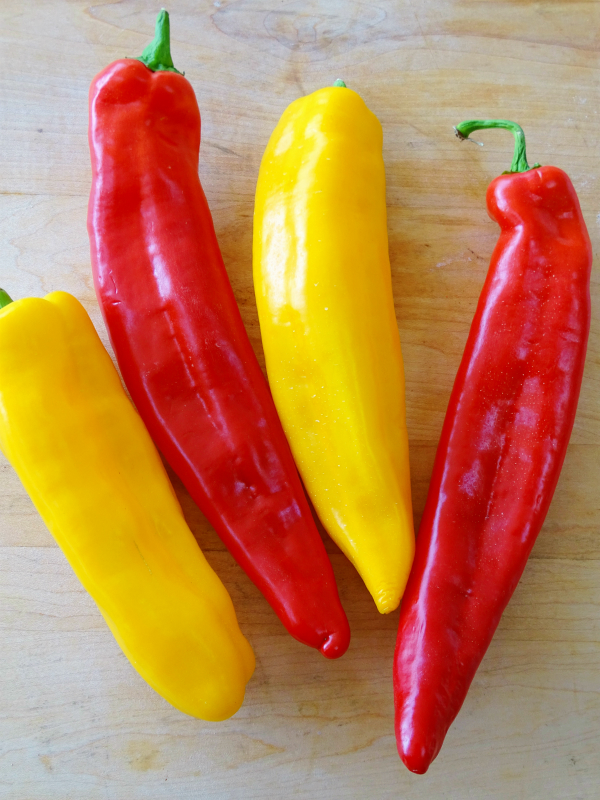 These beauties are so vibrant in color, who can resist? Plus they have very few ribs and seeds that are very easy to pick out and an almost hollow interior which gives them the perfect pocket for stuffing.
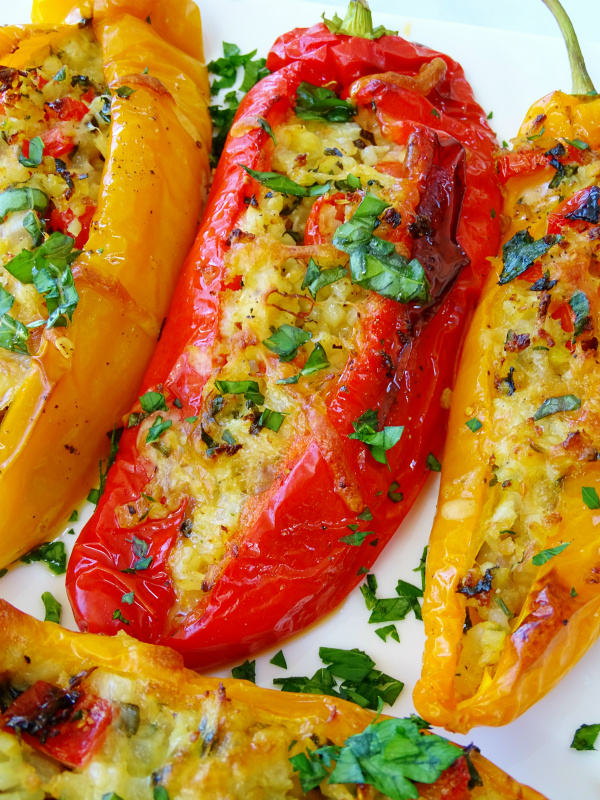 Over the years I have stuffed them many ways and usually a meat or sausage was involved, but this time I wanted to use the ever popular cauliflower rice and make a meatless version adding some cheese and herbs into the mix. Imagine a platter full as a delicious side dish or it can stand alone as vegetarian lunch with a salad on the side, I think you’ll be smitten!

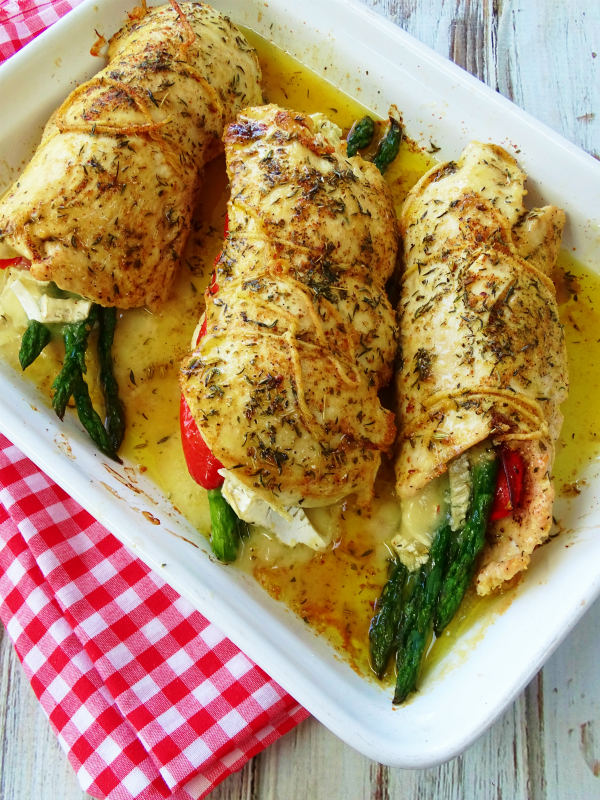
I always buy frozen cauliflower rice, it’s less messy for me and I can grab a bag on a whim right out of my freezer. I served my cauliflower rice stuffed peppers alongside a roasted chicken and it was a hit! I hope you give it a try.
You can follow me on Instagram to see what else I’m cooking up daily.
- 1 12 oz. bag of riced cauliflower
- 6 good size sweet long peppers ( Sweet Twister's)
- 2 garlic cloves, finely minced
- ½ onion, diced
- 1 large handful of fresh parsley, chopped
- 6 to 8 leaves of fresh basil, chopped
- 1¼ cup of grape tomatoes, each one cut into 4 pieces
- 1 heaping ¼ cup of grated romano cheese
- 1 heaping cup of shredded mozzarella or fontina cheese, or any cheese that melts really good
- salt and pepper to taste
- olive oil
- Heat oven to 400F
- Place foil on a rimmed sheet pan and drizzle the bottom with a little olive oil.
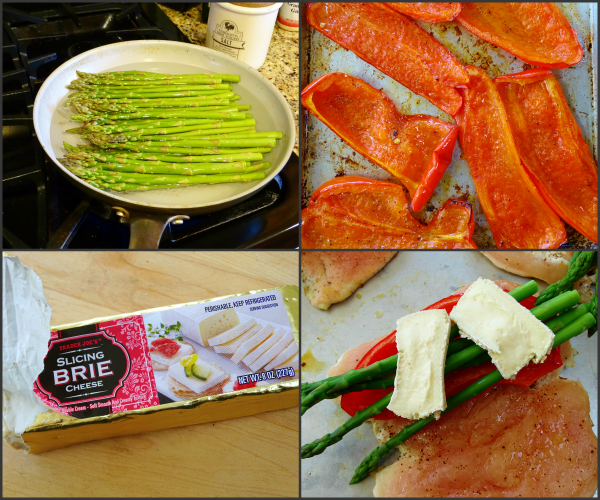
- In a saute pan drizzled with olive oil, add the onion and garlic until soft then pour in the frozen cauliflower stirring until it has defrosted and cooked a little.
- Add in all the other ingredients, garlic, parsley,basil, both cheese and tomatoes, plus salt and pepper to taste, mixing until all combined.
- Let it cool down a bit, in the meantime prep your peppers.
- Try to leave the stems on it gives a nice presentation.
- Figure out which side of the pepper will lay flat and sturdy in the pan.
- Cut a slit on top being careful not to go completely through the top or pointed bottom.
- Pull out the seeds and ribs with your fingers, it will be easy.
- Drizzle the inside with a little olive oil and some black pepper.
- Fill each pepper with the cauliflower rice mixture all the way to the top.
- Place them onto the rimmed sheet pan with a quick little drizzle of olive oil.
- Bake for about 20 minutes or so, the cheese should be melted and the peppers starting to wrinkle and become soft.
- Garnish with chopped basil and parsley.


 I’m Marie, a wife, mother, mother-in-law, and gramma of two beautiful girls. My passion is food, clear and simple but especially Italian food, hence the name of my blog, Proud Italian Cook. I want you to feel right at home here so grab a cup of coffee, I’ll get the pastries, take a look around and enjoy your visit! {


