 Ok just one more cookie! At the last minute I caved in and made some Cucidati, I wasn’t going to make them at all this year but I was slightly coerced by my brother-in-law and husband who were giving me a guilt trip.
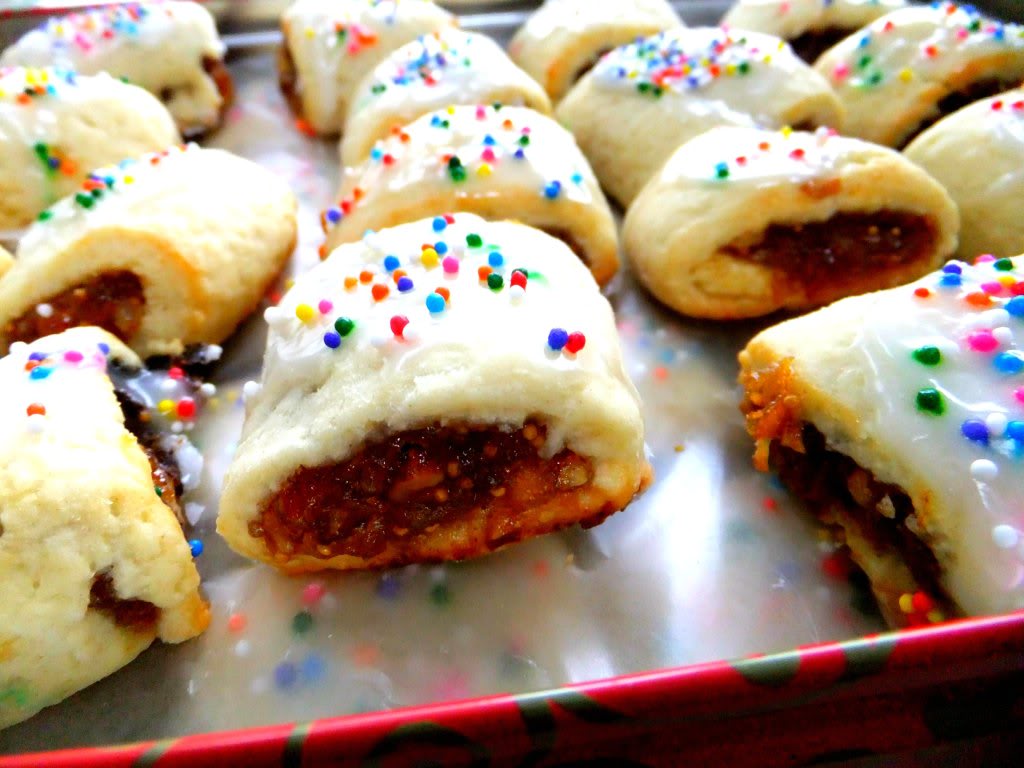
 Cucidati are traditional Italian fig cookies very popular at Christmas time consisting of a tender dough that wraps around a thick and flavorful filling of figs, raisins, almonds, orange peel and a few other things that are laced with brandy and warm spices.
 On a cold winter day my house quickly warmed up with the scent of cucidati baking in the oven. I don’t know what I was thinking, it just wouldn’t be the same without a few of these gracing our table!
 In the end I made two people very very happy that day, and isn’t that the
real reason why we cook anyway?
 Here’s my favorite recipe.
 I want to take this time to wish each and everyone of you a most delicious holiday filled with lots of love and happiness!
From my kitchen to yours,
Marie


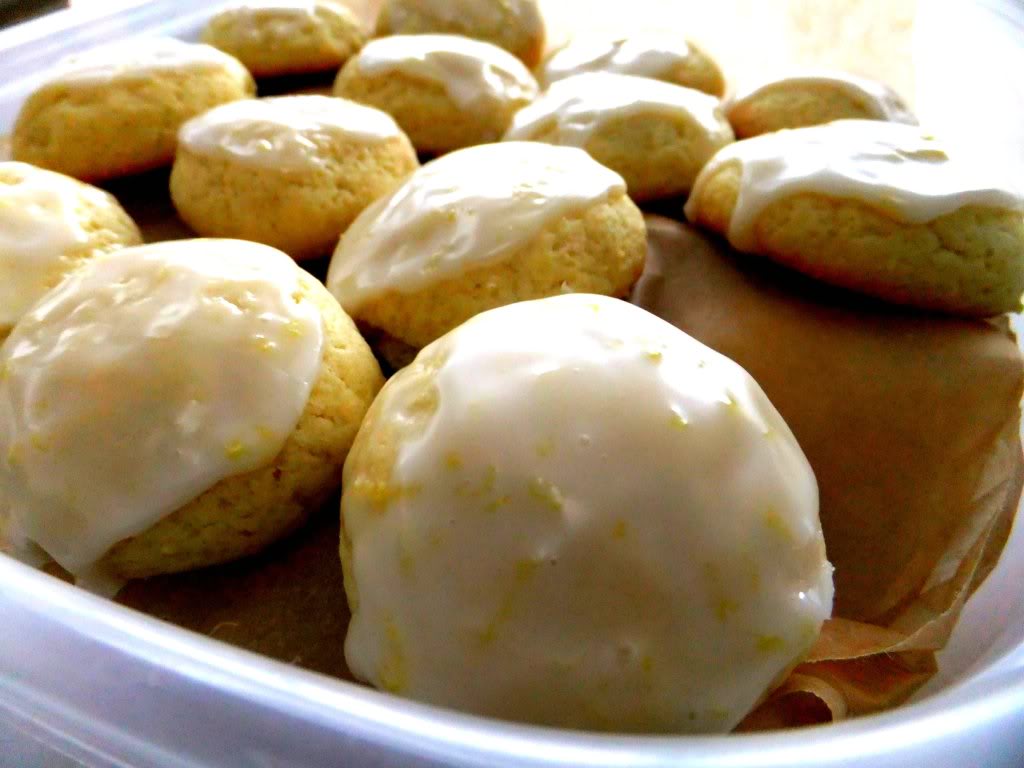
 And finally, I always like to put a new cookie into the mix, well new for me anyway. I’ve tasted RICOTTA COOKIES before but I haven’t ever made them myself until I saw Claudia’s version over at Journey of an Italian Cook. Poor thing she lives in Minnesota and just got hit by that big blizzard recently, stuck in the house she’s been cooking and baking up a storm! (no pun intended). I’m sure her family has been very grateful for the snowfall!


 I’m Marie, a wife, mother, mother-in-law, and gramma of two beautiful girls. My passion is food, clear and simple but especially Italian food, hence the name of my blog, Proud Italian Cook. I want you to feel right at home here so grab a cup of coffee, I’ll get the pastries, take a look around and enjoy your visit! {


