 I received an awesome book for review a while back called, The Geometry of Pasta, (Quirk Books) I’m embarrassed to say how long ago it was. This a book I wouldn’t normally gravitate to because it has no pictures, the cover is black and white and I convinced myself I wouldn’t like it, but once I started reading it I couldn’t put it down, I read it from beginning to end in one afternoon.
The book in great detail covers every shape of pasta you can think of, fresh, dry, stuffed you name it, plus all the history behind each shape, where and how they originated, how they’re used, plus recipes all throughout. If you’re a pasta freak like me I would highly recommend this book.
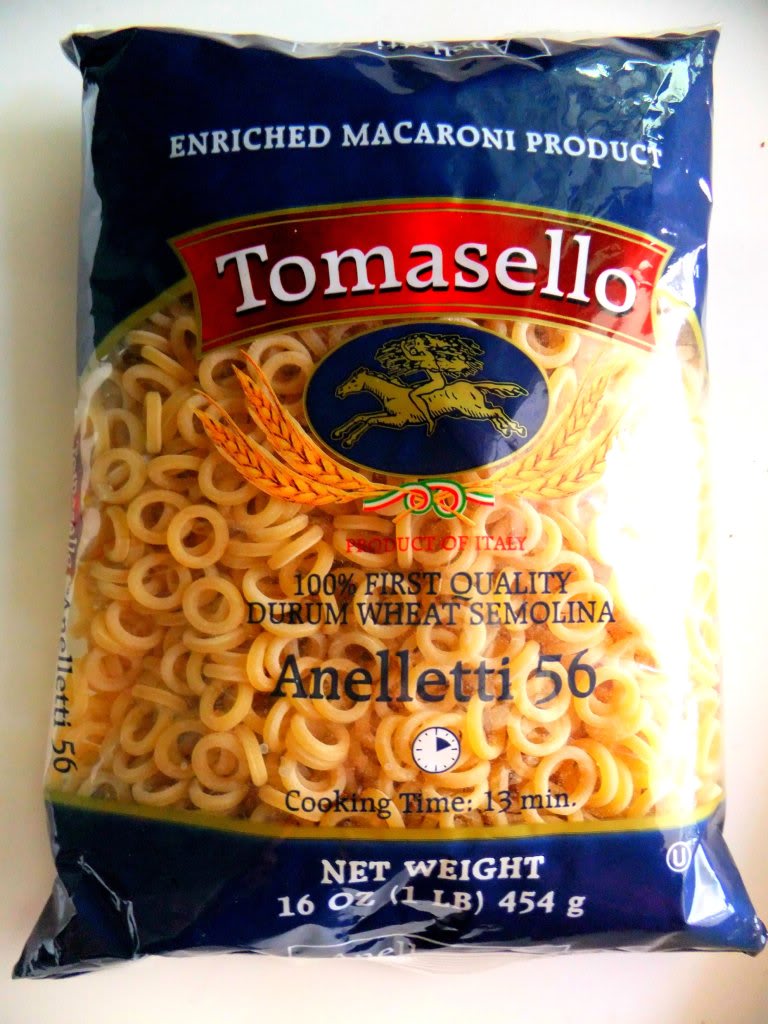
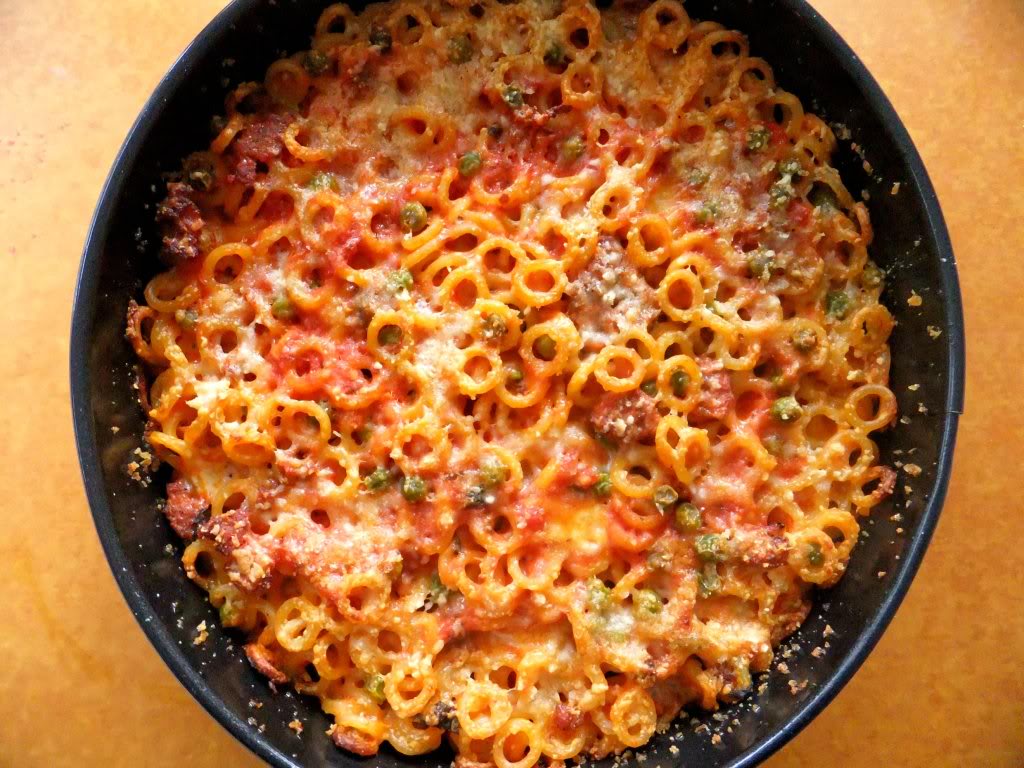
I love using different shapes of pasta in my cooking, I get bored with the same old thing all the time so when I saw a recipe for Anelletti Al Forno I knew I was going to try it. Little loops of pasta baked together in a sauce filled with cheese, peas and crumbled Italian sausage, placed in a ring mold or in my case a springform pan. You might even want to call this grown up spaghettiO’s!
This is the perfect dish to bring to a party or to put out on a buffet, it doesn’t have to be steaming hot, great at room temperature and it has a nice presentation. This is also great for a picnic but unfortunately that’s not happening here for a while, but I will keep it in mind for the summer. It doesn’t take long to put this dish together either, after you make a quick marinara sauce or quicker yet purchase a really good one, then you cook your pasta until it’s very al dente.

 The nice thing is you can do a meat or a vegetarian version. The first one I ever made was with out meat using ricotta, fresh mozzarella, grated parmesan and asiago cheese.
 I recently received a bag of corzetti pasta as a gift and was waiting for a special occasion to make it. Corzetti ( spelled a couple of different ways) are large coins of pasta cut into discs and embossed on both sides using a hand carved stamp originating from Liguria. The stamps are hard to find here but I’m confident I will get my hands on one soon.
 If you want to see a beautiful post on homemade hand stamped corzetti please check out my friend Elaine’s post here. I’m in awe of this pasta with it’s understated elegance!


 I’m Marie, a wife, mother, mother-in-law, and gramma of two beautiful girls. My passion is food, clear and simple but especially Italian food, hence the name of my blog, Proud Italian Cook. I want you to feel right at home here so grab a cup of coffee, I’ll get the pastries, take a look around and enjoy your visit! {


