
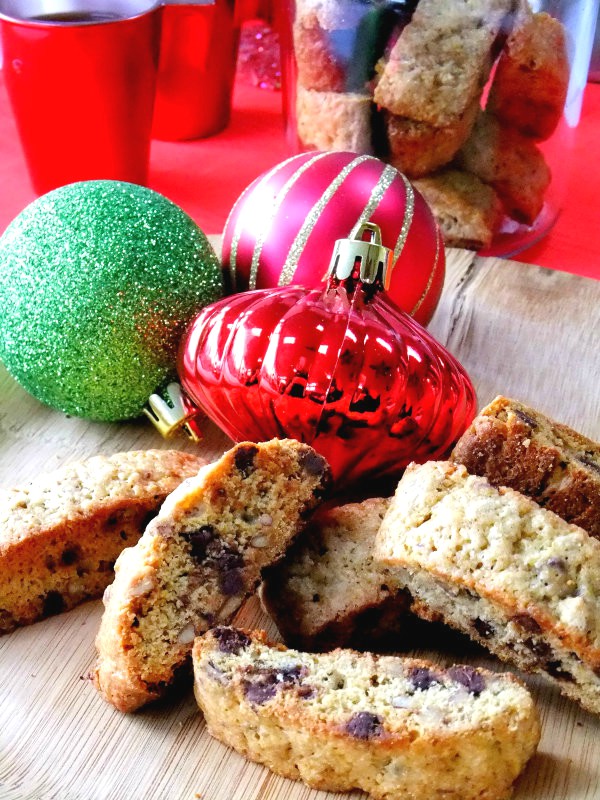
Crisp, buttery melt in your mouth Italian butter cookies, perfect for any occasion and especially during the holidays. Walk into any Italian bakery and you’ll find these cookies front and center.
I have to admit that homemade is the best, if you haven’t tried making them before I encourage you to give them a try. You’re going to use very few but quality ingredients, and they’re very simple to put together. I will say that practice makes perfect with your piping skills because the dough can be difficult at times. The key is the butter and eggs need to be at room temperature otherwise the dough will be too stiff to pipe, so don’t get discouraged if you mess up. I’ve even improved my own piping skills, as you can see in this post.

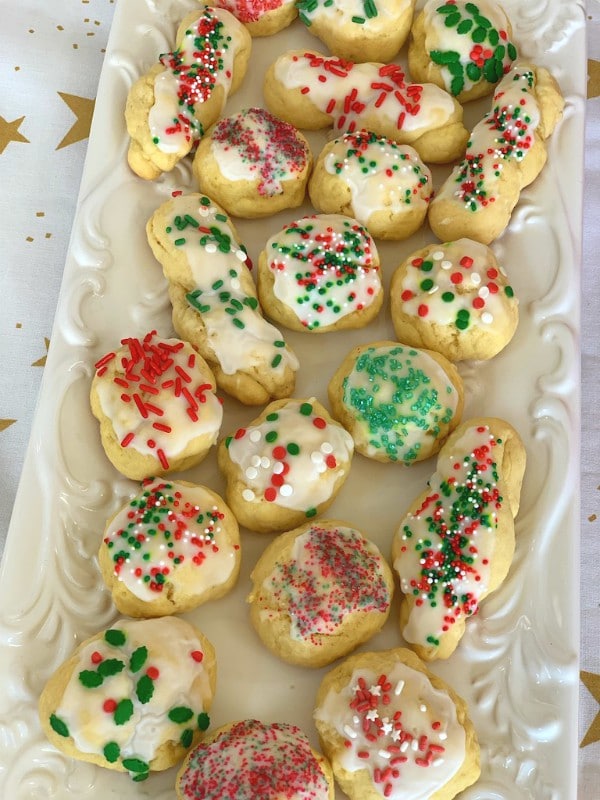
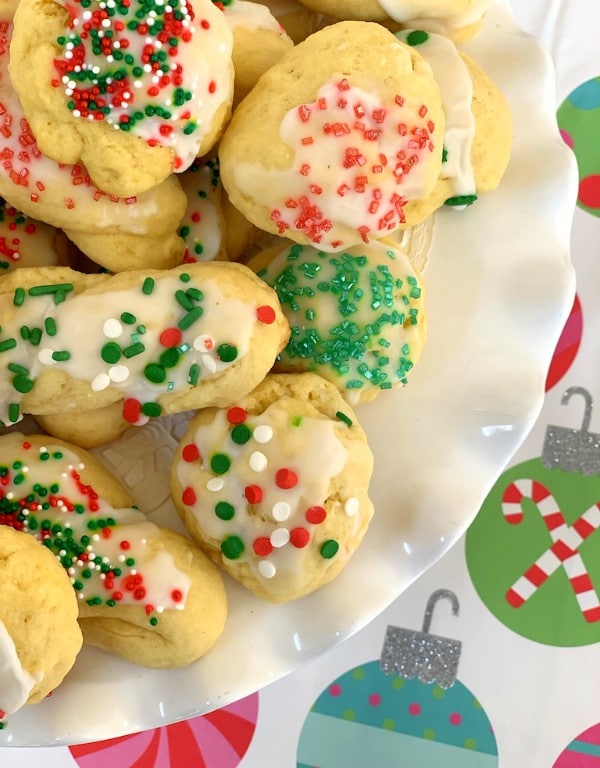
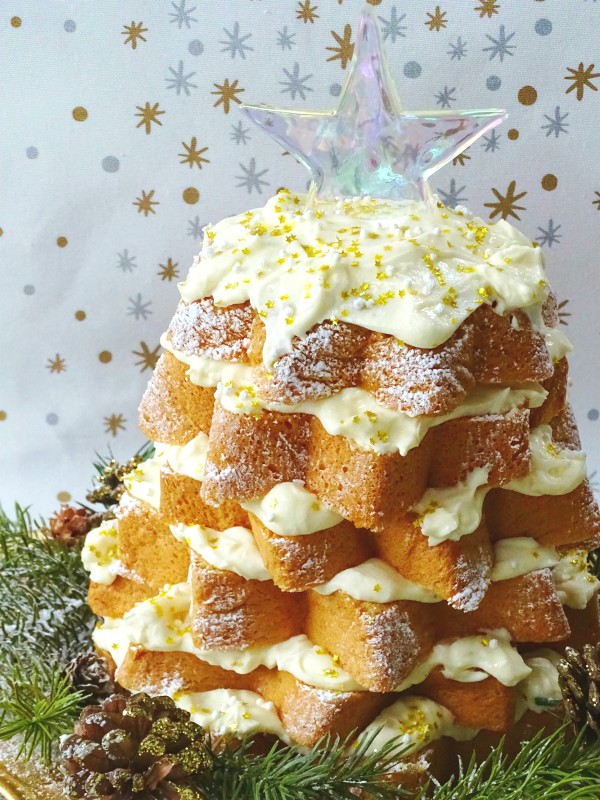
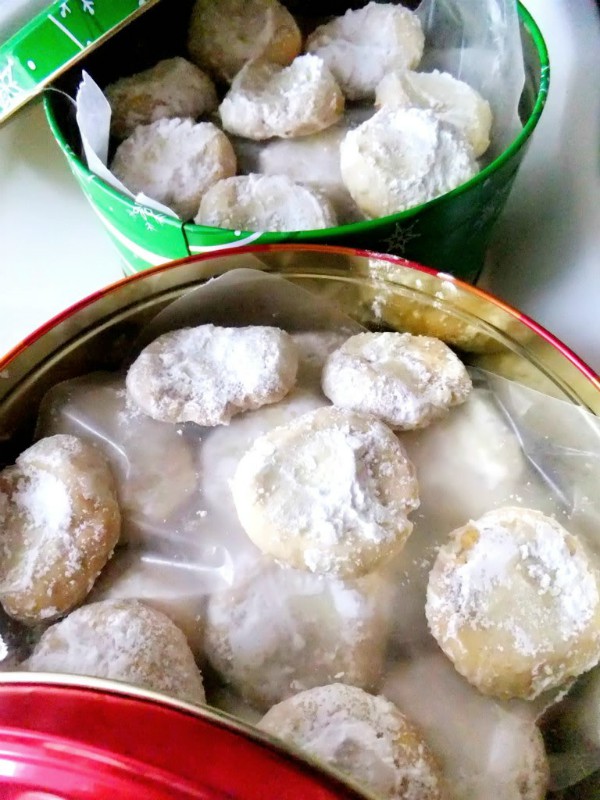
The flavor of these cookies are rich and buttery like shortbread, they have a nice crumbly texture and are perfect for gift giving for the holidays, I love boxing them up or finding a festive looking can and giving them to family and friends.
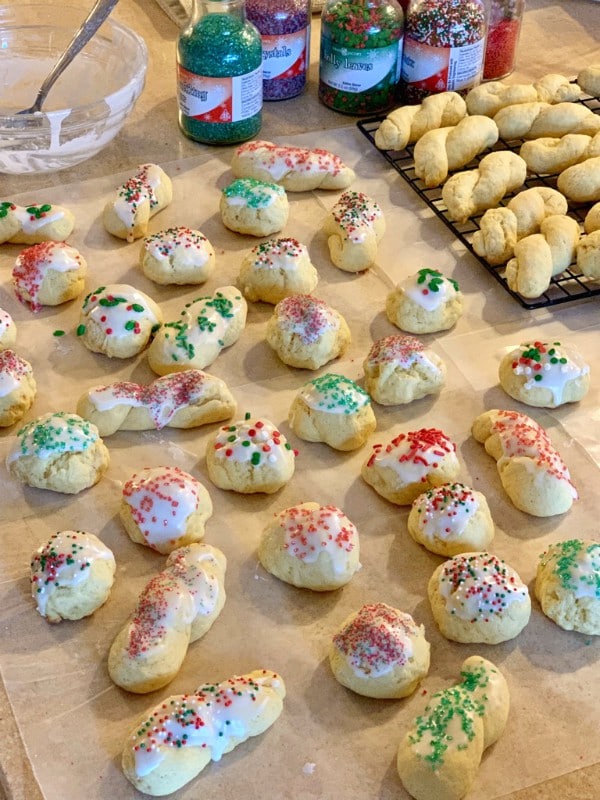
They can be sandwiched together with some sweet jam in between, made in a horseshoe shape then dipped in white or dark chocolate. After dipping in chocolate you can add sprinkles, coconut or finely chopped nuts of your choice, just have fun with them!

I ordered both my piping bag and tips from Amazon. I use the large 16 inch disposable bags, they come in a pack with quite a few and very reasonably priced, and for the piping tip I used a large star tip Ateco 869, very reasonably priced as well.
Enjoy!
- 1 cup of very good quality unsalted butter, room temperature, try a European one like Pulgra
- ¾ cup granulated sugar
- 1 egg and 1 egg yolk, large
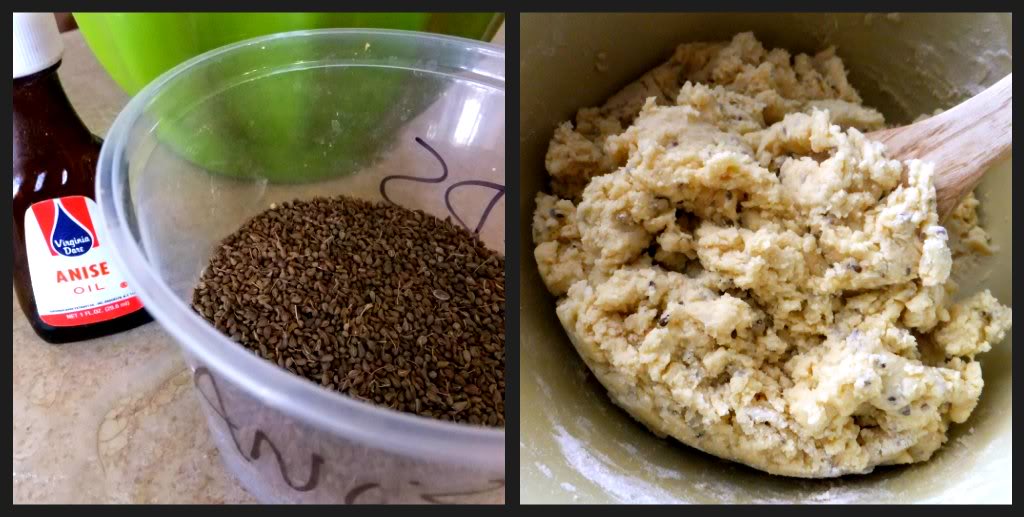
- 2 teaspoons pure vanilla extract
- 2¼ cups all purpose flour
- pinch of salt
- 1 to 2 tablespoons cream if needed to pipe easier
- 12 oz. good quality white, dark or milk chocolate, not candy melts
- ¼ teaspoon of coconut oil to smooth out the chocolate
- sprinkles of your choice
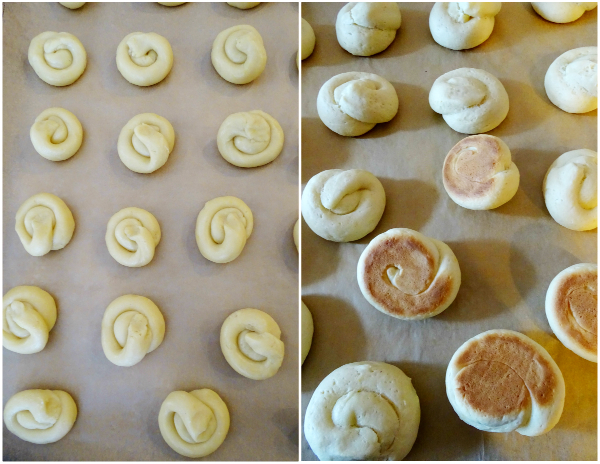
- Pre-heat the oven to 350. The butter and eggs must be at room temperature when you're ready to go.
- Line a baking sheet with parchment paper.
- In a mixing bowl cream the butter and sugar together until nice and fluffy.
- Add the eggs and vanilla until combined.
- Whisk together the salt and flour then add to the butter mixture a little at a time on low speed til well combined.
- If the dough seems to dry add the cream little by little, if too wet add a tiny bit more flour.
- Place the dough into the piping bag ( source listed in post) I use a tall glass to hold the bag while I'm filling it, leave enough room on the top so the dough doesn't squish out.
- Start piping on your parchment.
- They spread a little so I piped them 2 inches apart.
- Now place the piped cookies into the fridge for up to an hour for better results before baking.
- Place them in your preheated oven when ready to bake around 15 to 18 minutes with the bottom having a nice golden brown color.
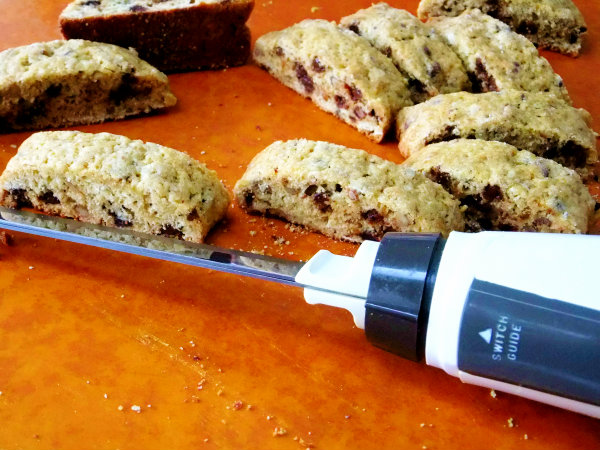
- Cool COMPLETELY on a rack before dipping in chocolate.
- Melt the chocolate in the microwave in a small bowl in 30 second increments, add in your coconut oil for a glossier texture.
- Dip one side of the cookie into the chocolate then over a bowl add the sprinkles and place the cookies back onto a clean baking sheet with new parchment.
- Put the pan in the fridge so the chocolate gets nice and hard and sets well.
- Stores well on the counter in a box or can with wax paper between them, they also freeze well for a month.


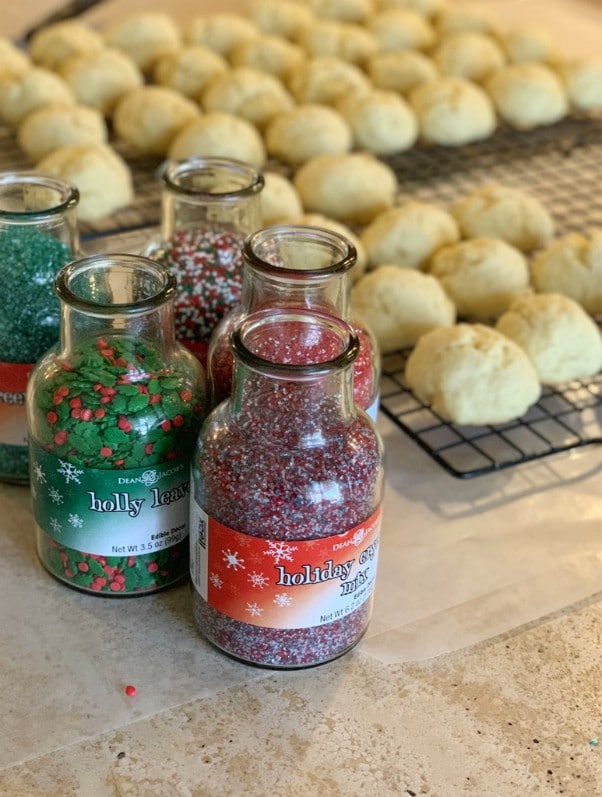


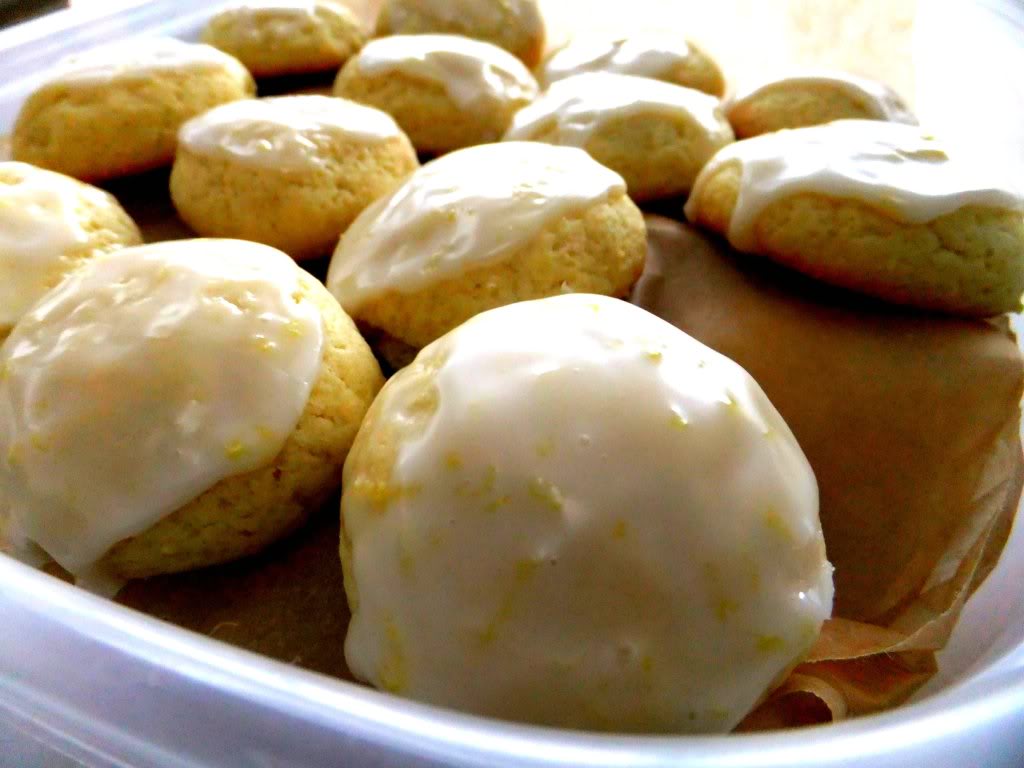
 And finally, I always like to put a new cookie into the mix, well new for me anyway. I’ve tasted RICOTTA COOKIES before but I haven’t ever made them myself until I saw Claudia’s version over at Journey of an Italian Cook. Poor thing she lives in Minnesota and just got hit by that big blizzard recently, stuck in the house she’s been cooking and baking up a storm! (no pun intended). I’m sure her family has been very grateful for the snowfall!
 I’m Marie, a wife, mother, mother-in-law, and gramma of two beautiful girls. My passion is food, clear and simple but especially Italian food, hence the name of my blog, Proud Italian Cook. I want you to feel right at home here so grab a cup of coffee, I’ll get the pastries, take a look around and enjoy your visit! {


