 When we traveled to Florence years ago the food I remember most was ribollita, it’s a thick and creamy soup with many variations but the main ingredients always include leftover bread, cannellini beans and inexpensive vegetables such as carrot, cabbage, beans, Tuscan kale, onions and a bunch of other things. It was originally made by reheating or reboiling the leftover minestrone or vegetable soup from the previous day. Ribollita is classic Tuscan peasant food.
I had the perfect opportunity to make this last week as we had relatives staying with us from sunny Florida, a big pot was waiting on the stove the day they arrived to warm them up and get them acclimated to our weather here.
 My sister-in-law and I share the same fondness for ribollita, we would order it practically everyday when we were all in Italy together. Over the years we talked many times about making it ourselves but we never got around to it, but thanks to the Internet and a search for ribollita I was able to come up with a great recipe by combining a few that I saw.
They recently traveled back to Florence to celebrate their 40Th anniversary so the taste of ribollita was fresh in their mind, I have to say she was raving about my ribollita so I know it had to be pretty good.
 They surprised me with this beautiful apron they had embroidered in Florence at the San Lorenzo Market, I love it!
 Wouldn’t this be the perfect gift for all your foodie friends? Check out those baby bibs and chef hats, I love personalized gifts!
 They said it didn’t take very long to make my apron maybe about 15 minutes or so, the machine did it really fast.
 I’m so glad they thought of taking photo’s so I could actually see it being made.
 Of course what would a visit to Chicago be without having some cannoli cake in the mix? It was my sister-in law’s birthday while she was here so this was the perfect dessert, it’s consistently amazing every time we order one from our favorite Italian bakery!
 Sponge cake bathed in rum and layered with fresh cannoli cream surrounded in whipped cream, oh so good, but that’s another blog post alltogether!
Before I give you the recipe for ribollita I have to thank my brother-in-law John for installing the Printer Friendly button for me, I tried to do it several times myself and chickened out each time being in fear of the dreaded HTML. To the many subscribers and readers who personally wrote me asking me to do this I just want to say thank you for your patience, you’re going to love this feature, so easy with just a click you can take out the photos and just print the text only, try it, you’ll like it! I really feel like I finally entered the 21st century!
Additional note to my subscribers: Because you’re just receiving a feed through email, ( which is not my actual blog) you will have to come over to my blog site to use the print friendly button, you will see it at the bottom of each of my posts. My blog address is www.prouditaliancook.com.
Ribollita
Ingredients:
8 to 10 cups of chicken/ vegetable stock
1 chopped onion
2 carrots chopped
1 large celery celery stalk with greens chopped
1 head of dark kale sliced thin
6 cloves of chopped garlic
1 fennel bulb chopped
1 or 2 leeks cleaned and chopped
2 cans of cannellini beans drained, by all means use fresh if you want.
2 diced red potatoes
1/2 head of savoy cabbage sliced thin
1 large zucchini chopped
2 cups of diced canned tomatoes
Day old bread, (optional)
A generous handful of grated parmesan cheese
1 parmesan rind, (they sell the cheesey rinds at my Whole Foods, I pick some up everytime I go there and stick them in my freezer for soups all winter. If you can’t find them just add more grated cheese.)
Fresh rosemary, thyme and red pepper flakes, you could also add sage, plus salt and pepper to taste.
Here’s what you do:
1. In a large stock pot nicely drizzled with olive oil saute all your vegetables until slightly soft, then add in herbs and red pepper, next pour the stock in and add the cheese rind.
2. After it starts to boil let it simmer for a good 45 minutes then add beans and simmer a few more minutes. At this point I like to taste and add, maybe more pepper, rosemary, thyme, olive oil, or grated cheese, you be the judge.
3. I took my immersion blender and blended half of the pot, it renders a nice smooth yet still chunky consistency. I did not add the the day old bread into my soup I felt it didn’t need as it was super thick, feel free to add it if you wish especially if you don’t use an immersion blender.
Ladle soup into bowls and drizle olive oil on top along with grated cheese, this is comfort food at it’s best!
Enjoy and Buon Appetito!


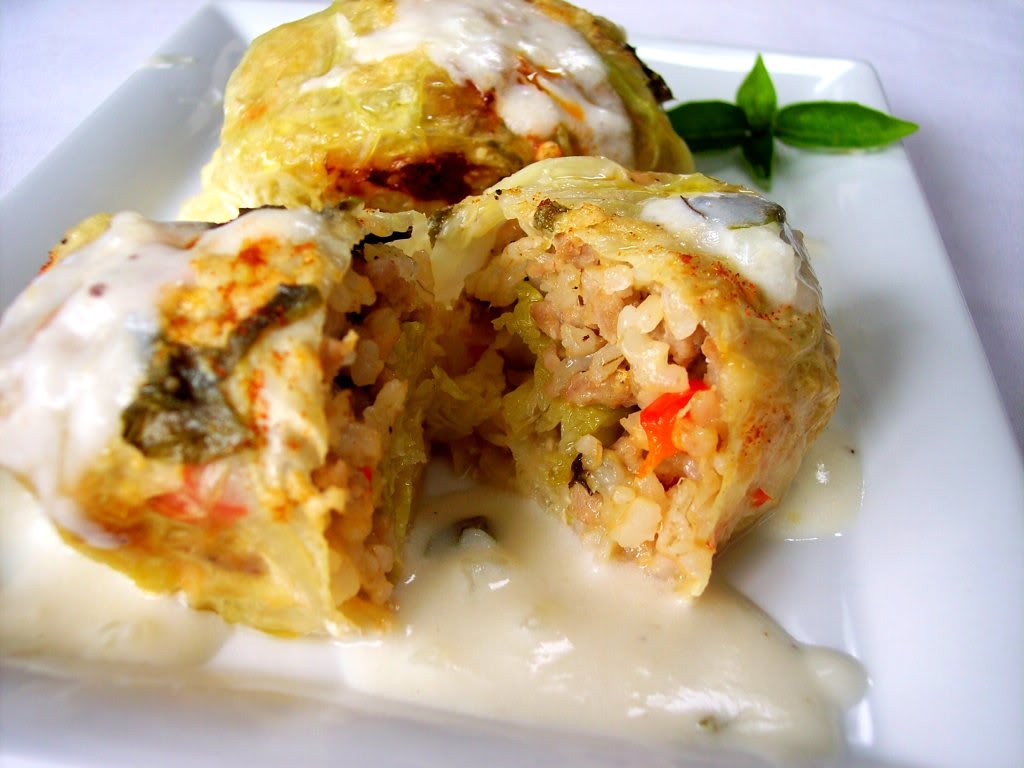
 My cabbage of choice is always savoy, I love the look of it’s lacy patterned veins and crinkled leaves, it tastes great and cooks up perfectly, of course other cabbage would work just as well.
 For this recipe I used one HUGE cabbage and it made 15 rolls.


 I love the shape of acorn squash with those scalloped edges, just cut it in half, scoop out the seeds and pulp then roast it in your oven at 375 degrees cut side down for around 40 minutes, after it cools a bit then take a spoon and scoop out some of the meaty flesh along the sides and bottom reserving that to add to your stuffing mixture.

 I’m Marie, a wife, mother, mother-in-law, and gramma of two beautiful girls. My passion is food, clear and simple but especially Italian food, hence the name of my blog, Proud Italian Cook. I want you to feel right at home here so grab a cup of coffee, I’ll get the pastries, take a look around and enjoy your visit! {


