 |
|
Each holiday season I like to add a few new cookies to my tried and true regulars, this year I wanted to try out these cookie stamps that I saw in my Williams-Sonoma catalog. Each stamp is embossed with a beautiful design, a wreath, a snowflake and a gift tag. |

The dough is a basic sugar cookie dough that has been chilled then rolled into balls, flattened and then stamped.
 |
| I was impressed how well the embossed design showed up, but the decorating part was another story! I bought those edible markers and they didn’t work out very well on the bare cookies, next time, (if there is a next time) I’ll use a piping bag with a small tip. |
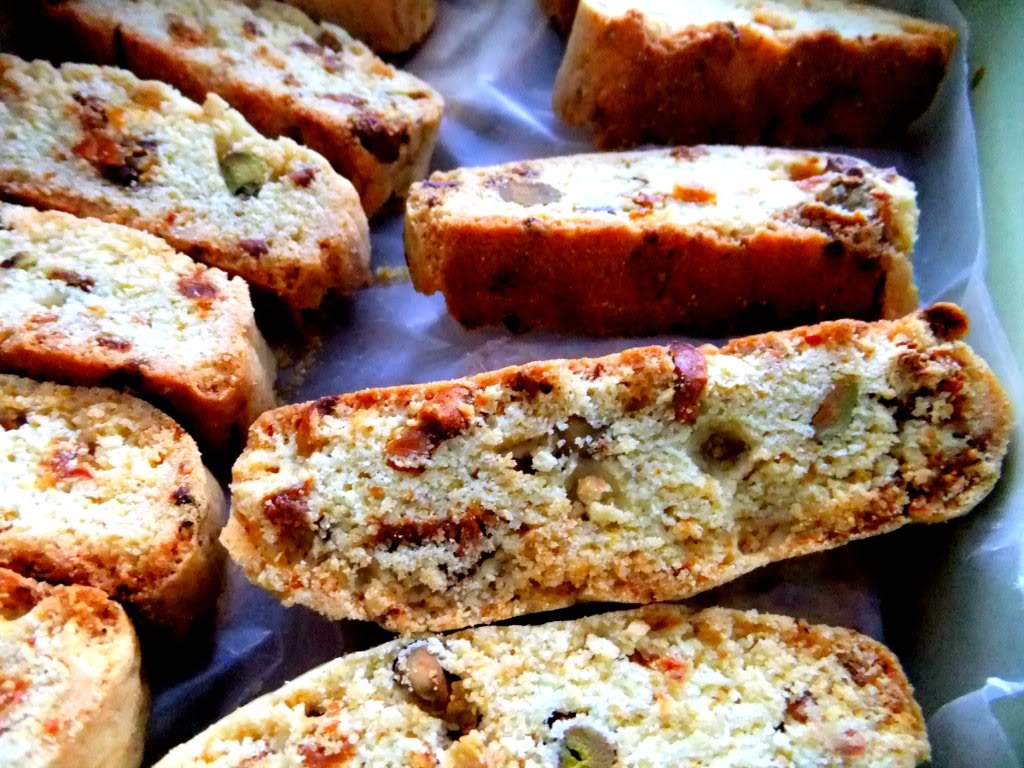 |
| One cookie I can always count on our my Fig and Pistachio Biscotti I make them every year and they are truly a favorite! |
 |
| Along with Cucidati of course! |
 |
| Traditional Italian fig cookies, it just wouldn’t be Christmas without them! |
 |
| Wishing all my readers a very healthy and happy holiday season filled with family, food and fun! Thank you for all your support through out the year, I appreciate each and every email and comment! |


 The sauteed chard is then placed on a pasta dough with enormous amounts of Pecorino romano, more garlic and olive oil then rolled up jelly roll style and baked. It’s so simple with just a few ingredients but the taste is out of this world!
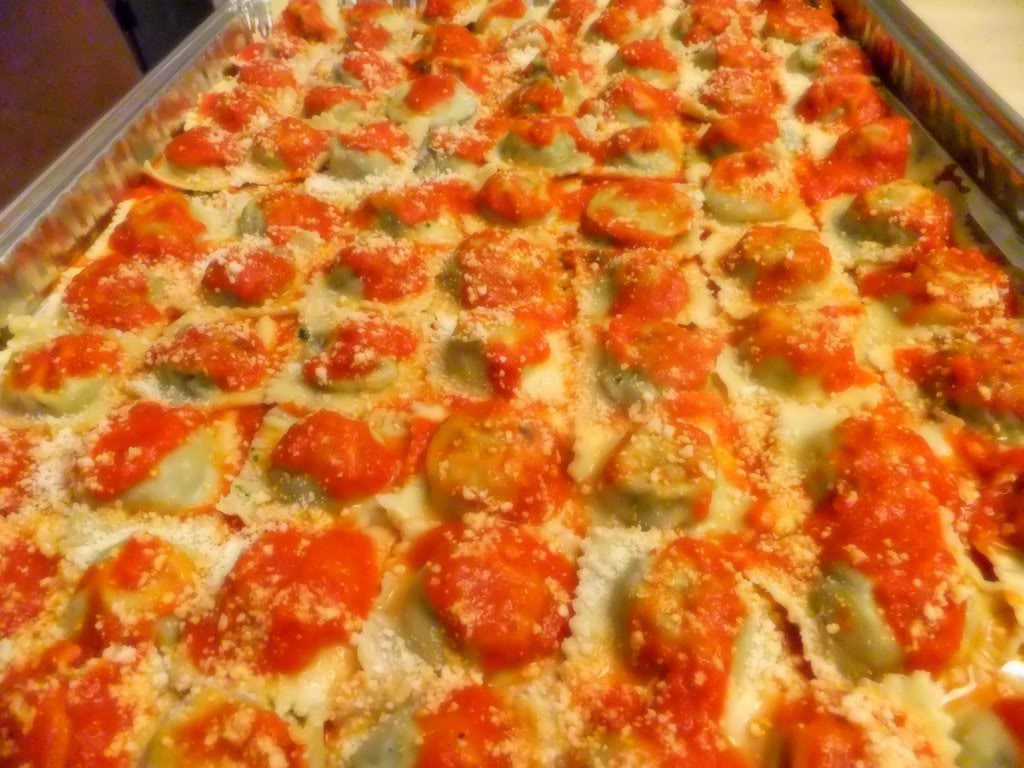
 Then to top off the week I spent a day at my house making ravioli with my cousin and sister-in-law for a party we’re having this weekend, the music was blasting, there was flour everywhere! We were even going to crack open a bottle of wine but opted for coffee instead since it was only 9:00 in the morning!
 I’m Marie, a wife, mother, mother-in-law, and gramma of two beautiful girls. My passion is food, clear and simple but especially Italian food, hence the name of my blog, Proud Italian Cook. I want you to feel right at home here so grab a cup of coffee, I’ll get the pastries, take a look around and enjoy your visit! {


