
Sorry no recipe today just a little recap of my recent California trip. We’ve always wanted to do a Pacific Coast Highway road trip and we finally did it this past week, now I can cross it off my bucket list.
We flew into San Francisco and started our journey there, check out my Instagram account for some of the food we ate and the sites we saw in the bay area.
We continued on our road trip all the way down to San Diego, stopping along the way, staying overnight in beautiful cities along the coast.
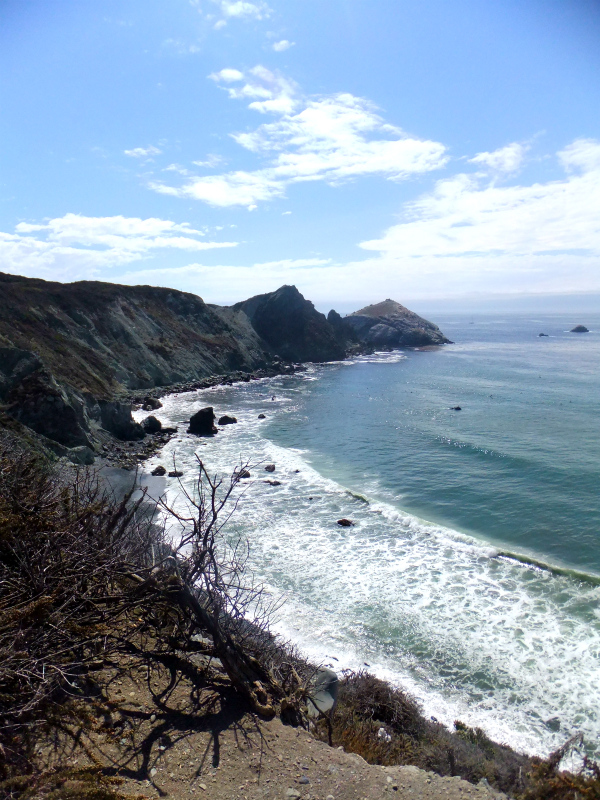
The views were breathtaking, stunning and amazing!
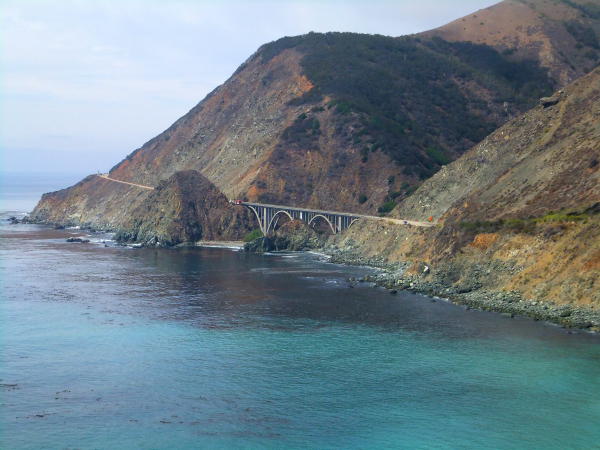
Sometimes a little scary, but oh so worth it!

We even drove through Pebble Beach, seventeen miles of beauty all around.
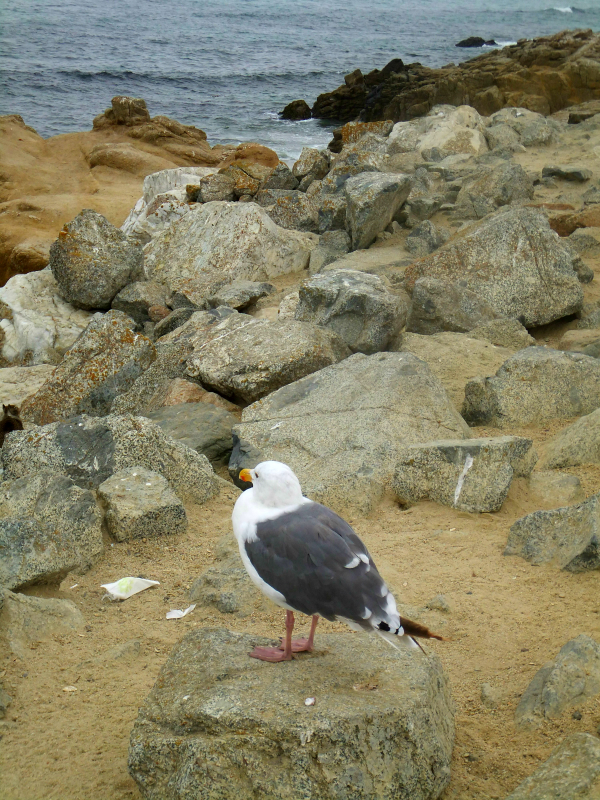
Even the sea gulls were in awe.
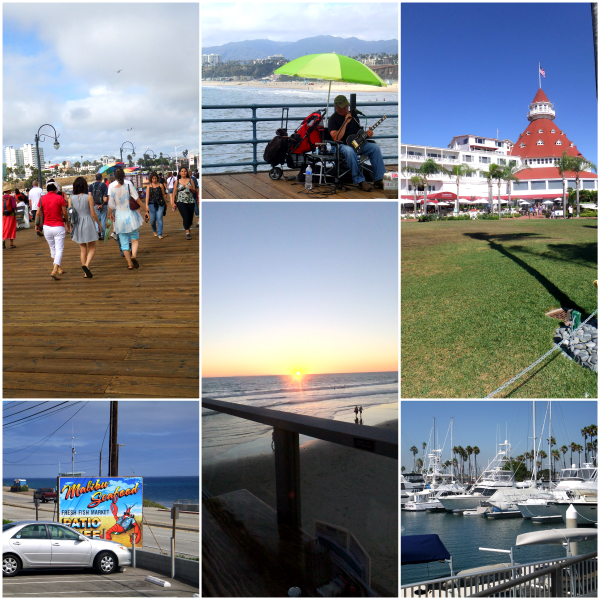
We stopped and stayed at various places along the way on famous Highway 1, like Nepenthe, Monterey, Big Sur, San Simeon, Solvang, Santa Barbara, Malibu, Santa Monica, LA, Long Beach, Venice Beach, Manhattan Beach, Hermosa Beach, San Clemente, all the way down to San Diego.
It only takes about 8 hours to make the drive down to San Diego from San Francisco, we had seven days which gave us more than enough time to see and stay where ever we wanted.
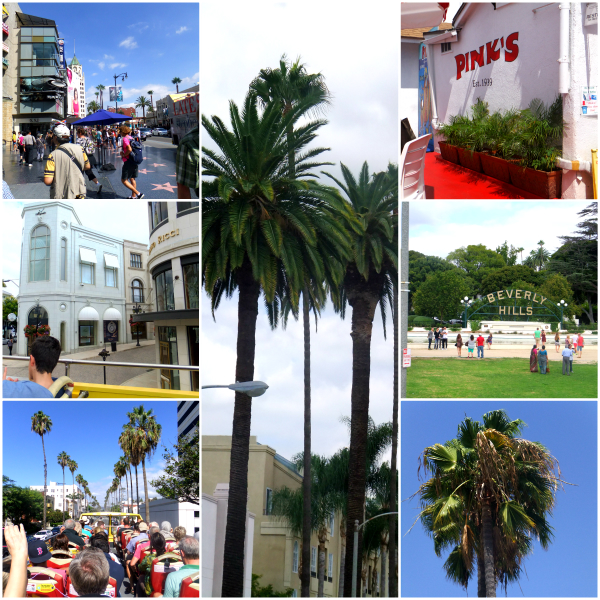
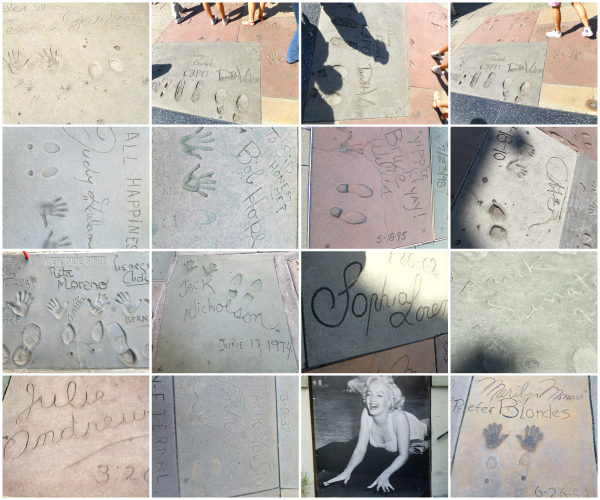
When we got to LA we went on a hop on hop off bus tour which gave us an overview of the city, we were free to get off and visit different touristy things as long as we wanted then hopped back on the bus when we were done, no worries about parking our car in all the different areas we wanted to see. I highly recommend doing that in a big city, it’s stress free!
We did so much it’s hard to show everything in a single post but let me just say I ate delicious, fresh seafood every single day! (Instagram)
If you’ve ever thought about taking a road trip down the PCH, I can just tell you, it’s worth every mile, so much to see, so much to do with gorgeous views.
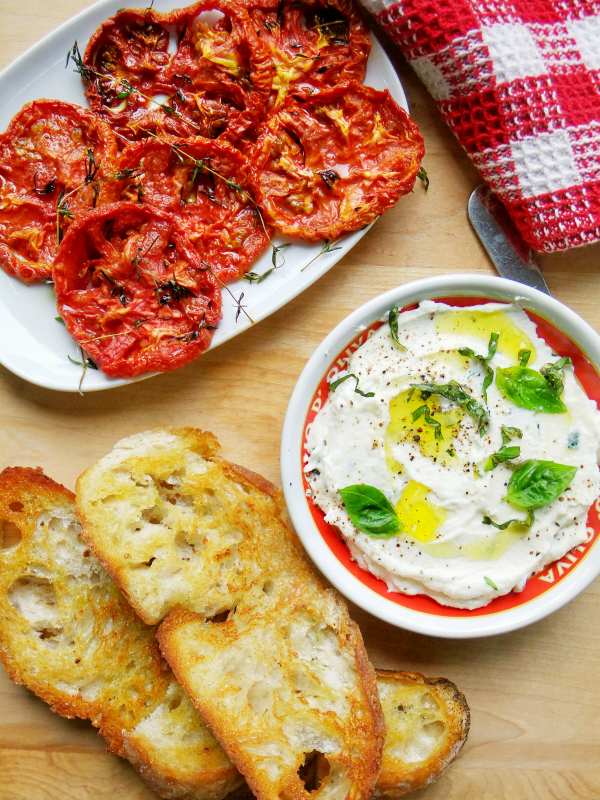
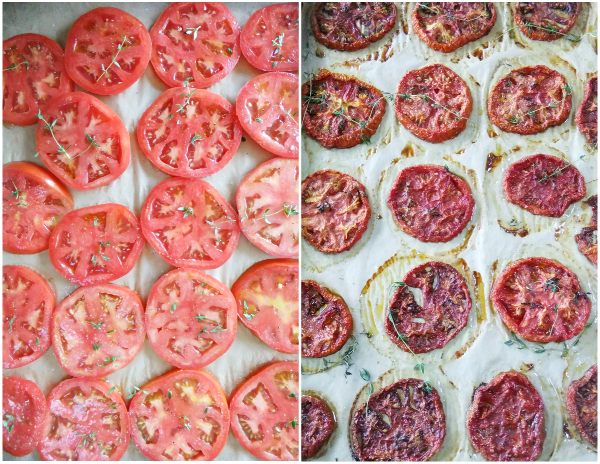
Time to get back cooking in my own kitchen and some of the fall meals I can’t wait to make.
See you soon!


 I’m Marie, a wife, mother, mother-in-law, and gramma of two beautiful girls. My passion is food, clear and simple but especially Italian food, hence the name of my blog, Proud Italian Cook. I want you to feel right at home here so grab a cup of coffee, I’ll get the pastries, take a look around and enjoy your visit! {


