
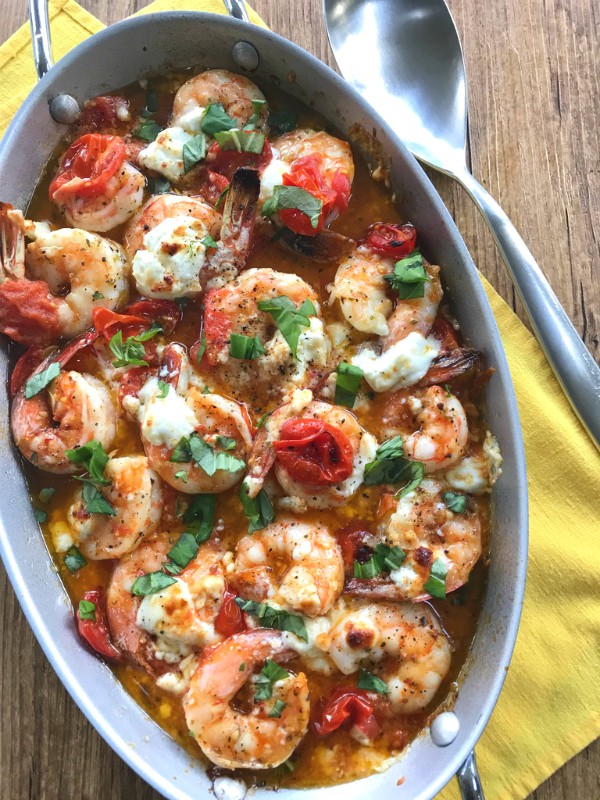
Stuffed pork chops turn traditional pork chops into something very special, especially when they’re filled with apples and dried figs. This combination was made for each other with hints of fresh sage tucked into the filling along with a creamy cider sauce, this recipe has FALL written all over it!
The sauce is dreamy mix of apple cider, broth, Dijon mustard and mascarpone cheese, when all those flavors come together, along with the fig and apple it intensifies the taste of the stuffed pork chops in all it’s glory.

The quality of your pork has a lot to do with this dish as well, I use a heritage breed of pork, thick cut and bone in, it really does make a big difference, it’s so juicy and never dries out. For the stuffed pork chops you’ll want at least 1 1/2 inch thickness so as to make a nice pocket for all the stuffing.
Most butchers will be happy to cut the pocket in for you if you ask, but it’s also very simple to do yourself.
This meal is elegant enough to serve for a special dinner and easy enough to make during the week.

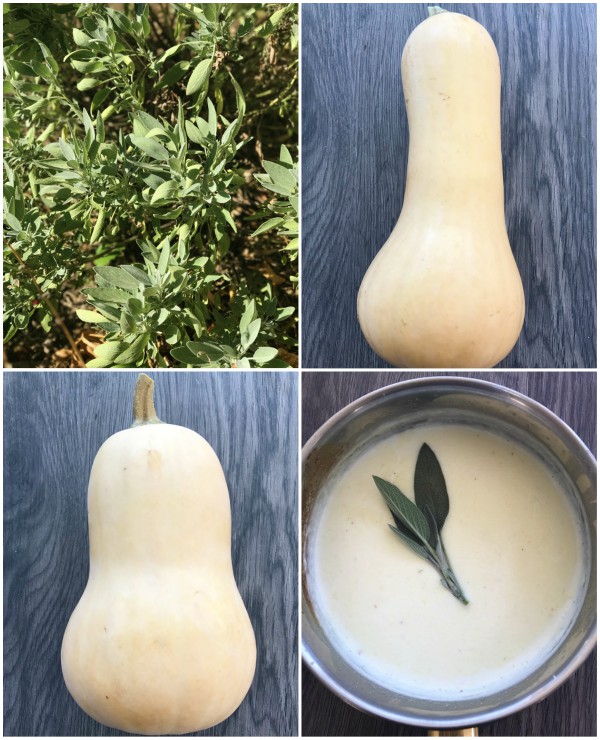
I like to serve a nice platter of roasted veggies on the side with the pork chops, here I used cauliflower, shaved brussels sprouts, baby rainbow carrots and some delicata squash which by the way can be done way ahead of time, even the day before.
Take your pork chops to the next level with this perfect fall meal, I promise it will become a family favorite.
Follow along with me on Instagram to see what I’m cooking up during the week.
- 2 bone in, thick cut good quality pork chops about 1½ inch thick with pocket cut in for stuffing
- 1 apple, skin on chopped
- 4 dried figs, chopped
- 2 dried figs sliced to place into cider sauce
- 1 small stalk celery, sliced
- ½ onion, chopped
- small handful mushrooms, chopped (optional)
- 3 fresh sage leaves, chopped with extra for garnish
- 1 garlic clove, chopped
- ½ to ¾ cup breadcrumbs
- salt and pepper to taste
- CIDER SAUCE
- ¼ cup apple cider
- ¼ cup chicken broth
- 2 tablespoons, smooth Dijon
- 2 tablespoons, mascarpone cheese
- To prepare the pork chops, either have your butcher make the pocket or you can easily do it yourself by slicing each chop from the fat side almost to the bone with a sharp knife, make it wide enough so you can place alot of stuffing inside. salt and pepper both sides of chop and inside pocket.
- In a small saute pan with a knob of butter cook the celery, garlic and onion until soft as well as the mushrooms if using them.
- Add to the pan the sage, figs and apples, toss, then add the breadcrumbs, if it looks dry add a teeny bit of broth to moisten.
- Stuff your chops with the mixture and secure it closed with a regular wooden skewer ( you can see mine in the photo). You might have extra stuffing depending on how big your chops and pockets are.
- Heat oven to 375
- In a heavy bottom cast iron skillet drizzled with olive oil, or any pan that is oven proof ed, brown your pork chops until crusty and golden on one side then gently flip them over crusty side up, place a few sage leaves on top of each and put the whole pan into the oven.
- Cooking times will vary according to ovens but the internal temp should read near 145.
- Remove pan from oven, onto stove top and place pork chops on a plate loosely covered with foil.
- Then with a whisk deglaze bits with broth, cider on low temp, then whisk in Dijon until incorporated then lastly the mascarpone, whisking until the sauce is nice and creamy.
- Turn off the heat, add in the sliced figs to the sauce and return the chops into the pan, spooning a little cider sauce on top of them.
- Serve immediately with a side of your choice!


 I’m Marie, a wife, mother, mother-in-law, and gramma of two beautiful girls. My passion is food, clear and simple but especially Italian food, hence the name of my blog, Proud Italian Cook. I want you to feel right at home here so grab a cup of coffee, I’ll get the pastries, take a look around and enjoy your visit! {


