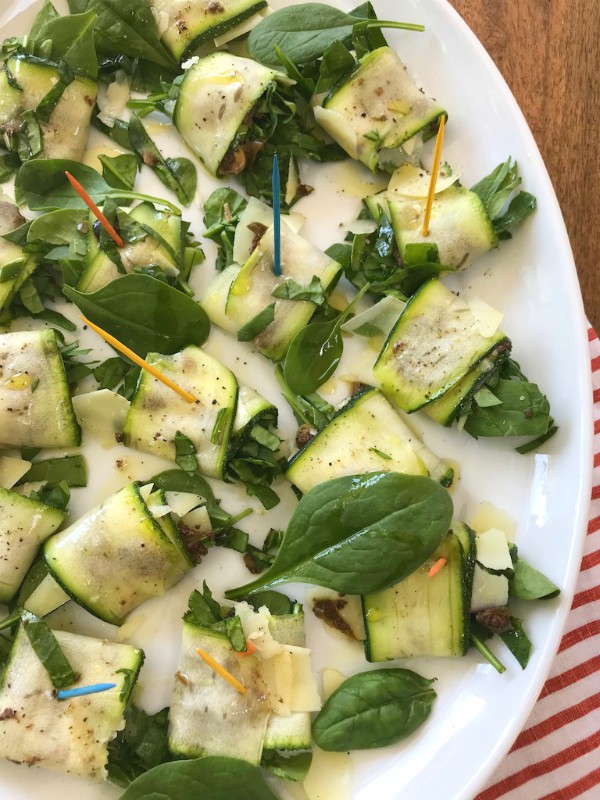
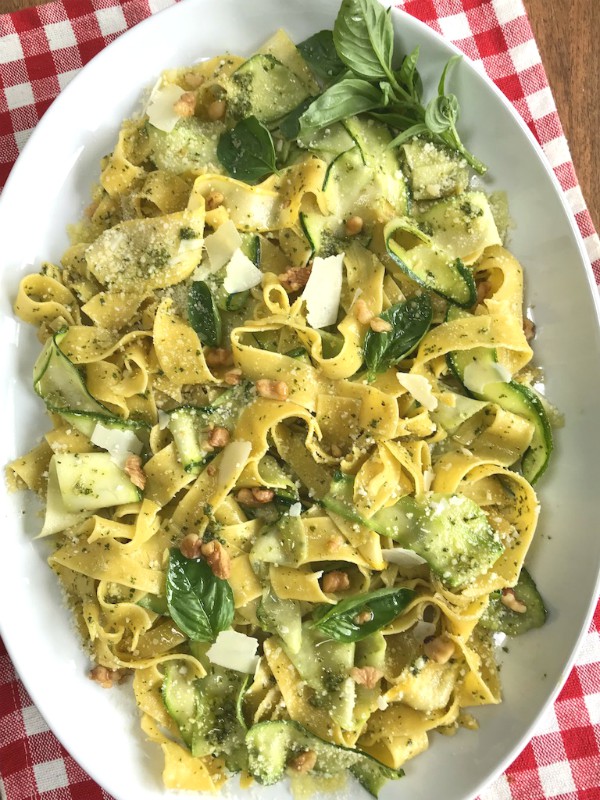
Zucchini ribbon rolls are such a wonderful summer appetizer, snack or side dish to make when zucchini is in abundance. Delicate ribbons of zucchini smeared with olive tapenade, shaved parmesan and shredded spinach. It’s a combination that packs a punch in flavor, yet it’s so fresh and light.
I actually saw this recipe in a Sunset magazine that I was reading on a plane coming home from vacation and I couldn’t wait to make it.
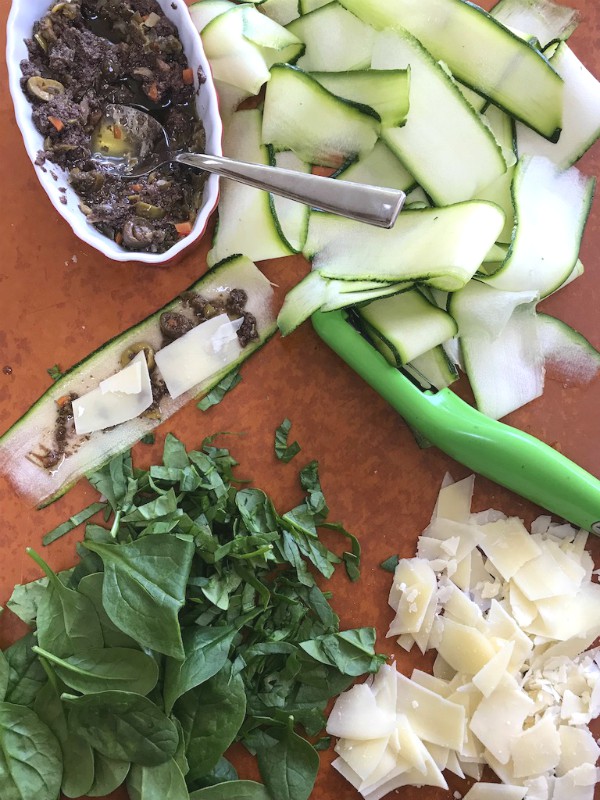
It’s super easy to make, no cooking involved just create your ribbons of raw zucchini by using either a mandoline or a veggie peeler as I did. Purchase a good quality jar of olive tapenade, shave up a pile of parmesan cheese and shred some raw baby spinach.
I’ve made these twice already and each time they quickly disappeared off of the platter, they’re just perfect for your next summer party. You can prep everything ahead but I actually like the way they taste after sitting for an hour, the zucchini softens slightly and all the flavors really mingle together.
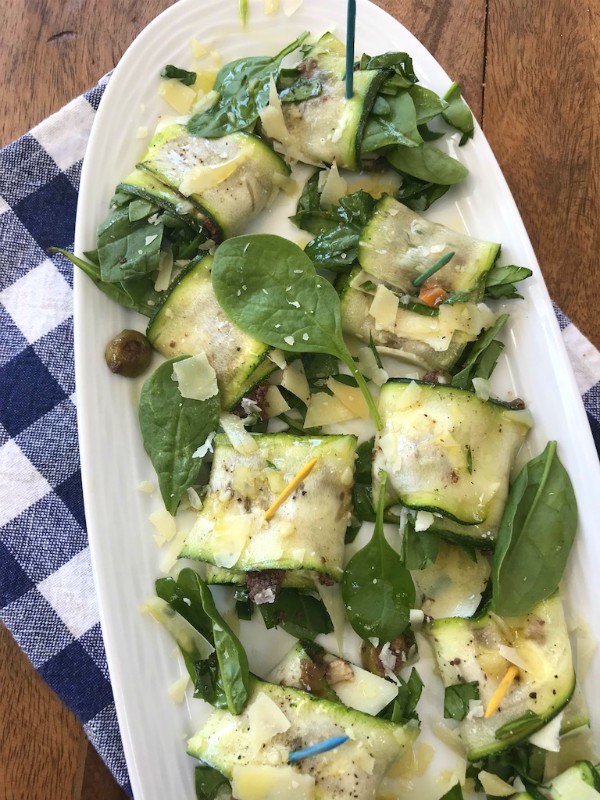
Drizzle the top with the best olive oil you have so it can seep into these delicious little rolls to enrich the flavor even more.
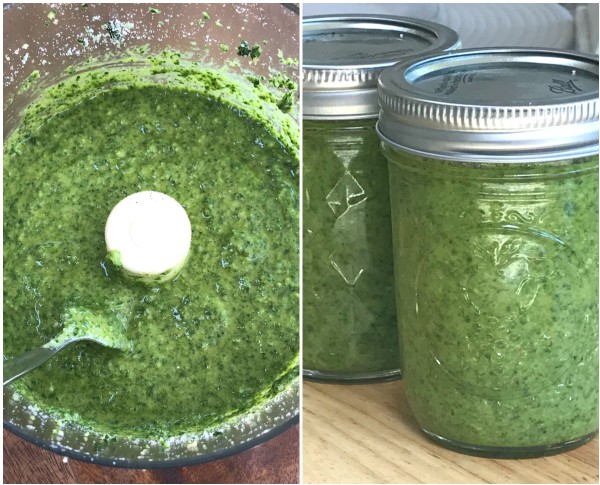
For another version you might want to smear the zucchini ribbons with your favorite pesto, think basil, arugula, spinach or even sun-dried tomato to name a few, but the possibilities are really endless!

Enjoy these while the bounty of zucchini is upon us!
Follow me on Instagram to see what else I’m cooking up during the week.
- zucchini, ends trimmed and made into ribbons with either a mandoline or veggie peeler
- parmesan cheese, shaved
- baby spinach leaves, cut into thin ribbons
- store -bought tapenade
- olive oil
- black pepper
- Lay the ribbons on a flat surface, then smear each ribbon with tapenade.
- Place the parmesan shavings on the top.
- Put a generous pinch of the shredded spinach at the end of each slice.
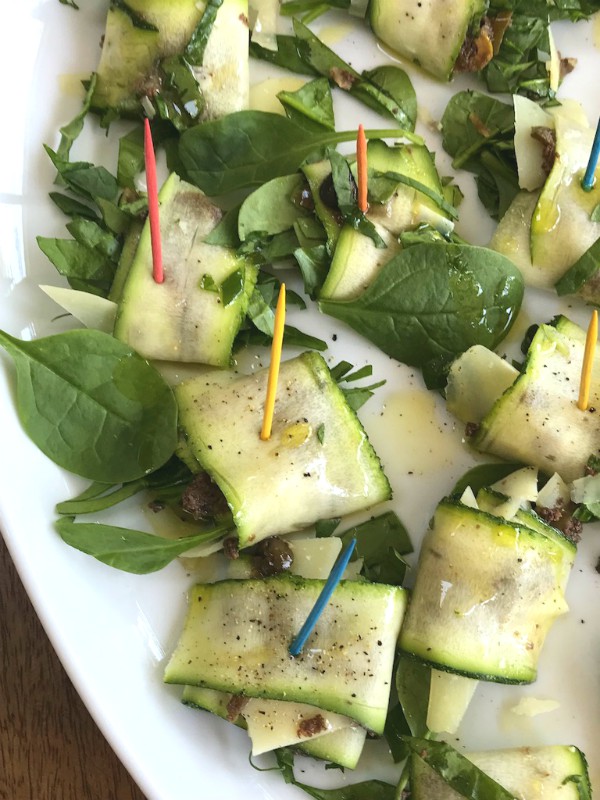
- Roll up starting from the spinach end and close with toothpicks if you like.
- Place them on a platter, drizzle with olive oil, sprinkle with black pepper and scatter more cheese around.
- NOTE:
- Find zucchini that are wide enough so that when you make the ribbons you'll have some good surface to spread your ingredients on, so small ones wouldn't work. Also when making your ribbons, when you reach the seeds, turn the zucchini and keep peeling, do not use the seeded part for your ribbons.


 I’m Marie, a wife, mother, mother-in-law, and gramma of two beautiful girls. My passion is food, clear and simple but especially Italian food, hence the name of my blog, Proud Italian Cook. I want you to feel right at home here so grab a cup of coffee, I’ll get the pastries, take a look around and enjoy your visit! {


