
Easter will be quite different for all of us this year but we can still try and make the best of it. I’m thankful for FaceTime, Zoom and all the other video apps where we can chat and connect with family and friends as often as we want while we all hunker down in our homes and pray for this virus to end.
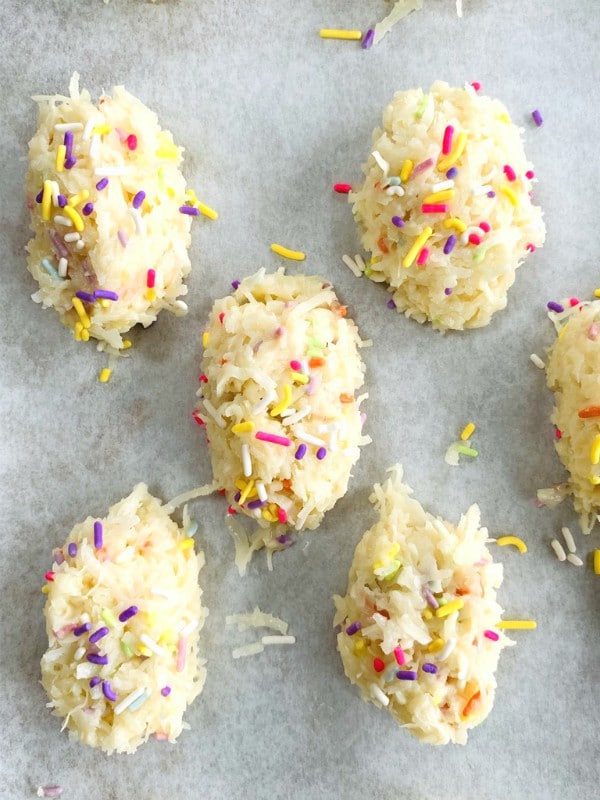
The fact is Easter is around the corner and there are still ways we can make it special. If you’re looking for a super easy and fun sweet treat to make, one that doesn’t require a bunch of ingredients and one that your kids could help you make and eat, try these colorful, sprinkle, chocolate dipped macaroons!

Cute little sprinkles in pastel colors is a pop of brightness after a long winter and it is very spring like.

This recipe comes from Molly Yeh but I put my spin on it by shaping them into Easter eggs and using pastel sprinkles, but you can certainly use whatever colored sprinkles you have and just scoop them out into round mounds if you like.
And just a note, if you think you might not care for sprinkles in your macaroons, I urge you to take a bite of these, I was hooked!

They’re soft and chewy in the middle and crisp and toasty on the outside and finished off with a nice dip into chocolate!

Just a few ingredients are required and some you probably already have in your pantry, like a jar of sprinkles, a can of sweetened condensed milk, a bag of chocolate chips and coconut.

Whatever your own spin is on these cookies I know you’ll love them! Who doesn’t love cookies and especially ones with sprinkles!

Have a blessed Easter, wishing you all safety and good health with the hope that we’ll all be reunited with our loved ones soon.
Follow me on Instagram to see what else I’m cooking up during the week.
- 1 cup sweetened condensed milk
- 2 teaspoons, vanilla
- ½ teaspoon almond extract
- 1 14 oz. bag sweetened shredded coconut
- 2 large egg whites
- ¼ t, salt
- ¼ cup pastel sprinkles or rainbow of any color, more for topping each cookie
- 3 oz. of chocolate chips or any kind for melting
- Preheat oven to 350 f. Line a baking sheet with parchment
- In a large bowl add the condensed milk, vanilla and almond extract. Mix in the shredded coconut and set aside.
- In a separate bowl beat the egg whites with the salt until stiff peaks form.
- Fold the egg whites into the coconut mixture and then gently fold in the ¼ cup of sprinkles.
- Scoop out about a 2" ball and shape it into an egg, or if not shaping into egg just leave it as that.
- Place onto baking sheet 1" apart and sprinkle the tops with more sprinkles.
- Bake until golden brown, check at about 18 minutes, remove from oven, let it cool for a few minutes then transfer to a wire rack.
- Melt your chocolate in the microwave at 30 second increments, stirring til smooth.
- Dip the bottoms of the macaroons into the melted chocolate and place back on parchment.
- Let the chocolate on the cookies cool completely at room temperature or in the fridge.
- These can be. stored in the fridge for up to a week and still be fresh and delicious!


 I’m Marie, a wife, mother, mother-in-law, and gramma of two beautiful girls. My passion is food, clear and simple but especially Italian food, hence the name of my blog, Proud Italian Cook. I want you to feel right at home here so grab a cup of coffee, I’ll get the pastries, take a look around and enjoy your visit! {


