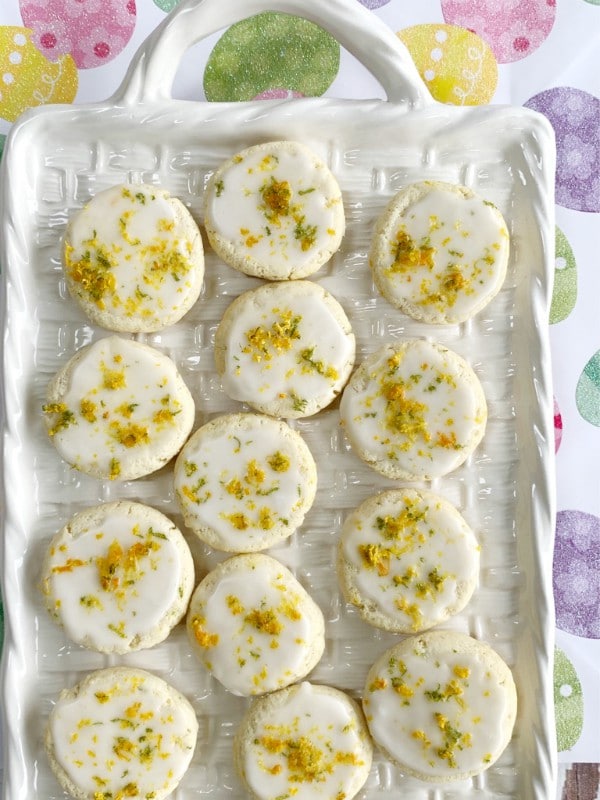
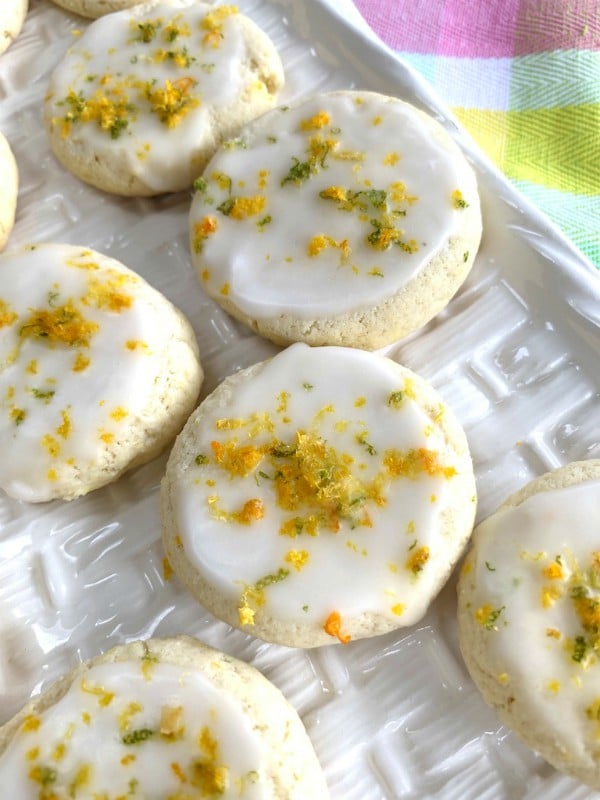
Zesty and soft with a cake like texture these triple zested ricotta cookies will be your new favorite. What I love about ricotta cookies is that you can adapt them to any holiday or special occasion by changing up the frosting and sprinkles, but in general most ricotta cookies are lemon flavored.
This version has a little twist to it, they’re infused with the brightness of lemon, lime and orange zest inside and out, so they’re perfect to serve for your spring and summer parties as well as the Easter holiday which is right around the corner.
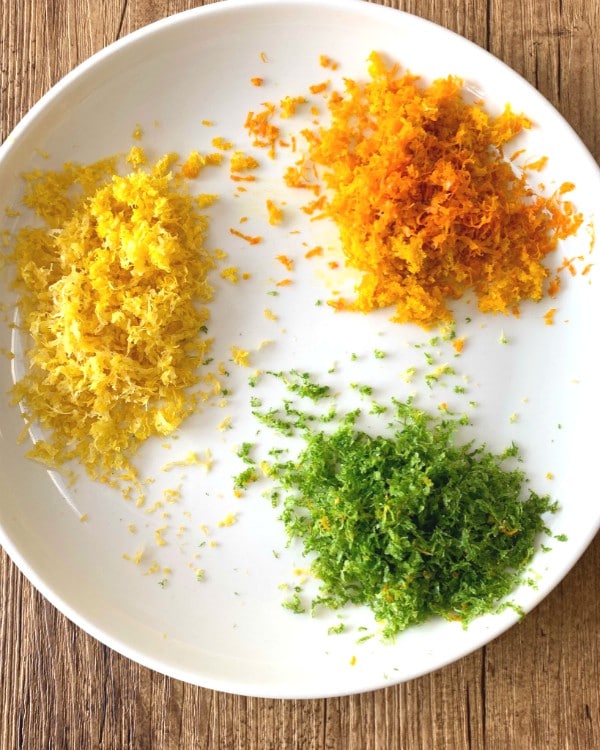
There’s nothing like the smell of freshly zested citrus, it screams springtime to me which is very welcoming after a long cold winter.

Ricotta cookies are surprisingly easy to make, not a lot of ingredients either which is a good thing, and everyone seems to gobble them up when they’re sitting out on a platter, they’re just irresistible!

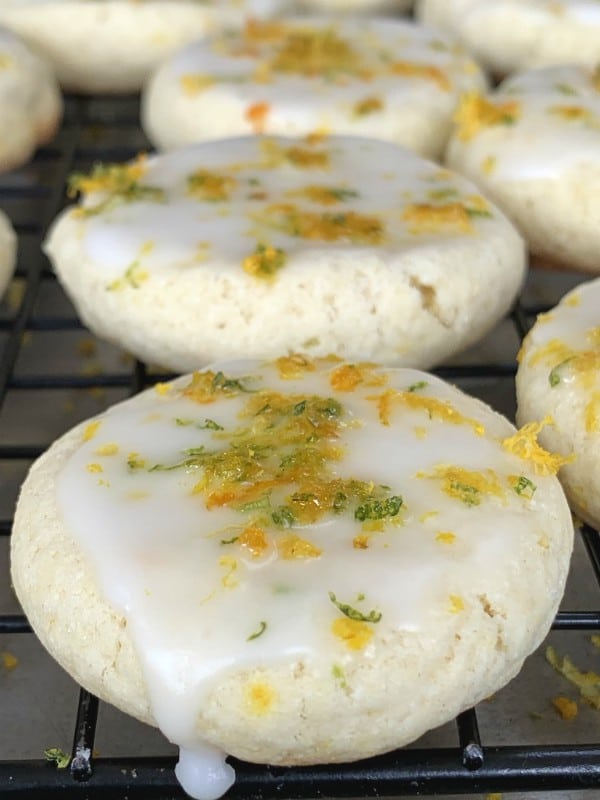
With each bite you’ll taste a rich burst of citrus flavor because the zest is in the dough as well as the frosting which gets brushed on top.
NOTE; My only advice would be to let the zest for the frosting dry out a bit, it works better, tastes better and frosts better.

Think wedding and baby showers, Mother’s Day, graduations, picnics, family gatherings and holidays, these ricotta cookies will fit right in for those special occasions.

I would say that these triple zested ricotta cookies are destined to become your new favorite cookie once you try them!
Follow me on Instagram to see what else I’m cooking up during the week.
- orange, lime and lemon zest about 2 tablespoons each let the zest dry out a bit
- 1 cup, ricotta (dry and drained of moisture. Instead of deli style look for a good brand that's packed in a container that you can buy in the refrigerated section because they're usually dryer in texture)
- 1 stick unsalted butter, room temperature
- 1 cup sugar
- 1 large egg
- 1 teaspoon vanilla
- pinch of salt
- 2 cups all purpose flour
- ½ teaspoon baking soda
- FROSTING
- lemon juice
- 1 cup, powdered sugar
- Mix the zest together.
- Heat oven to 350F. and line a baking sheet with parchment.
- In a large bowl add the ricotta, softened butter, sugar, vanilla, salt and egg, mix them together on low speed until incorporated.
- In a smaller bowl add the flour and baking soda, use a whisk and incorporate by hand.
- Now on low speed add the flour mixture to the ricotta mixture making sure all is incorporated.
- Add in 1 tablespoon of the zest to the mixture and blend til it's throughout the dough.
- Take a teaspoon size piece of dough and roll it into a ball like a meatball and place onto the parchment lined baking sheet.
- Bake for ten minutes on lower rack then pull them out of the oven and take the back side of a flat spatula and gently press down on the tops, this is not necessary but my preference because it gives a nice surface for the frosting.
- Then place them back into the oven on the upper rack for 3 more minutes, make sure bottoms are nicely golden.
- Take them out and let them cool completely on a rack before frosting.
- FROSTING
- Mix the powdered sugar with lemon juice until you have the right consistency then take a pastry brush and brush each cookie one by one with the frosting, then sprinkle a pinch of the tripled zests that you dried up a bit and mixed together on the tops of each cookie. Repeat until they're all frosted, one by one.
- Let them set for a couple of hours so frosting can dry, store in an airtight container between waxed paper. You can also freeze them, this recipe makes around 30 cookies.
- Feel free to double or triple the recipe!


 I’m Marie, a wife, mother, mother-in-law, and gramma of two beautiful girls. My passion is food, clear and simple but especially Italian food, hence the name of my blog, Proud Italian Cook. I want you to feel right at home here so grab a cup of coffee, I’ll get the pastries, take a look around and enjoy your visit! {


