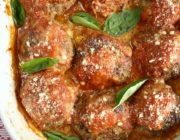
Mushroom Galette With Roasted Garlic And Thyme

galette

A galette is a rustic, freeform pie/tart which can be savory or sweet. They’re super simple to make and the finished results are very impressive!

This savory tart is filled with roasted cremini and oyster mushrooms with a bulb of roasted garlic smashed into it with hints of fresh thyme. There’s also a three cheese mix of asiago, parmesan and mozzarella melted into it.

Keep in mind you’re free to use any mix of mushrooms you like as well as any mix of cheese you prefer, that is the fun thing about making galettes, do your own thing, make your own combo, this is just a guideline for what I used, which happened to be very successful and delicious!

You can make your own pie crust or even buy a good quality one to make life easier. I’ll let you in on a little secret…  I used a Trader Joe pie crust for this, but every time I use it I make sure to ball up the dough first then I roll it out to the size I want, I never just take it out of the package and use it as is.

If you prefer to make a homemade crust, here’s one that I make that would go very well with this mushroom galette.
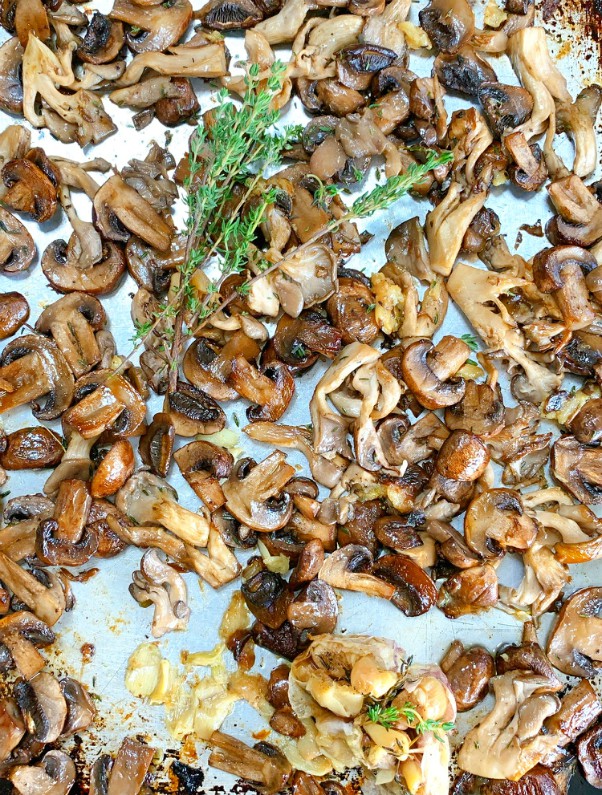
roasted mushrooms

Roasted mushrooms always produce great flavor and even more so when you squeeze and smash roasted garlic into the mix.

roasted garlic

The garlic you can roast ahead of time, keeping it in the fridge and using it for multiple dishes as well as this one, it’s a nice treat to have tucked away.

mushroom galette

Another reason I’m such a fan of galettes is that you always get a nice, crispy crust all the way around and on the bottom with each and every slice.

sliced galette

The flavor combination of this rustic, stress free dinner is out of this world good, so good we couldn’t wait to have the leftovers the next day!

I hope you make this heavenly mushroom galette, it’s the perfect fall meal!

5.0 from 2 reviews
Mushroom Galette With Roasted Garlic And Thyme
 
Rustic, freeform and super impressive!
Author:
Ingredients
  • 1 pastry pie crust, either homemade or good quality store bought
  • 1- ½ lbs. of cremini mushrooms, sliced and roasted
  • ½ lb. oyster mushrooms, sliced and roasted (Can use all of one kind or a mix of others)
  • 1 whole bulb of roasted garlic
  • 1 cup shredded mozzarella
  • ½ cup shredded asiago
  • 2 heaping tbl. grated parmesan, plus a little extra for garnishing
  • thyme sprigs
  • olive oil
  • 1 egg for egg wash
Instructions
  1. Pre-roast your garlic ahead of time by cutting off the top portion of a whole bulb, placing it in tin foil and dowsing it with olive oil, some salt and pepper and a couple of thyme sprigs. Wrap it up and place into a 350F. oven around 30- 40 minutes or til golden and soft.
  2. Pre-roast mushrooms in 400F. oven sprinkled with thyme leaves and drizzled with olive oil, roast until all the moisture is out and they start to caramelize.
  3. When mushrooms are done and while the pan is still hot, squeeze and smash in the whole bulb of roasted garlic, tossing gently til incorporated, taste if salt and pepper is needed.
  4. On a piece of parchment that will fit a baking sheet, roll out your pastry to around 12 inches, then place the whole thing onto a rimmed baking sheet.
  5. Sprinkle the cheese mixture on the bottom of the pastry leaving an inch and a half border all around, reserve 2 tablespoons of the cheese mixture to dot on top of galette.
  6. Spread the mushrooms all around the top of the cheese mixture, covering it completely.
  7. Fold up the edges of the dough all around the filling.
  8. Put reserved tablespoons of cheese on top of mushrooms dotting it in sections. ( it just makes it look pretty when finished).
  9. Whisk egg then brush the folded up edge with it, you'll have leftover egg for sure.
  10. Sprinkle some thyme on the crust edge along with grated parmesan and black pepper.
  11. Top galette with 2 or 3 sprigs of thyme and pop it into a 400F. oven for around 30 to 40 minutes or until deep golden on bottom and crust, all ovens do vary.
  12. Serve warm or at room temp.
  13. Enjoy!


Signature

Make Ahead Stress Free Thanksgiving Turkey Gravy

make ahead turkey gravy

Does the thought of making turkey gravy at the last minute stress you out while your guests are eagerly awaiting to eat? Years ago that was the part of Thanksgiving dinner that really stressed me out, gathering up all the drippings, maneuvering big pans, trying to skim off the fat of the drippings so it looked presentable in the gravy bowl.

Well have no fear, this is the solution, make ahead turkey gravy. You can make it days before and on Thanksgiving day just heat it up, no more fussing with the drippings trying to make a nice non lumpy, fat free gravy.turkey

Here’s how you do it!

Buy some turkey parts, they should be readily available around this time of year, a package of turkey wings or turkey legs, you don’t need much.

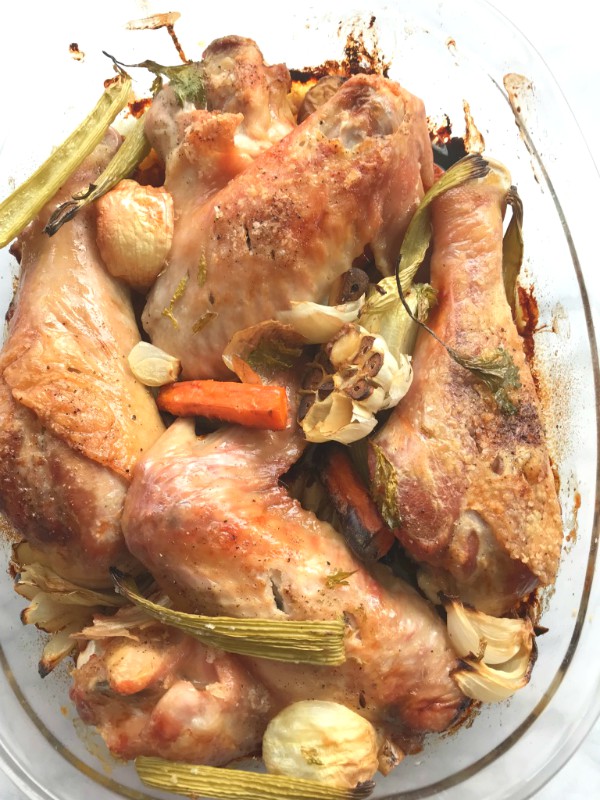
Here I used a combination of two wings and two drumsticks and placed them into a baking dish with aromatics, as shown above. Add in some herbs, a drizzle of olive oil and a little broth on the bottom, just a little.roasted turkey

Roast the turkey parts in the oven uncovered for around 1- 1 1/2 hours or until nicely golden brown, the house will start smelling good.turkey broth

Then take every bit of the turkey, the bones, the veggies, herbs and all the bits on the bottom of the pan that you scraped up and put them into a stock pot with enough broth to cover. I used turkey stock but chicken would be fine as well.

Simmer slowly for a couple of hours, you’ll see the turkey fall off the bones and the veggies super soft, then let it cool down.

Get yourself a nice mesh strainer, place it over a large bowl and ladle all that goodness into the strainer, turkey, veggies and all. Let all the juices drip through the strainer, helping the process by smashing down with the back of a spoon, you’ll  be surprised how much juice comes out of the vegetables and turkey.turkey drippings

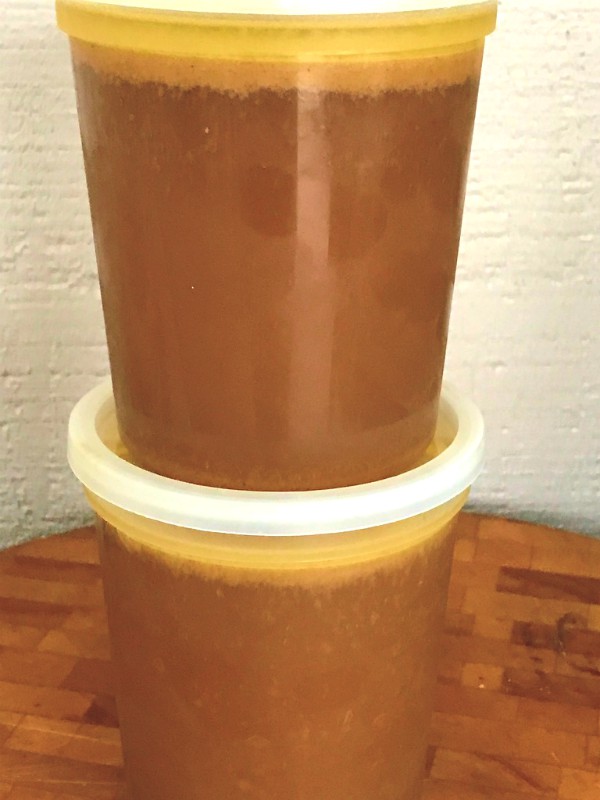
Place your throughly strained drippings and broth into containers, then refrigerate it overnight.

By refrigerating it overnight you’ll be able to skim off all that fat that rises to the top ensuring a rich and fatty free velvety gravy.turkey gravy


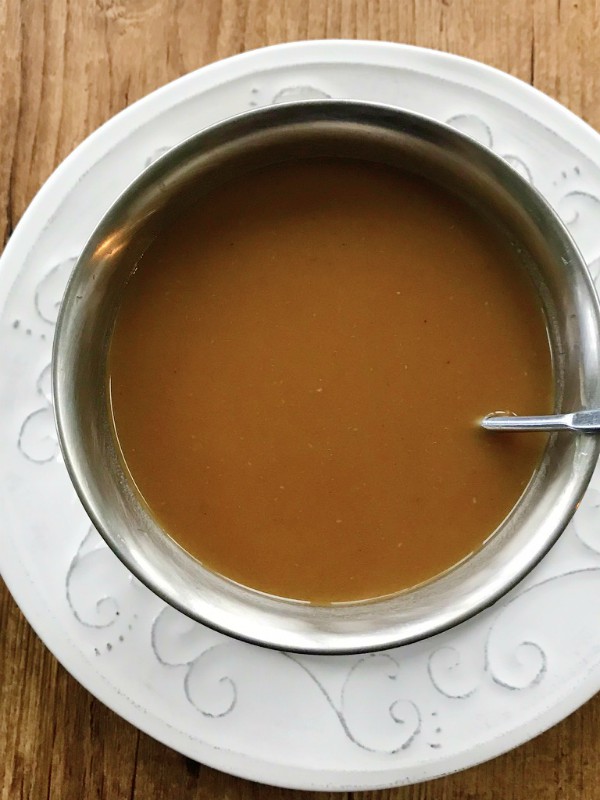
Then it’s time to actually make the gravy that you’ll be serving to your guests and adorning your turkey, stuffing and potatoes with. Once you whisk it all up and it’s completely finished, cool it down and place into containers.

If it’s just a few days before Thanksgiving, refrigerate it, if a week or more before you can freeze it, taking it out the day before Thanksgiving to defrost, remember now your delicious turkey gravy is completely finished.turkey gravy

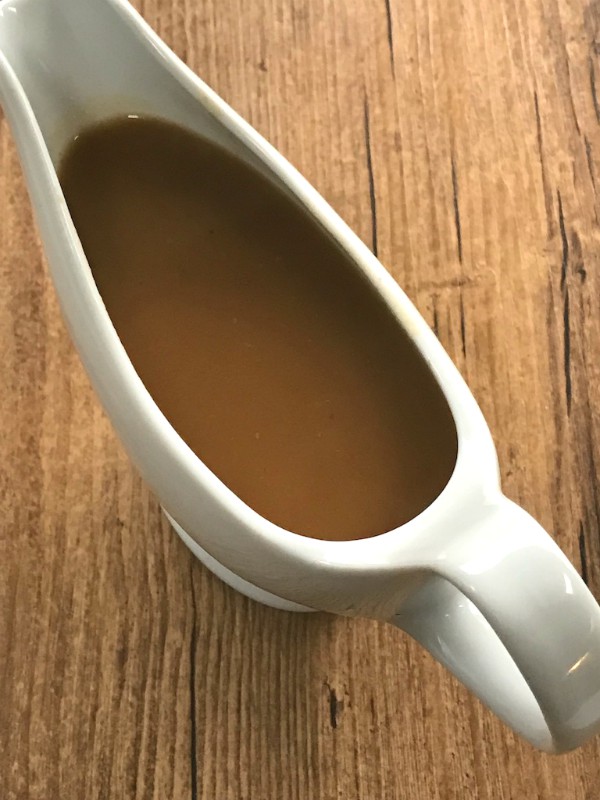
Then the best part is while your turkey is resting or being sliced you’ll have your beautiful gravy finished to perfection warming up on the stove!turkey gravy

No lumps, not fat rising to the top, no stress, just rich and wonderful turkey gravy, plenty for that day and for leftovers.turkey gravy

And lets face it there can never be enough gravy!

Follow me on Instagram to see what else I’m cooking up during the week.

5.0 from 1 reviews
Make Ahead Stress Free Thanksgiving Turkey Gravy
 
Author:
Ingredients
  • turkey parts, wings, legs or a combo of both
  • aromatics, garlic, carrot, onion, celery, sage, thyme
  • 3 boxes of turkey stock or chicken, low sodium
  • olive oil
  • salt and pepper to taste
  • FOR THE GRAVY:
  • one half cup plus probably a couple more tablespoons ( see instructions) of Wondra brand, quick mixing flour if you can find it, if not, regular all purpose flour would be fine also
  • 1 stick butter, unsalted
  • 1 or 2 teaspoons of Gravy Master it's should be found in the spice aisle. (it's optional really, you don't need it but I grew up with this, it gives the gravy a richer deeper color)
Instructions
  1. Heat oven to 375.F place turkey parts int a baking dish, not too deep, salt and pepper the parts and add aromatics like garlic, celery, onion and herbs.
  2. Drizzle with olive oil and pour a little broth in the bottom of the pan.
  3. Roast for maybe 1- 1½ hours or until nicely golden brown.
  4. Transfer everything into a stock pot, all the veggies, turkey and every bit of those drippings.
  5. Add enough stock to cover the parts, I added 2 boxes of turkey stock, but you can also use a mix with water or chicken stock. Don't drown it just cover it, add in some salt and pepper.
  6. Let it simmer slowly for around two hours partially covered, you'll see the meat fall off all the bones and the veggies will be super soft and fall apart.
  7. Let it cool down a bit then take a mesh strainer over a large bowl and throughly strain all the turkey and veggie contents, pressing down with the back of a spoon to help get all those tasty drippings into the bowl, take your time and let it all drip down.
  8. Pick on, feed to a dog or discard those solids that are left.
  9. Place strained broth/drippings into containers and refrigerate overnight so the fat can rise to the top.
  10. MAKING THE GRAVY;
  11. Skim the fat off the top of your broth before starting to make your gravy.
  12. You'll need two saucepans, one to warm up your broth so it's not ice cold then a separate one you place the stick of butter into to melt.
  13. When butter is melted whisk in ½ cup of flour, and keep whisking until it's nice and golden about a minute or two, then pour the warm broth in and keep whisking until its thickened to your liking. I ended up putting 2 additional heaping tablespoons of flour into mine. In a separate small bowl I placed the additional flour and enough water to make a non lumpy consistency then poured and whisked it into my gravy mixture to make it thicker which I needed.
  14. Taste for additional salt and peeper if needed.
  15. At this point you can refrigerate the gravy into a container in the fridge a few days before Thanksgiving or just freeze it and take it out to defrost the day before Thanksgiving, either way just heat up and serve while the turkey is resting and being sliced. The fuss and mess will be done ahead of time for you and you'll will be stress free at the crucial time before eating on the big day.
  16. NOTE;
  17. I ended up with 2 full quarts of gravy, which is more than enough and don't forget you could still save the drippings in the pan on Thanksgiving Day and make additional the next day or add to what you have left.
  18. Refer to my post for pictures, how many turkey parts I used and the amount of broth to achieve this.


Signature