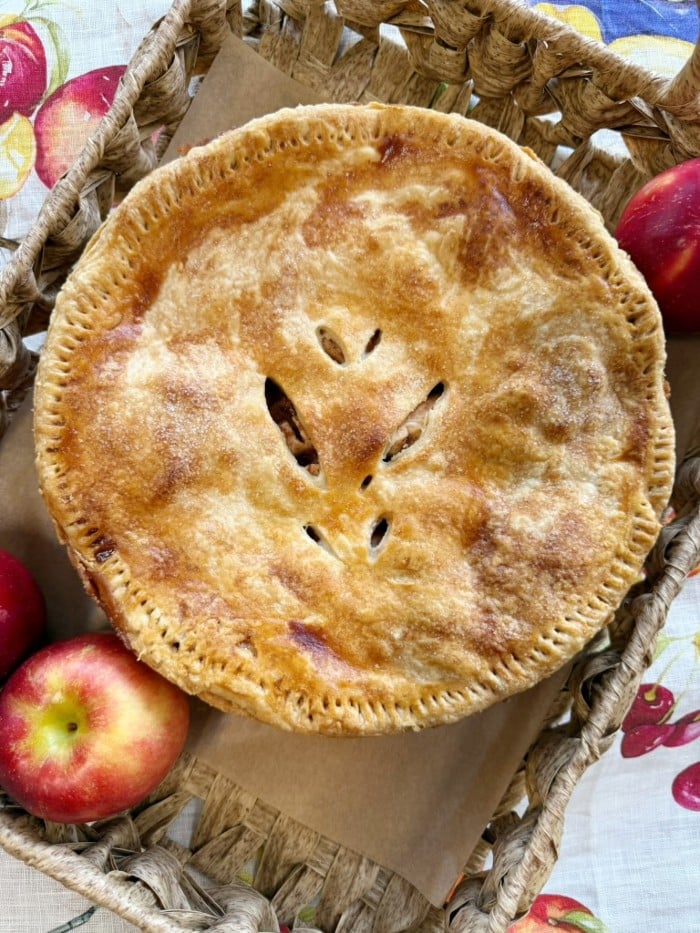
Tis the season for pies! It’s fall, and Thanksgiving is right around the corner. Apples are in abundance and who can resist an apple pie baking in an oven. Baking a pie doesn’t have to be intimidating, believe me you can take shortcuts, I do.
For whatever reason it’s the making of the dough that intimidates people. When I was newly married my tried and true pastry for pie crust was from and old Betty Crocker cookbook. I just followed the directions and whipped it up in my food processor and it came out perfect every time.
But now that I’m older I’m not as adventurous and I found a store-bought pie crust that I love using, ( Trader Joes’s ) it saves me a lot of time and clean up which makes me happy, but by all means if baking is your thing, you can’t beat a homemade crust!
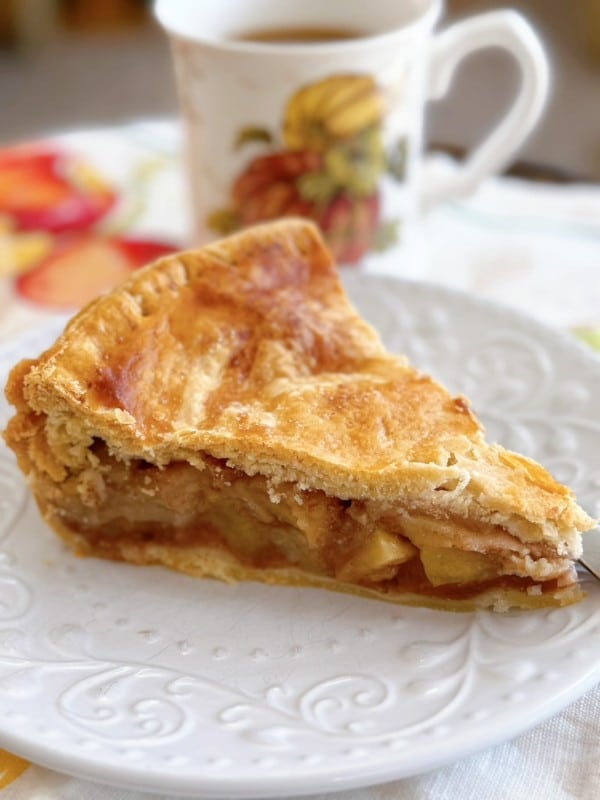
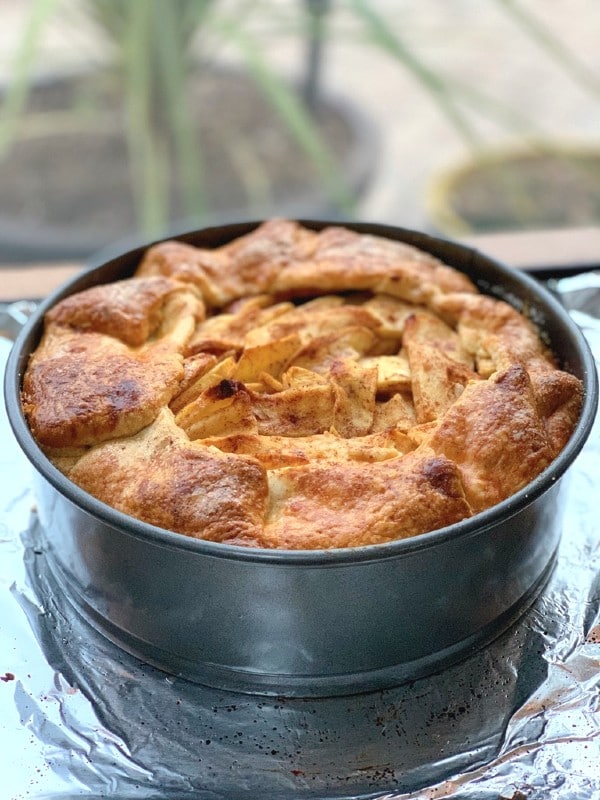
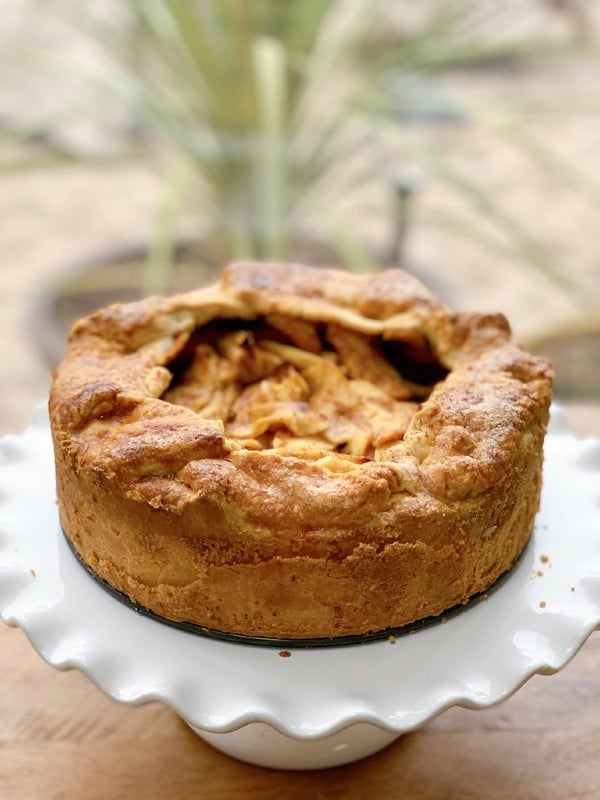
The best part, about making this deep dish apple pie was the fact that I made it in a 10 inch spring form pan, which gives you plenty of room to pile on the apples, I’ll never use a pie plate again!
Recipe for my Deep Dish Apple Pie will be listed below in the recipe card.
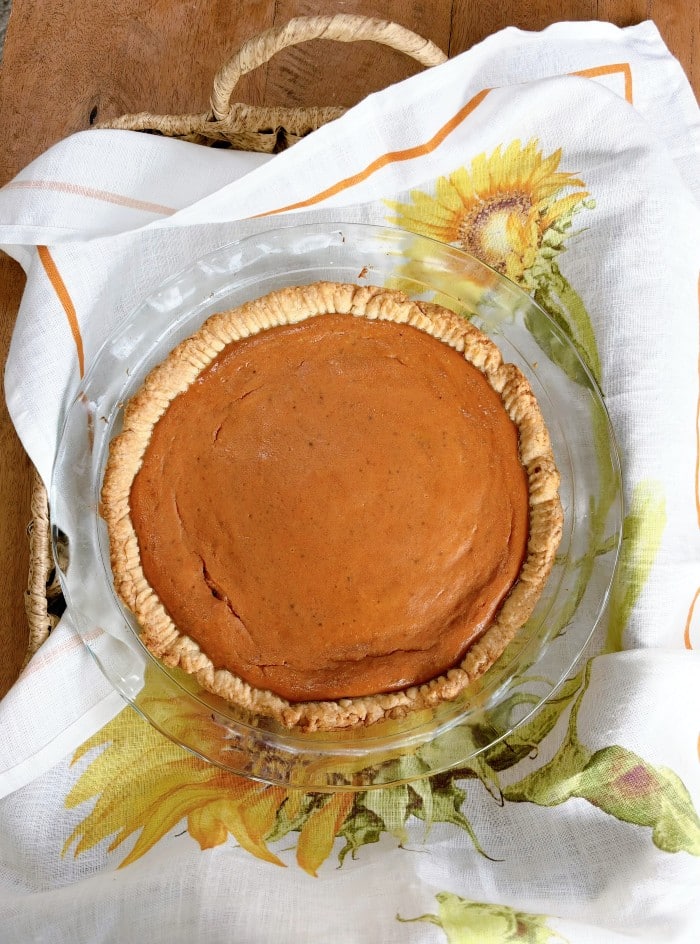
Next up a delicious, No Fuss Pumpkin Pie. So simple to make especially using a store-bought pie crust, no mixer used, all you need is a whisk to bring it all together.
In a large bowl add 1 -15 oz. can of organic pumpkin puree, 1-14 oz. can sweetened condensed milk, 2 eggs, 2 teaspoons pumpkin pie spice, 1/2 teaspoon cinnamon, pinch of salt. Whisk together til smooth.
Pour the mix into a 9 -1/2 inch un-baked pie crust and place in a 425F pre-heated oven. Bake for 15 minutes then reduce to 350F and bake 30-40 minutes depending on your oven. Crust should be deep golden and center when poked comes out clean.
Let it cool completely before serving but tastes best refrigerated. Serve with whipped cream, delicious!
( I used Trader Joe’s pie crust).
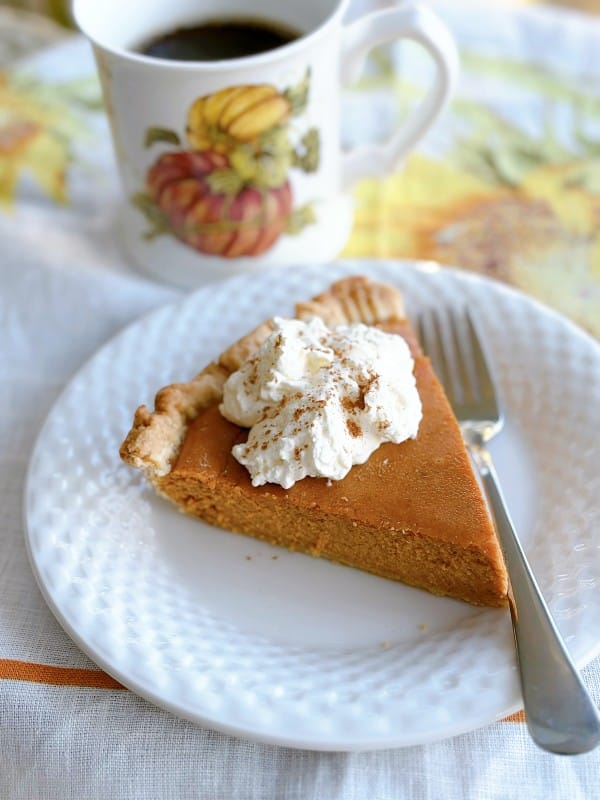
You can make this pumpkin pie the day before and keep it refrigerated, it tasted even better the next day!
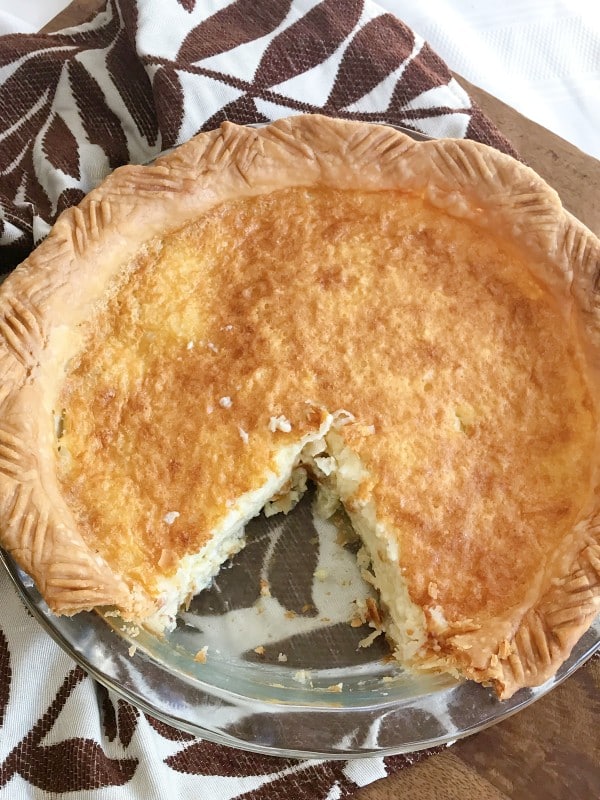
This is my Vintage Coconut Custard Pie, I have to make it every year at Thanksgiving, it’s tradition in my house.
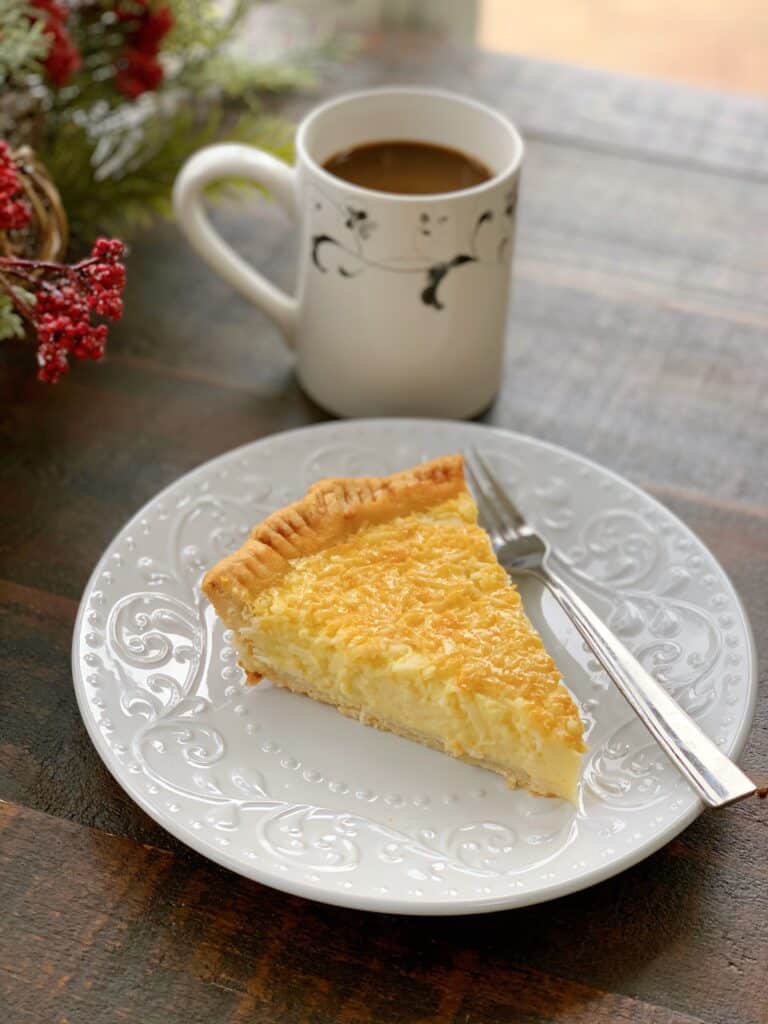
So wonderful with a nice cup of coffee!
- 10 inch spring form pan, buttered sides and bottom
- 2 prepared pie crusts, for top and bottom, store-bought or homemade (I used Trader Joe's)
- 5 or so large apples, peeled and sliced thin and sprinkled with lemon juice to keep from browning
- Note: ( It really depends how big your apples are, I used honey crisp) use enough to really fill up your pan and over the top a bit because the apples will shrink down in the baking process).
- ¾ cup sugar, or more to taste
- ⅓ cup flour
- pinch of salt
- 2 teaspoons, cinnamon or more to taste
- unsalted butter to dot the top of the apples
- 1 egg yolk with 2 teaspoons water to brush over the top
- Butter the sides and bottom of your spring form pan and place it on a rimmed cookie sheet so nothing leaks out while baking.
- Place your bottom crust gently into the pan pushing down on the bottom and up the sides, take your time and cover every part leaving a little overhang.
- In a large bowl add the sliced apples, cinnamon, salt, sugar and flour, mix together gently and thoroughly.
- Place apple mixture into the pan, then dot all over with unsalted butter.
- Now place the second crust on top and crimp the edges together, then make some vent slits on top.
- Now mix your egg yolk with the water and brush it all over the top of the crust.
- Place into a 450F oven for 10 minutes then reduce to 350F for an hour, to an hour and 10, but ovens do vary so watch your own oven carefully.
- Cool it down on a rack and don't cut into it if it's still steaming hot.
- Delicious served warm with a scoop of vanilla ice cream on the side..



 I’m Marie, a wife, mother, mother-in-law, and gramma of two beautiful girls. My passion is food, clear and simple but especially Italian food, hence the name of my blog, Proud Italian Cook. I want you to feel right at home here so grab a cup of coffee, I’ll get the pastries, take a look around and enjoy your visit! {