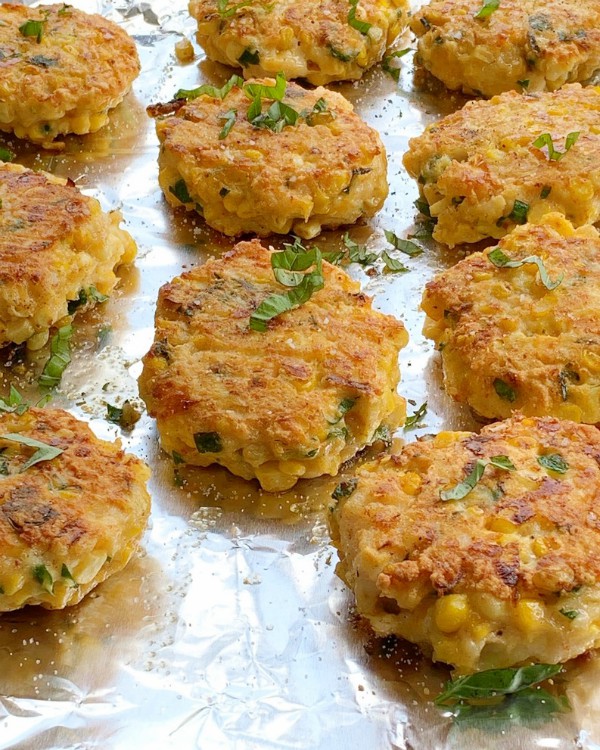
Tis the season to make fritters! It’s summertime and everyones garden is bursting with fresh vegetables as well as the farmers markets and grocery stores. I’ve been seeing all sorts of fritters being made of broccoli, cauliflower, but the most popular in the summer are ones made with zucchini or corn.
Today we’re pairing shrimp with corn in a fritter. Summer fresh corn and shrimp go really well together and are the perfect combination, it takes on a high end kind of flavor experience.
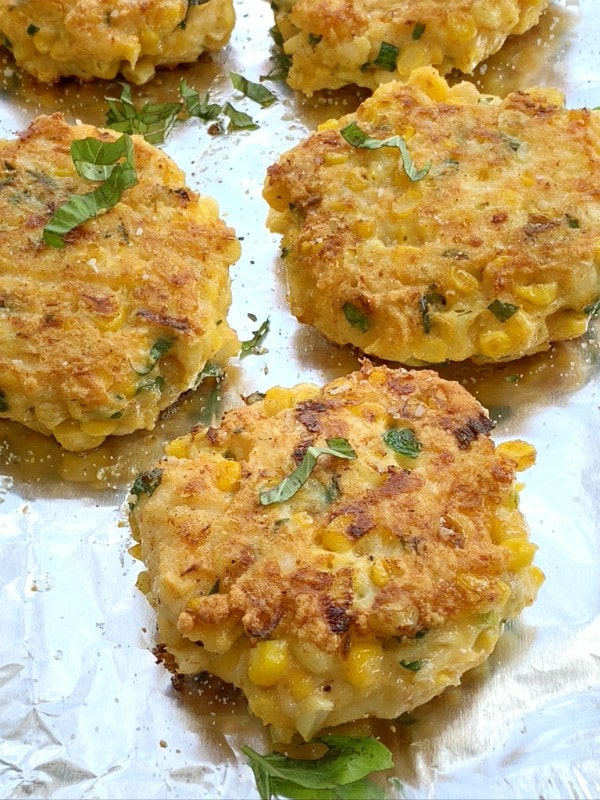
Crunchy on the outside, creamy on the inside with pops of sweet corn in every bite. Serve these for a midweek dinner and if you have leftovers they heat up well and are delicious for lunch, I’ve even made them for a fancy girls summer dinner party.

This recipe makes quite a few fritters, ten to twelve depending on the size. You can prep and form them early in the day then stick them into the fridge to get chilled before you pan fry them, these are not deep fried but rather requires just enough of a drizzle of oil to cover the bottom of a pan.

You can up the seasoning on the inside with smoked paprika, a cajun spice, some Old Bay seasoning or just leave it as in with the basic recipe, either way it’s all good!
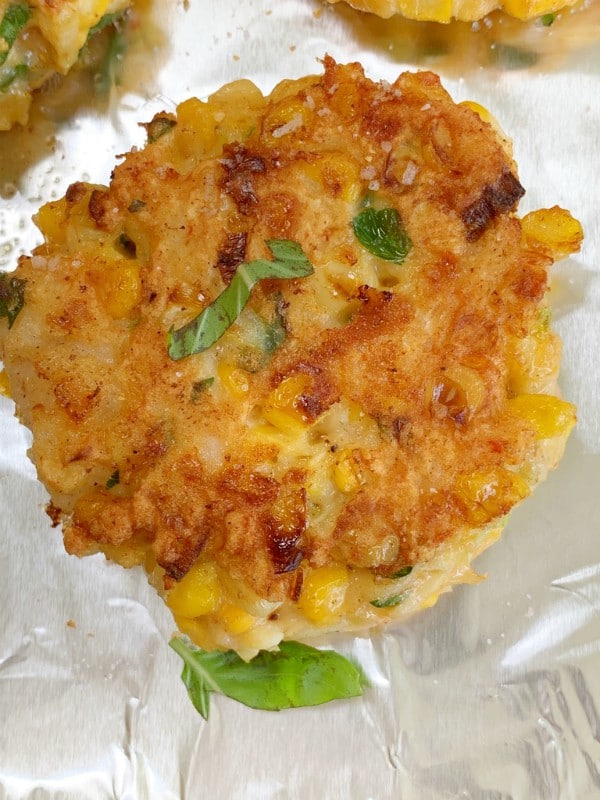
Golden brown and crispy ready to be dipped into a sauce of your liking. I’ve served them with a spicy and sweet chili sauce, a lemon aioli, a mango and peach chutney, believe me it’s all good!
- 1 lb. shrimp, raw, peeled and deveined and patted dry
- 3 medium ears of corn, shucked
- 3 eggs, whisked
- 3 green onions, sliced with a little bit of the green not all
- 1 cup of AP flour
- ¾ cup of shredded cheddar
- 1 smashed garlic clove, large
- basil and parsley a heaping tablespoon each, chopped
- salt and pepper to taste
- Optional spice like smoked paprika, Old Bay, cajun, maybe a heaping teaspoon
- olive oil for pan frying
- Take ⅔ of the shrimp and place it into a food processor and pulse it into a paste, remove it with a spatula and place it into a large bowl.
- Take the remaining shrimp and roughly chop it into small pieces, then add to the bowl.
- Then add in the eggs, garlic, parsley, green onions, basil, seasoning, flour and cheddar, mix well then add in the shucked corn continuing to incorporate it all.
- Form the mixture into patty's.
- Refrigerate them for a couple of hours.
- When it's time to cook them remove patty's from fridge.
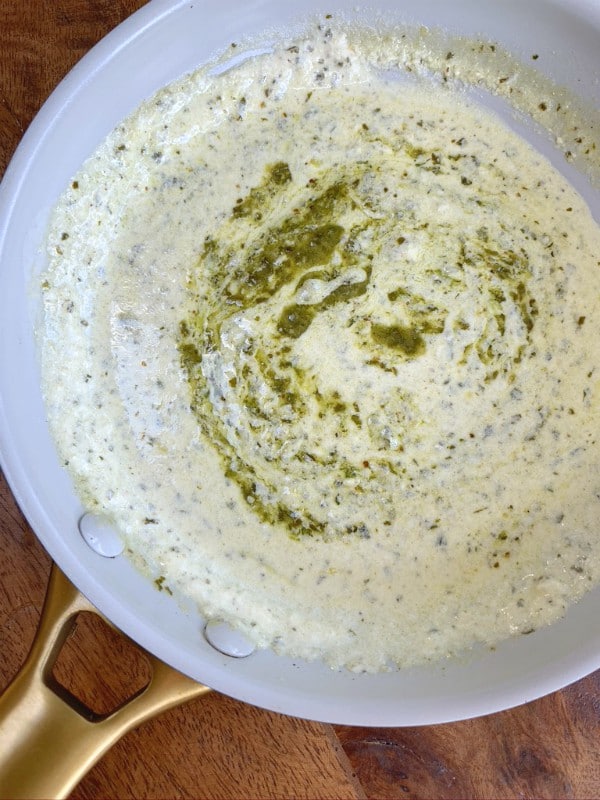
- Drizzle olive oil on the bottom of a heated non stick skillet and pan fry each side until nice and golden and fully cooked inside.
- Serve with your favorite dipping sauce like a lemon aioli, or a sweet and spicy chili sauce or even a peach or mango chutney.
- This recipe I was able to make 11 fritters, so anywhere between 10 and 12 you should yield.


 I’m Marie, a wife, mother, mother-in-law, and gramma of two beautiful girls. My passion is food, clear and simple but especially Italian food, hence the name of my blog, Proud Italian Cook. I want you to feel right at home here so grab a cup of coffee, I’ll get the pastries, take a look around and enjoy your visit! {


