 Growing up, Meatball Lasagna was always reserved for special occasions, holiday times, and parties. Often it was served as a side dish along with a roast of some sort, a turkey, or a ham, but just as many times, all on it’s own.
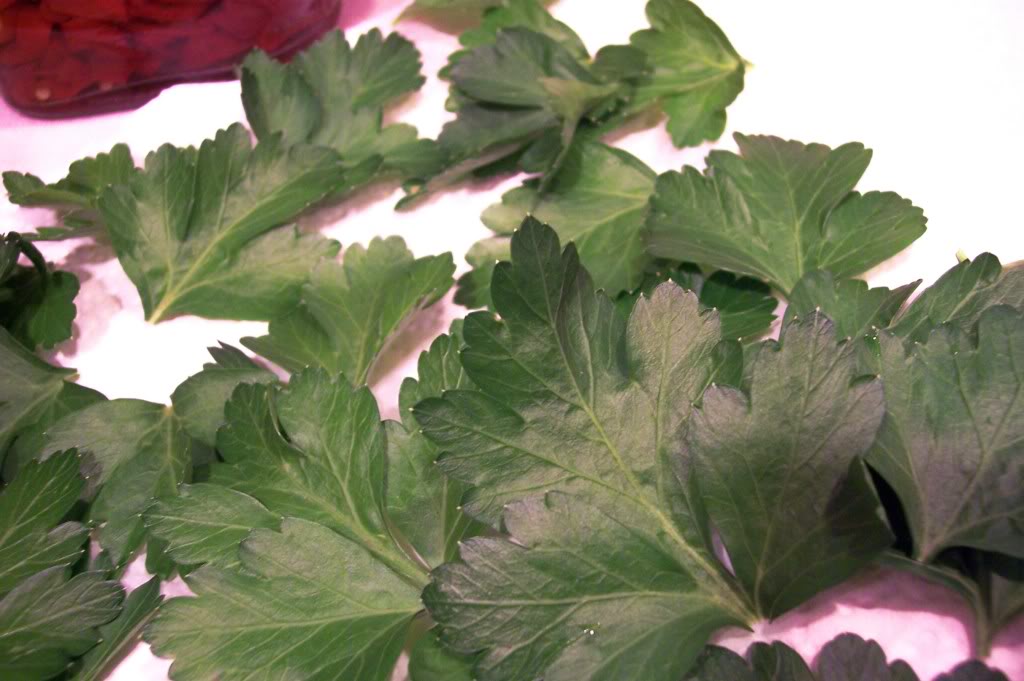
 Homemade mini meatballs are key, a little time consuming, but worth it! You can roll, and cook them ahead of time, stick them in a Ziploc bag in the frig, or freezer till ready to assemble. My meatballs will always have garlic, breadcrumbs, fresh parsley, egg, salt, pepper, and lots of grated Romano cheese.
I find that results are best if you use the dried or fresh noodles, not the no-boil type, layering as you go with a light homemade marinara sauce, ricotta cheese mixture, shredded, or fresh mozzarella, the mini meatballs, and more Romano cheese. Who can resist oozing cheese and dripping sauce and a bite of a tiny meatball? A definite crowd pleaser!!
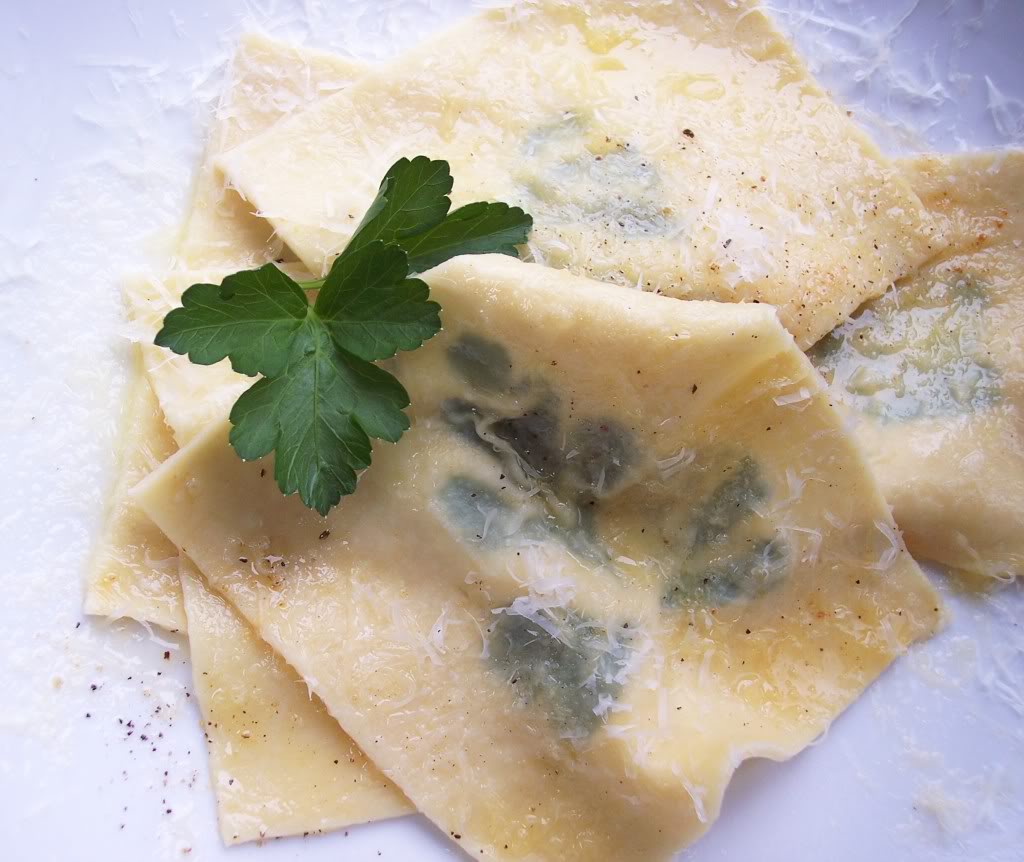
 Stuffed Shells are great for a party also, they’re individual and self contained, and easy to serve.
Here I made two different kinds, a meat mixture of ground round, chopped spinach, and grated Romano cheese, and your standard ricotta cheese mixture.
 This was served as a side dish to our meal on Christmas day. Packed up and ready to go to my BIL, and SIL’s for dinner! Two huge pans! You think I went a little overboard??? I know, I have issues!!
We also had New York strip steaks on the grill, beer battered shrimp, shrimp scampi, assorted veggies, and way to much other stuff. Needless to say, everyone went home with a huge care package.
Buon Appetito!!!
Next time you have a party you might want to try these!
Buon Appetito!!!


 September is Ovarian Cancer research and awareness month. The blogosphere is a buzz with many bloggers helping to spread the word! Spear heading this awareness along with having a contest is Sara, of


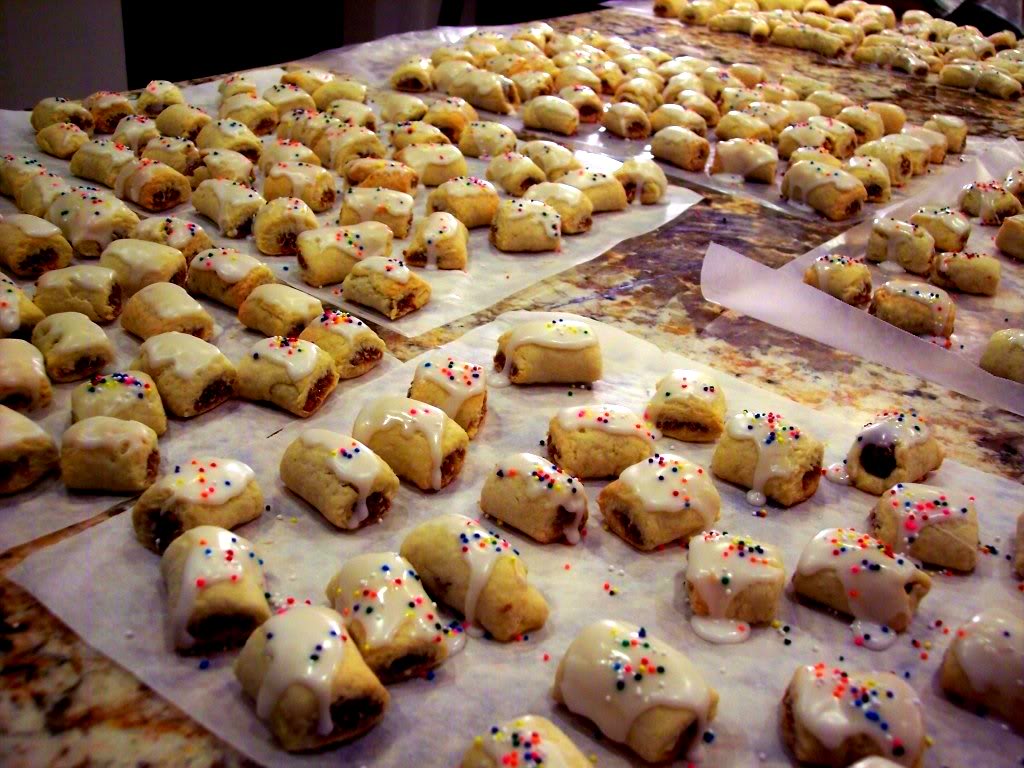
 I’m Marie, a wife, mother, mother-in-law, and gramma of two beautiful girls. My passion is food, clear and simple but especially Italian food, hence the name of my blog, Proud Italian Cook. I want you to feel right at home here so grab a cup of coffee, I’ll get the pastries, take a look around and enjoy your visit! {


